
The Attachments area holds files that apply a specific youth client under their Case Manager. These are generally documents such as school transcripts, drug test results, and court orders.
Looking to upload global files such as brochures, hand-outs, and take home instructions that could apply to any client? Use the Files application instead.
Viewing and Searching for Attachments #
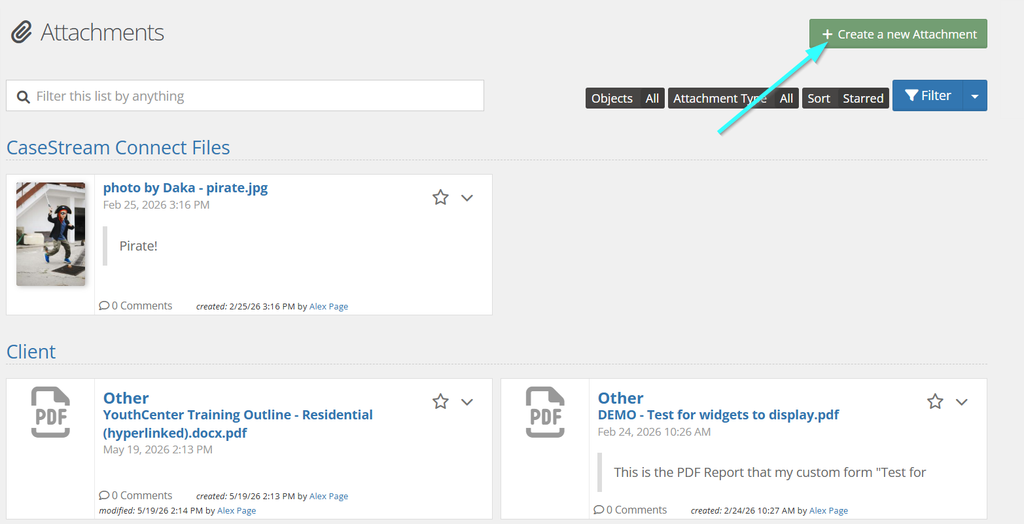
Find the Attachments sub-application nested under the Case Manager:
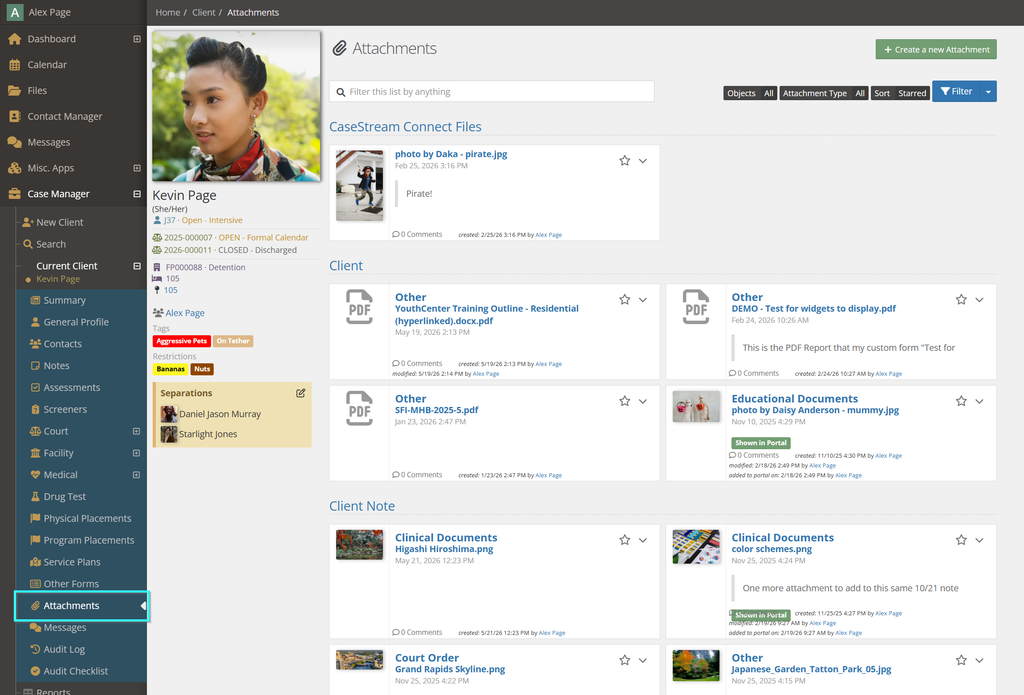
Attachments are grouped into categories depending on what kind of object they’re associated to. Examples include:
- CaseStream Connect Files (anything uploaded by a portal user)
- Client (not attached to an object)
- Client Note
- Drug Test
- Medical
- Program Placement
- Service Plan Schedule
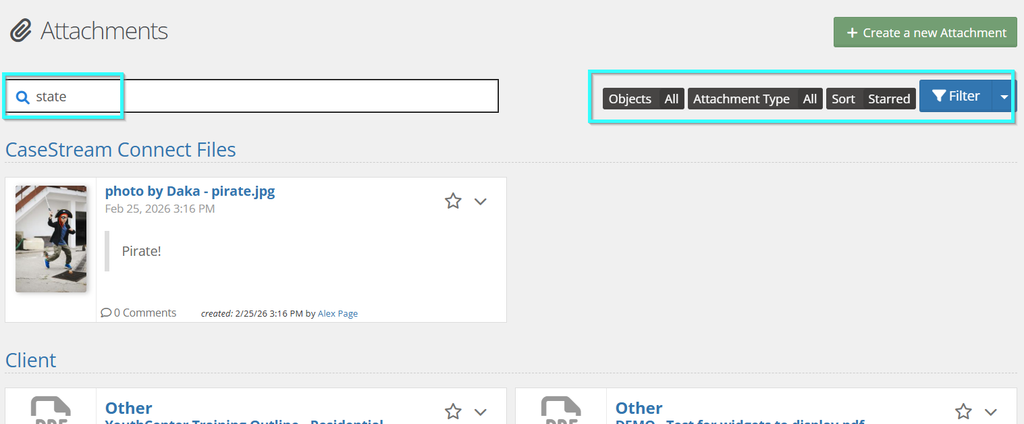
To search for an Attachment, use the search bar at the top left and/or the black filtering buttons on the right:
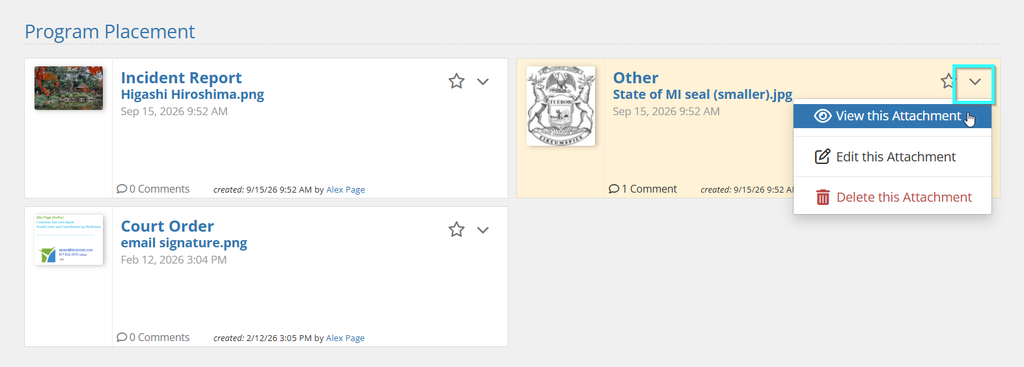
View any Attachment by clicking directly on it. Depending on your user rights, you may also be able to Edit and/or Delete the Attachment using the down caret on the right.
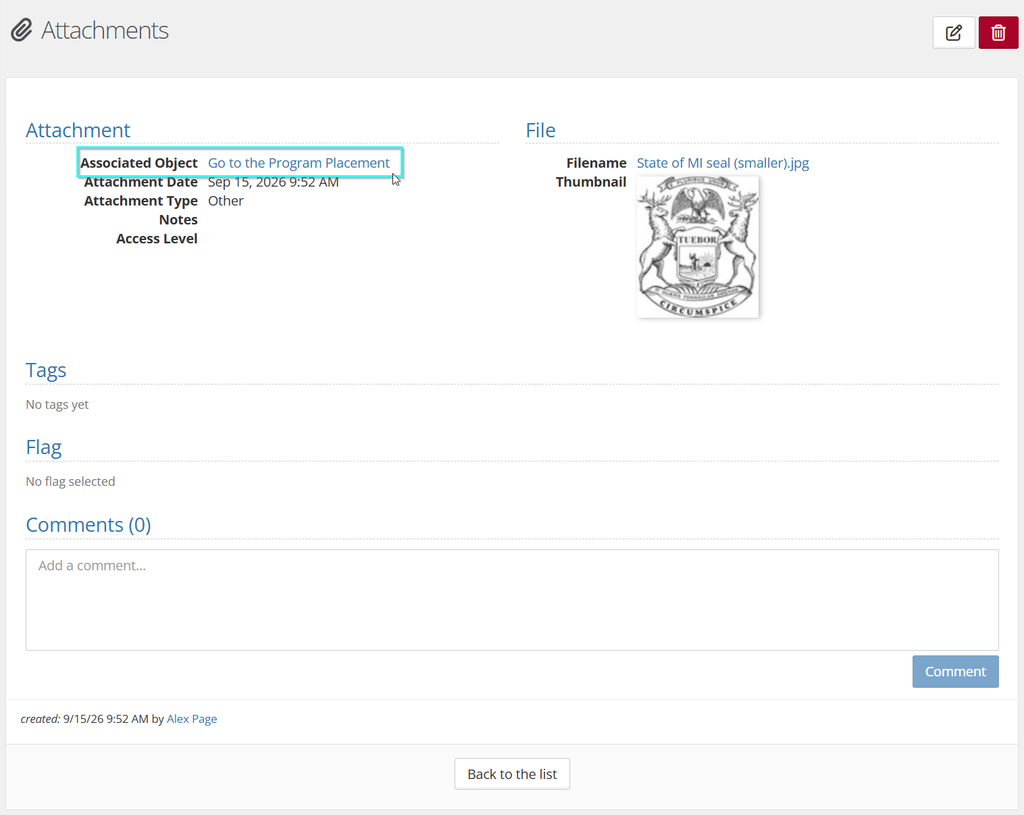
If the Attachment is associated with an object, you’ll be able to jump right to that object in the Case Manager when viewing the Attachment. For example, this Attachment is tied to a Program Placement, so clicking on that object links you directly to that Placement:
Adding Attachments #
Use the + Create a new Attachment button to upload a file from your network folders. Items attached here will always be associated with the client in general (see the following section for adding an Attachment to a specific object).
The Attachment Date & Time defaults to the current date/time but can be changed if needed. Attachment Types are managed by your Admin staff, and these are great for narrowing down search results or building Reports later on.
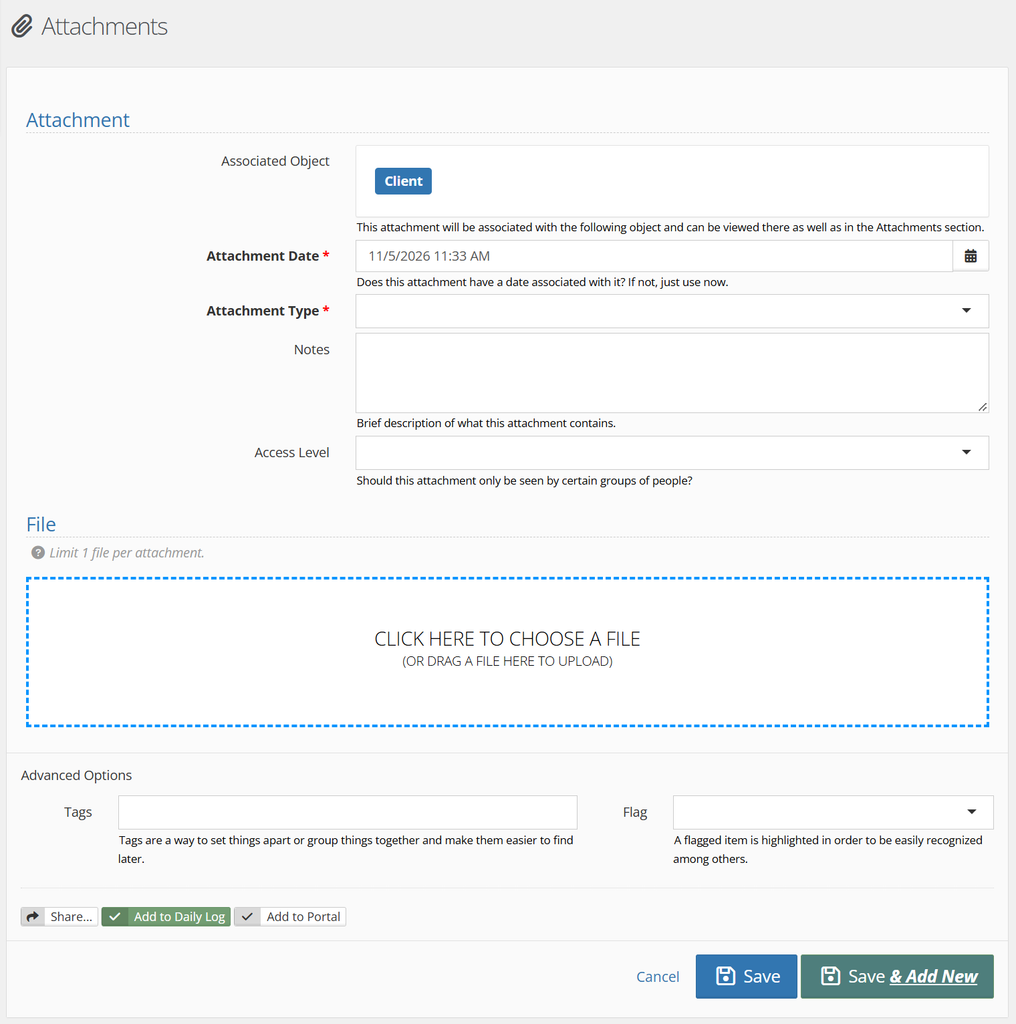
Optional Fields:
- Notes – brief description of Attachment, become a searchable metric for this area
- Access Level – to restrict this Attachment to certain groups (Medical staff, Admin users, etc.)
- Tags – label the Attachment, becomes a searchable metric for this area
- Flag – add a Flag to highlight the Attachment in the list of items
Click into the blue box to pull a file from your network folders, or you can drag and drop here. Almost all file types are accepted.
Use the Save button to save changes or Save & Add New if you have more Attachments to upload right now.
Adding an Attachment to an Object #
You can add Attachments to Notes, Drug Tests, Physical Placements, Program Placements, and Court objects. For example, you might need to include a laboratory printout with a Drug Test.
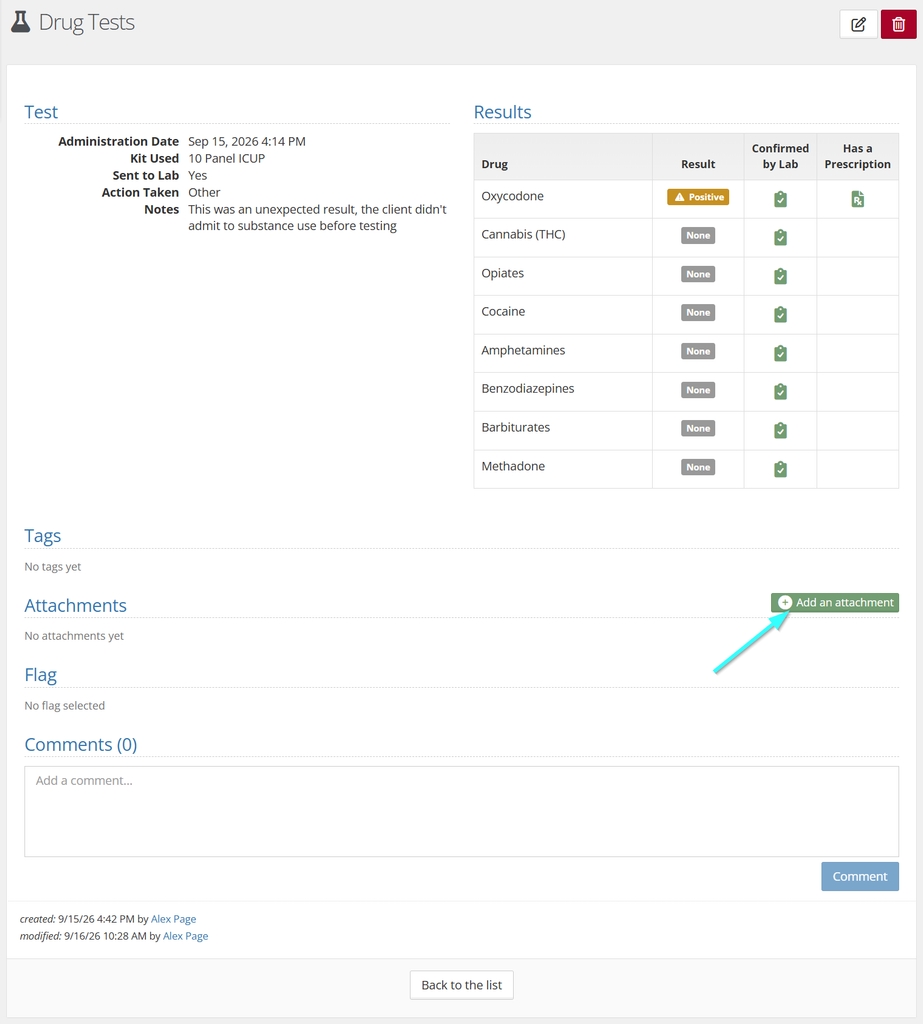
Click into the Drug Test and scroll down to the Attachment section. Click the green + Add an attachment button to get started:
When you click Add an Attachment, you’ll see the specific Drug Test as an Associated Object.
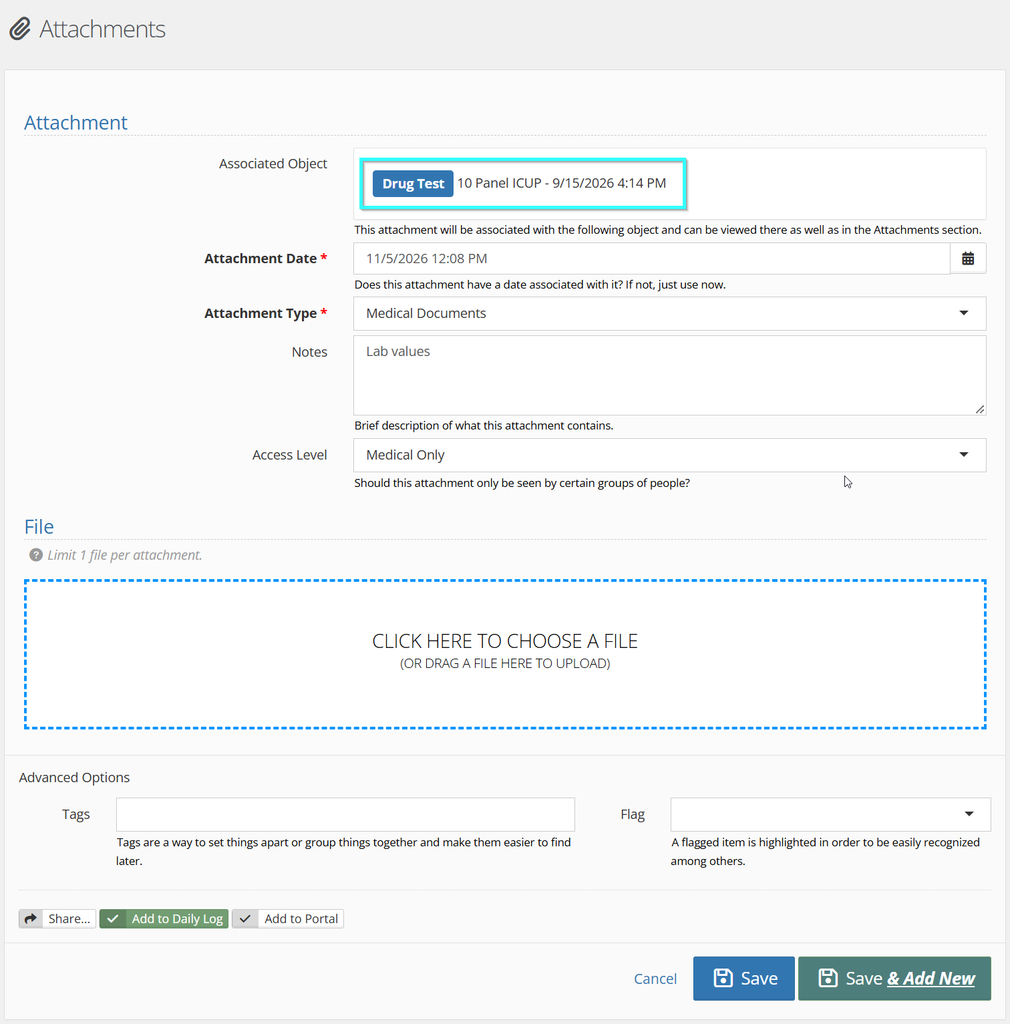
Fill in the required fields, add any optional information, and upload your file. Use the Save button to save changes or Save & Add New if you have more Attachments to upload right now.
This will keep your Drug Test as the associated object. Once you’ve hit Save, you are redirected to Attachments, where you can return to the Drug Test item or click Back to the list to see other Attachments.
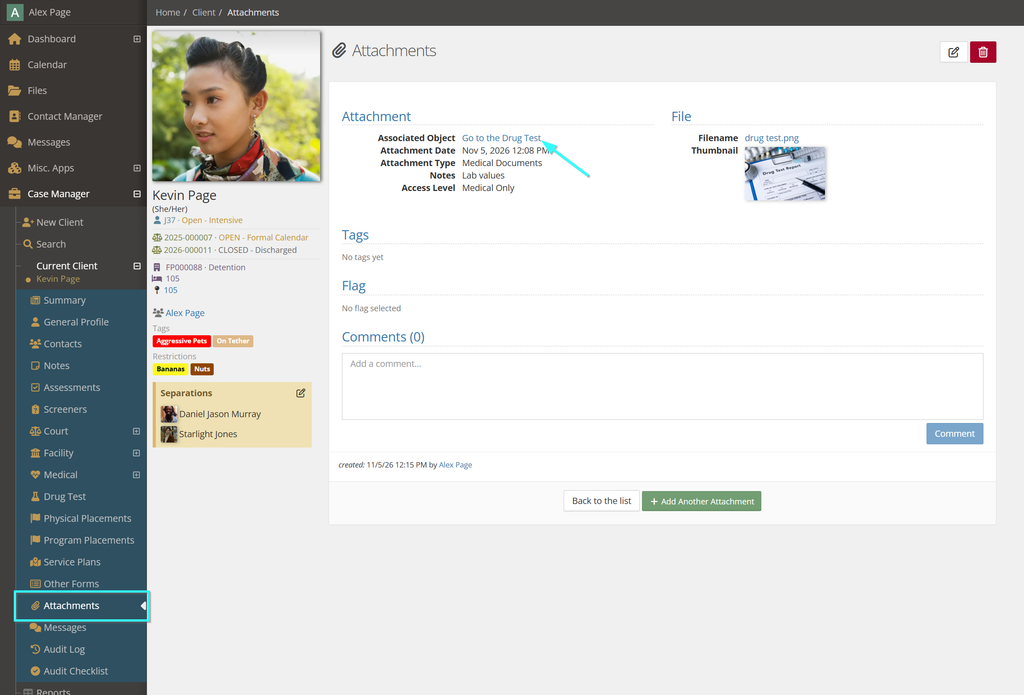
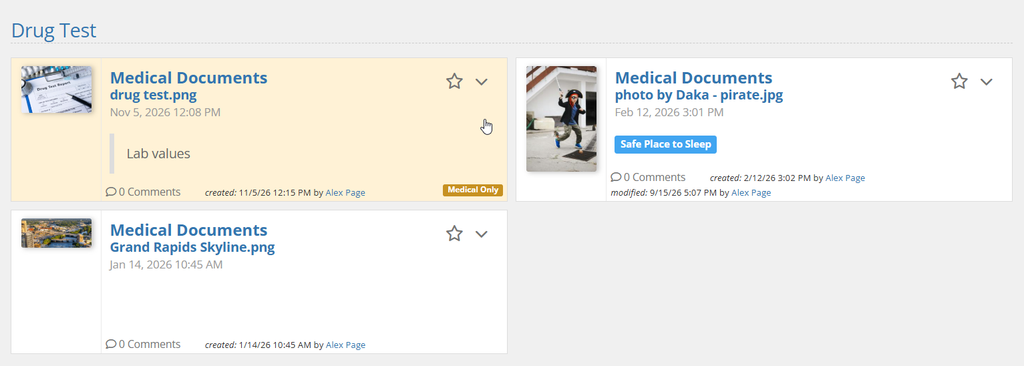
It’s easy to see which Attachments are associated with Drug Tests. The new addition shows up right away:
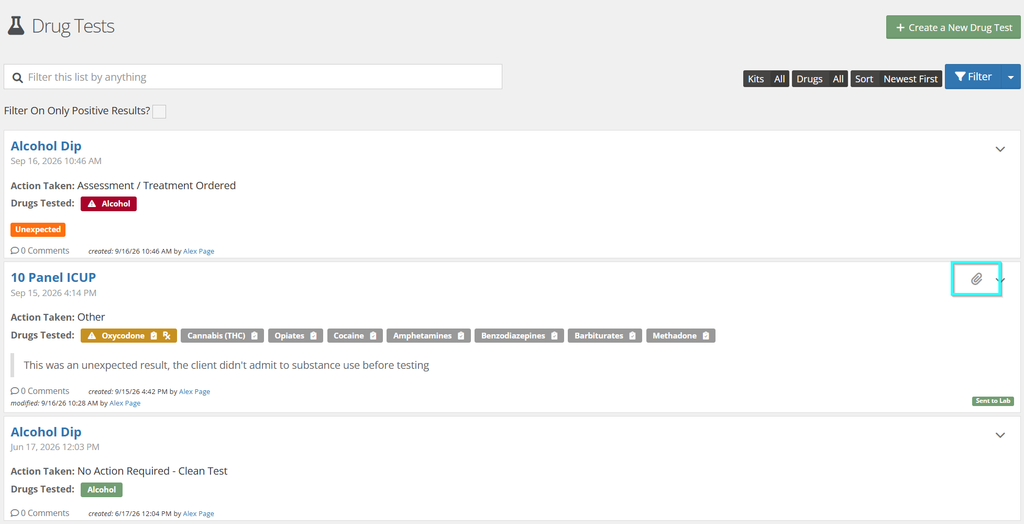
When you return to the Drug Tests area, it’s also easy to see which ones have an Attachment. Look for the paper clip icon:
Sharing Attachments #
Attachments can be shared with specific YouthCenter users and/or CaseStream Connect Portal users.
You can also lock them down to specific groups by using the Access Level drop-down menu when you’re creating or editing an Attachment. In this example, only users in the Educator group would see this Attachment:
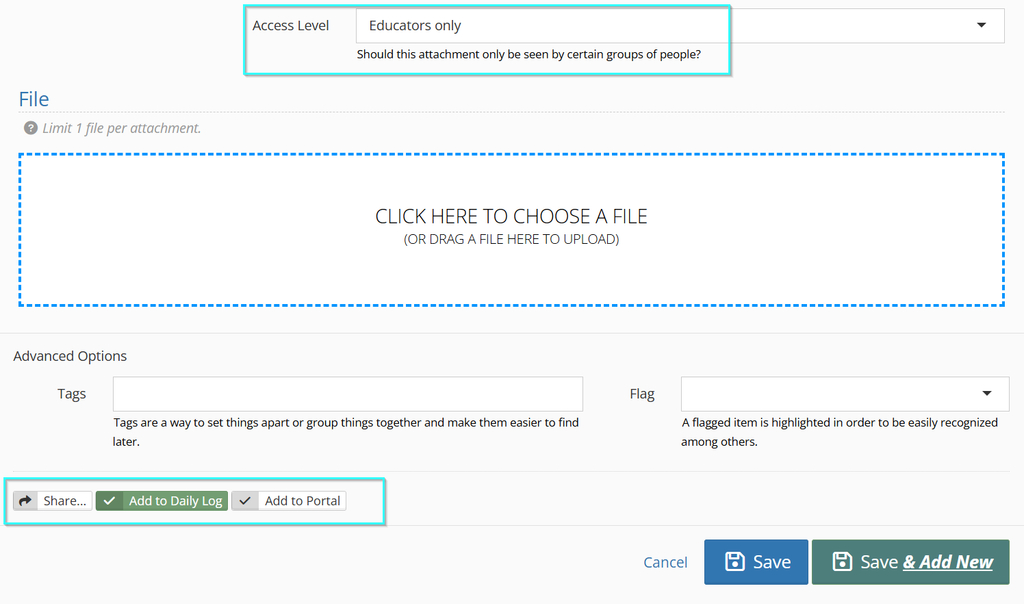
Use the Share and Add buttons when you create an Attachment or after it’s saved. Share allows you to pick out specific users or user groups that you have saved – see this article for more details on user lists to share with.
The Add to Daily Log button is for YouthCenter organizations who run their own facility. Use Add to Daily Log if you want all facility staff to be aware of the Attachment. Access Levels still apply, so some users won’t see the event if an Access Level restricts them. See this article for more details on the Daily Log.
Add to Portal makes the Attachment viewable to any CaseStream Connect Portal user who’s associated with this youth. See this article for more details like notifications to Portal users.