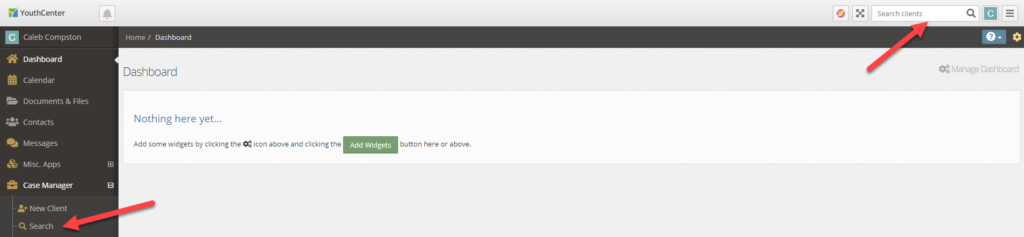
To add a client mugshot, you must first select a client through either the Search application under the Case Manager application or by using the Search Clients search bar in the top right of the screen.
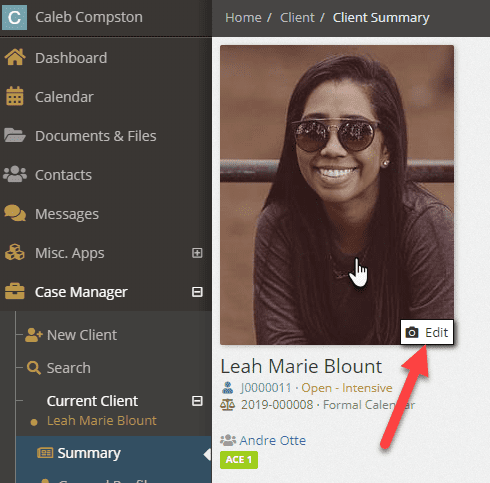
Once a client is selected, you can either:
A. Hover over their current mugshot or placeholder image and press the edit button
or
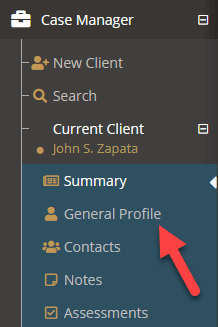
B. Once a client is selected, select the General Profile application, and scroll down to the Mugshots section
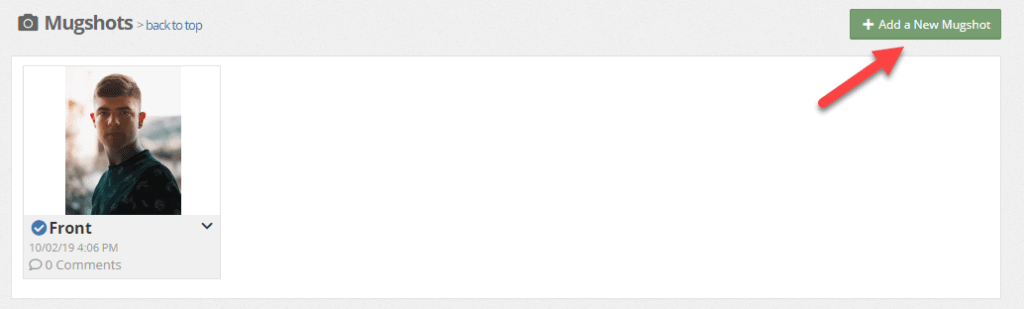
To add a new Mugshot, select the green + Add a New Mugshot button
The Mugshot Entry Screen #
The Picture Date selector allows you to indicate when the photo was taken and shows in the mugshot section of the general profile
The Picture Type drop-down allows you to indicate what type of picture is being saved. These options can be modified by your administrators.
The Notes field allows you to optionally enter clarifying information surrounding the attached picture
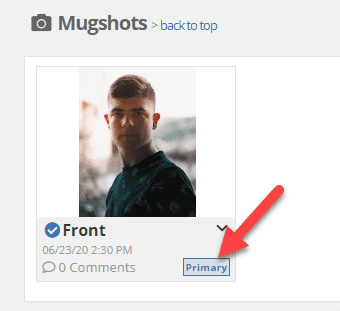
The Is Default checkbox allows you to set the mugshot as the image used in the header as well as any documents containing the client’s picture.
The Crop to Square checkbox will allow you crop and focus the image you are uploading. For more information on this feature including setting it as your default, please see documentation shared here.
Adding the mugshot image #
You can drag-and-drop an image into the outlined space or click inside the outlined space to select a file using your file browser. The outlined box will turn green if processed correctly, or red if there is an error.
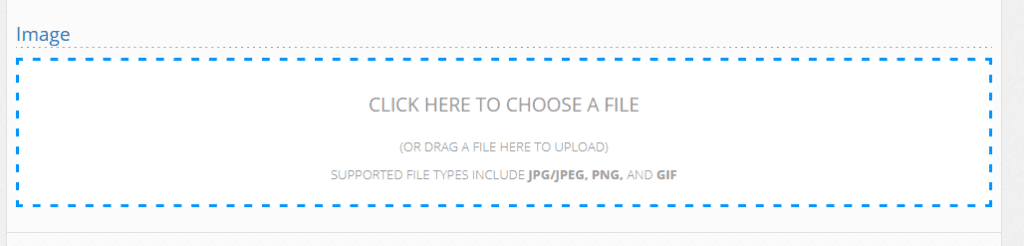
Supported file types include JPG, JPEG, PNG, and GIF.
If a file has been uploaded in error, or if you are removing an old file and replacing it with a new one, you can hover over the file you wish to remove and select the remove file link from the bottom of the picture.
Note: Some special characters are not allowed in the file name. For best results do not use special characters in your file names.
Tags and Flags #
Tags and Flags are highly visible at-a-glance representations of data that is common across multiple clients. Adding a Tag or Flag to a Mugshot will allow you to see that information in the General Profile Mugshots section or in a Mugshot detail screen. Your administrators can modify what tags and flags are available to you in the Mugshot editor. A mugshot can have as many tags as required, but can only ever have a single flag associated with it.
To add a tag to a client mugshot:
- Click inside the tags type-ahead box
- Begin typing the tag name or scroll through the list of tags
- Select the desired tag from the drop-down
- Repeat as needed
- Press the blue save button in the bottom right
To remove a tag from a client mugshot:
- Click inside the tags type-ahead box
- Use your keyboards arrow keys to position the cursor to the right of the tag you wish to remove
- Press backspace
- Repeat as needed
- Press the blue save button in the bottom right
Note: You can also clear all tags from a client by clicking inside the tags type-ahead box and selecting Clear selection
Sharing and Daily Log Options #
You can optionally choose to notify other YouthCenter users in your organization about the mugshot by selecting the share button before pressing save, and then selecting which users or lists you would like to notify.
Selecting the Add to Daily Log will add an entry to the Daily Log of the Facilities application.
Saving #
Once all desired and required fields are added, press the blue save button on the bottom right of the Mugshot entry screen.
