Adding a New Client #
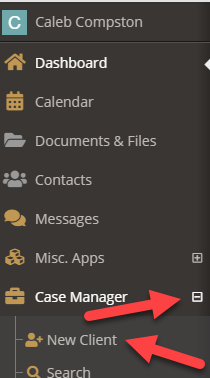
- Select the + icon to the right of Case Manager in the main navigation
- Select New Client from the expanded navigation menu
The Add a New Client Form #
Before adding a new client, the system will attempt to validate the client is not already in the system.
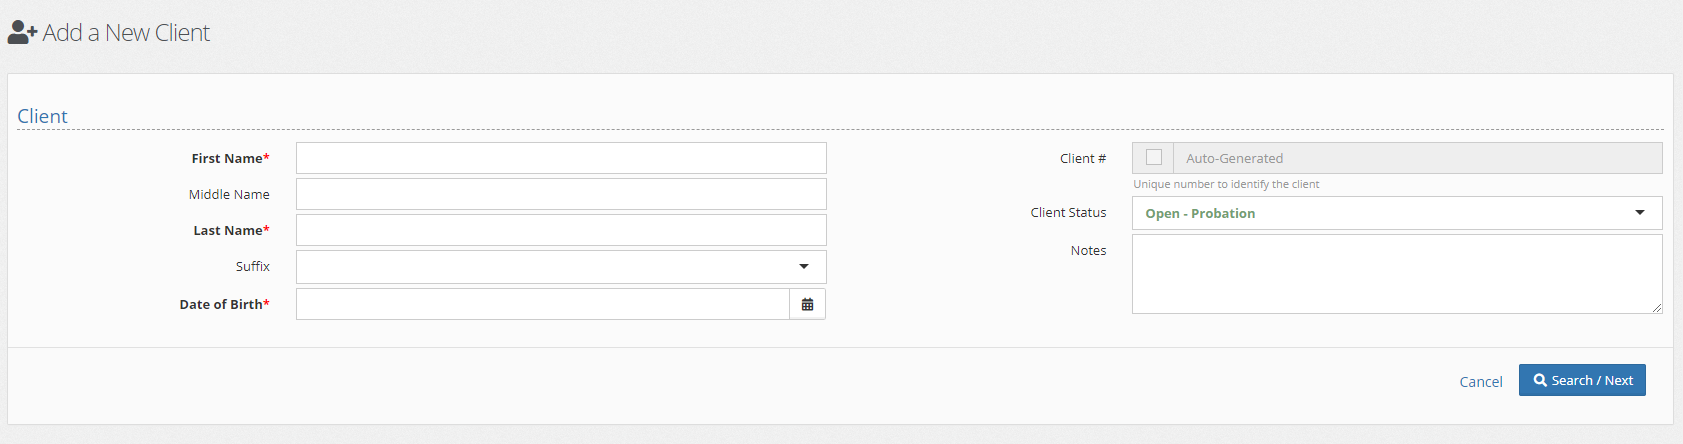
- Enter the required fields (First Name, Last Name, and Date of Birth)
- Optionally enter the optional client fields:
The Client # checkbox indicates if you want the system to autogenerate a client number. If a client number already exists, select the checkbox and enter the client number in the text box to the right
The Client Status drop-down indicates the client’s current status within the system. Your administrators can customize these options.
The Notes text field allows you to enter general notes about a client.
- Press Search / Next
- If similar results are found in the system, ensure that none of the listed clients are the same as the new client you are entering
If the basic information is all you wish to enter at this time, you can select the green Create New Client button. However, in most cases, we recommend selecting Create New Client & Next button to be guided through adding an additional profile, demographic, and association information.
Using the guided entry you will enter the following information
- Adding Client Profile Information
- Adding Demographic Information
- Adding Residency Information
- Adding Education Information
- Adding Relationship Information
MI JIS Integration #
If your court is part of JIS and has the integration turned on feel free to reference the documentation below to understand how to import many of these fields:
