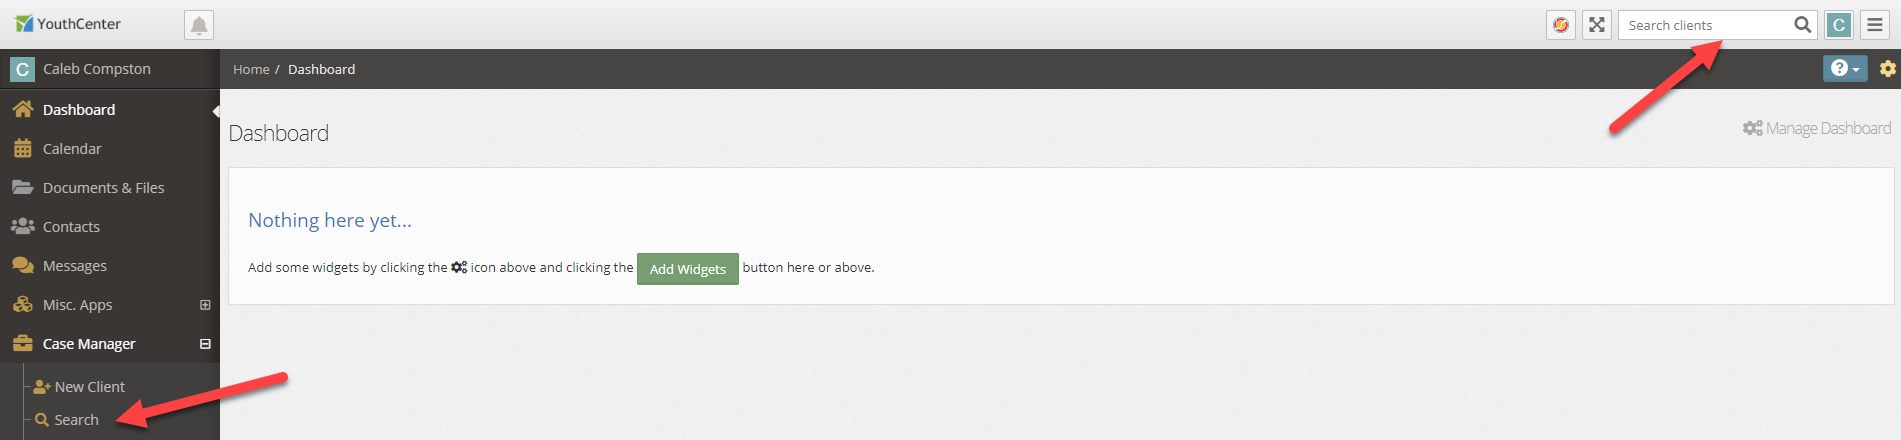
To update information within the client profile, you must first select a client through either the Search application under the Case Manager application or by using the Search Clients search bar in the top right of the screen.
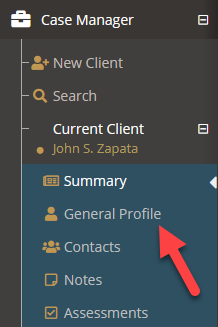
Once a client is selected, select the General Profile application
Given that you have proper permissions, you can then select the edit button in the top right of the screen
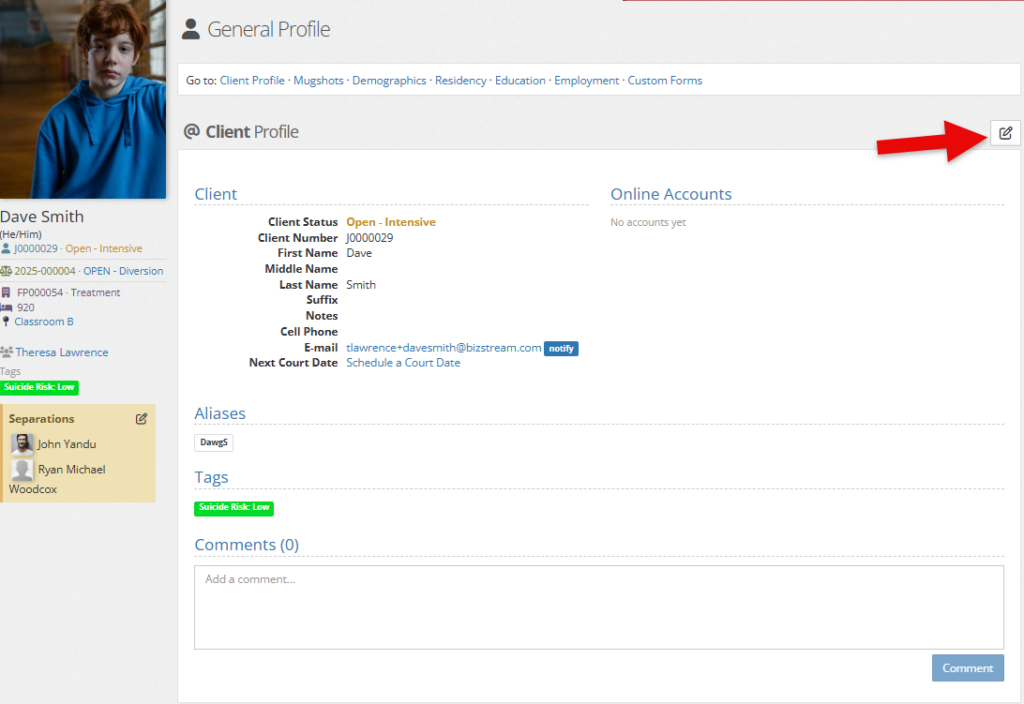
The Client Section #
The client section holds general name information.
The Status drop-down adjusts where in the lifecycle of your program the client is in. This can be customized by your administrators.
The Client # is a unique number the system uses to track the client. This number is autogenerated by YouthCenter however, your organization may have a client/case numbering system already. You may change the Client # to match your own numbering system.
The First, Middle, Last Name and Suffix sets the clients name used throughout the system
The Notes field is a general use text box used for entering a general note about a client. The information placed in this field will be only be shown in the General Profile application. Case notes should be placed in the Notes application or Progress Reports application in the Detention section.
The Cell Phone field optionally allows you to hold a client’s cell phone number.
The Next Court Date indicates when a client is expected in court. This information is also shown in the Summary application. This can be blank if not applicable.
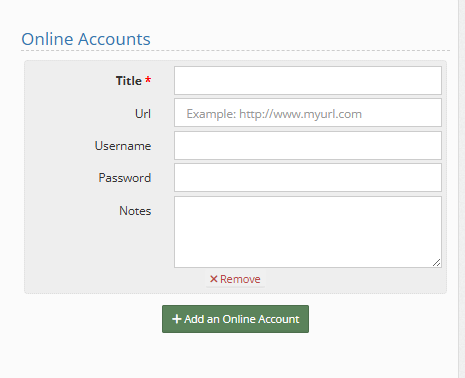
The Online Accounts Section #
The Online Accounts Section optionally builds up a total social media presence profile of a client.
You can add in as many accounts as is needed for tracking
The Aliases Section #
The Aliases section allows you to enter one or more aliases for a client. In addition to showing in the General Profile application, aliases are also searched when looking for a client.
To add an alias:
- Select the green + Add an Alias button.
- Click inside the new Alias Name text box
- Type the client’s alias
- Press the blue save button in the bottom right
To update an alias:
- Select the text box of the alias you wish to update
- Change the text
- Press the blue save button in the bottom right
To remove an alias:
- Select the x remove link to the right of the alias you wish to remove
- Press the blue save button in the bottom right
The Tags Section #
Tags are a highly visible at-a-glance representation of data that is common across multiple clients and are used in many places. Tags are set up by your administrators and can have a multitude of uses.
To add a tag to a client:
- Click inside the tags type-ahead box
- Begin typing the tag name or scroll through the list of tags
- Select the desired tag from the drop-down
- Repeat as needed
- Press the blue save button in the bottom right
To remove a tag from a client:
- Click inside the tags type-ahead box
- Use your keyboards arrow keys to position the cursor to the right of the tag you wish to remove
- Press backspace
- Repeat as needed
- Press the blue save button in the bottom right
Note: You can also clear all tags from a client by clicking inside the tags type-ahead box and selecting Clear selection
Note: All functionality described above can be limited by your administration team. If the described functionality does not appear to be present, contact your administration team to verify you have the proper permissions.
