Table of Contents
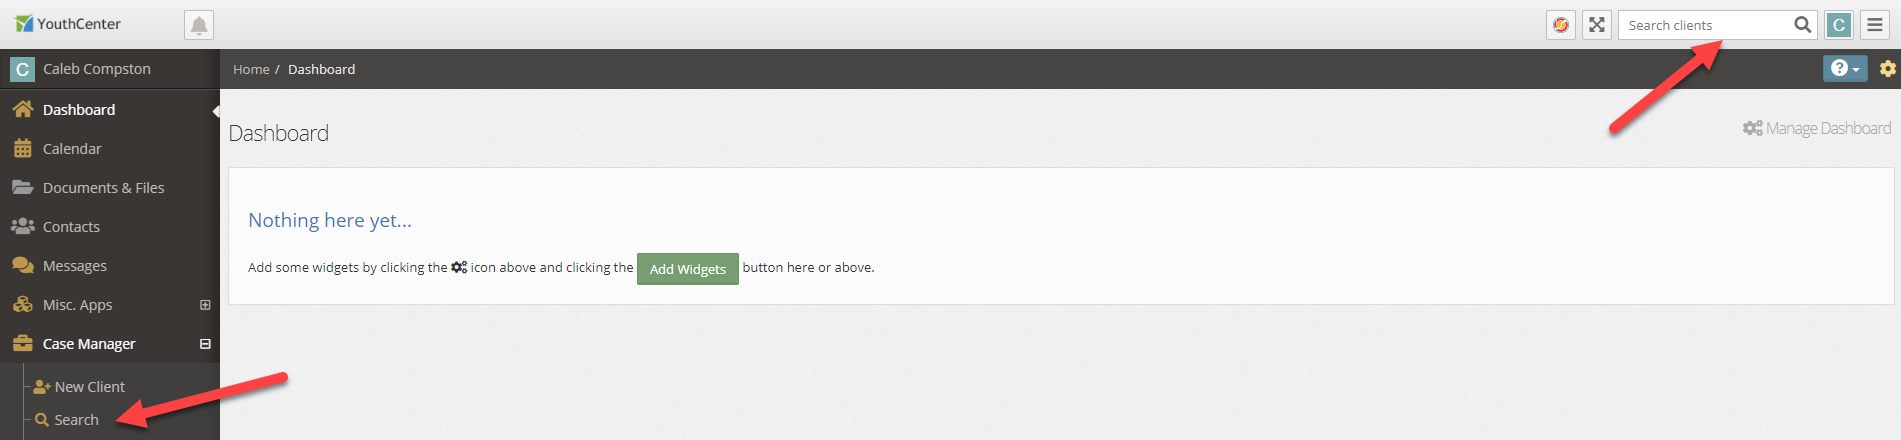
To update information within the client profile, you must first select a client through either the Search application under the Case Manager application or by using the Search Clients search bar in the top right of the screen.
![](https://assets-us-01.kc-usercontent.com/c2be3e4c-ec16-001d-a74e-a38fc5acf5fd/04c0f349-790c-4b7a-9177-136b46ec3c6a/Searching-for-a-client.png)
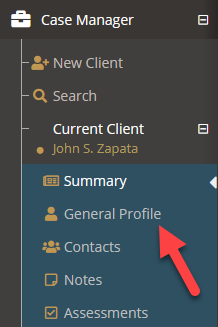
Once a client is selected, select the General Profile application
![](https://assets-us-01.kc-usercontent.com/c2be3e4c-ec16-001d-a74e-a38fc5acf5fd/5009ab31-9599-4692-b056-ba326f5f9285/Case-Manager-General-Profile-Menu.png)
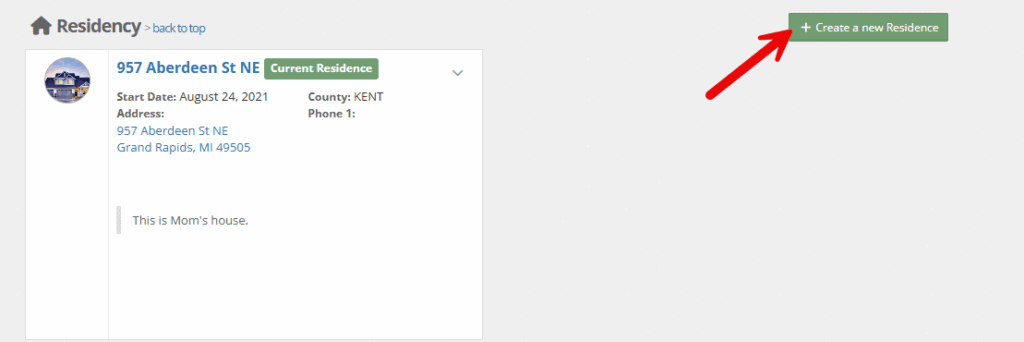
Scroll down to the residency section. Given that you have proper permissions, you can add a new residency by selecting the + Add New Residency button.
![](https://assets-us-01.kc-usercontent.com/c2be3e4c-ec16-001d-a74e-a38fc5acf5fd/29ba976b-7b1f-4e30-9408-299d8e8780ea/General-Profile-Residency-Add-New.png)
Adding New Residence Information #
![](https://assets-us-01.kc-usercontent.com/c2be3e4c-ec16-001d-a74e-a38fc5acf5fd/aa5cf4e0-b97c-437f-aee8-951ea4e29765/General-Profile-Residency-Entry-Screen.png)
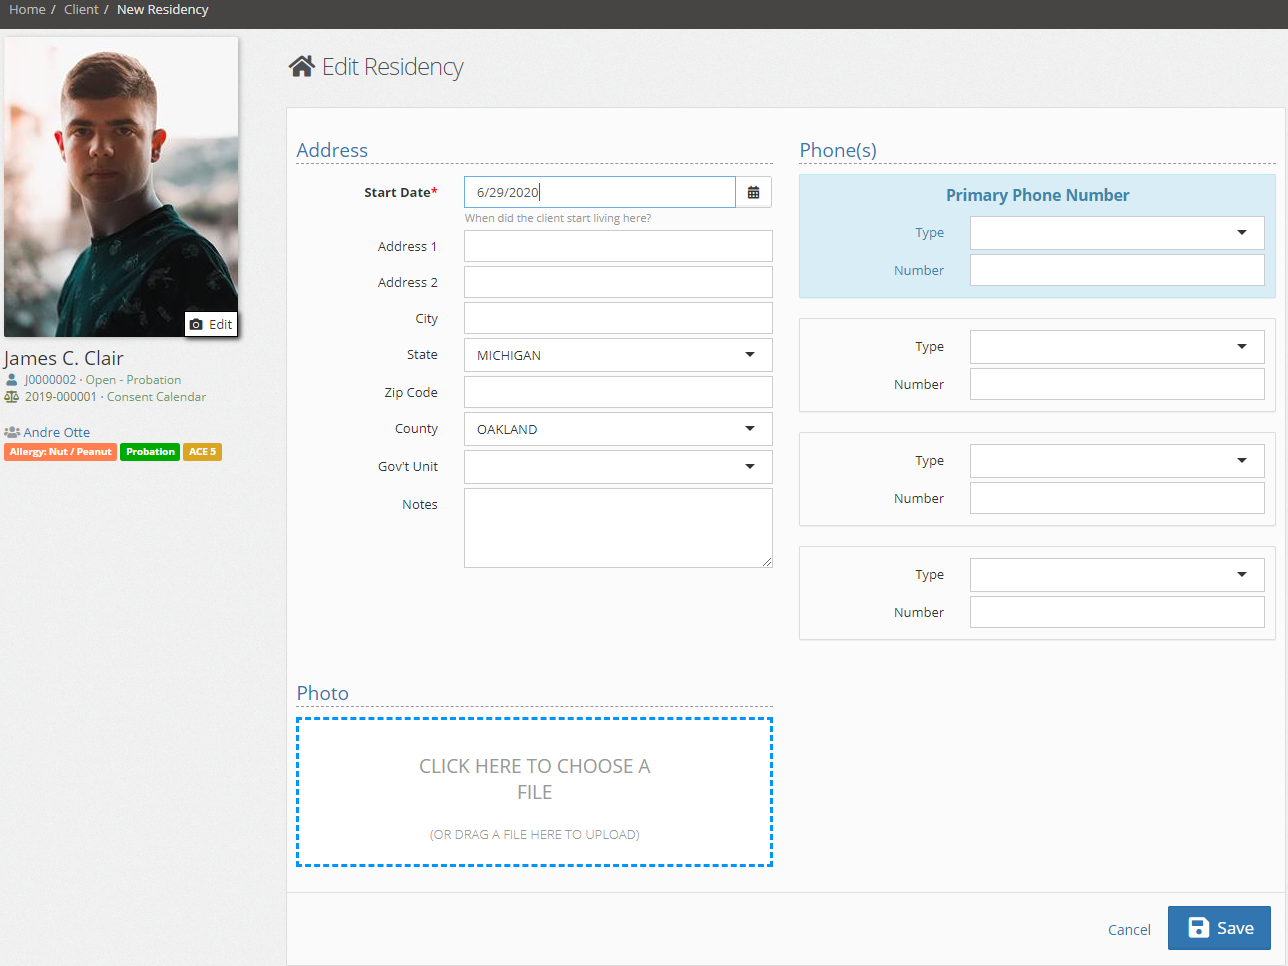
Add any available information and then press the blue save button.