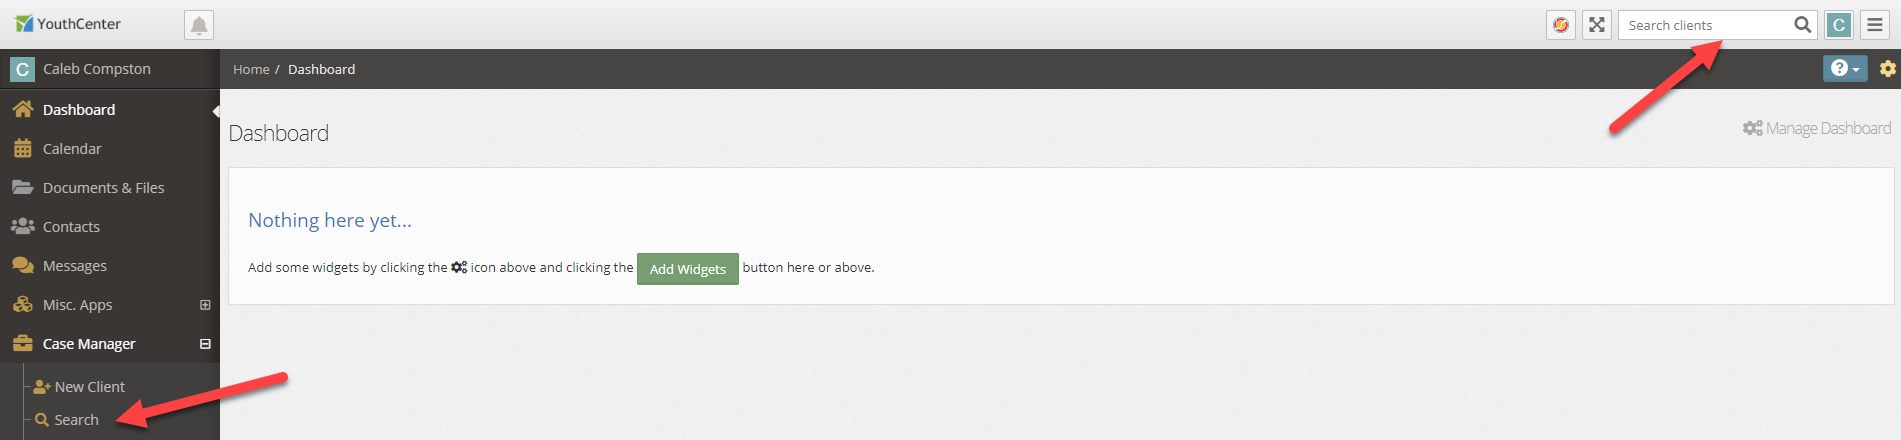
Granted that you have proper permissions to edit a client’s demographic information, you must first select a client through either the Search application under the Case Manager application or by using the Search Clients search bar in the top right of the screen.
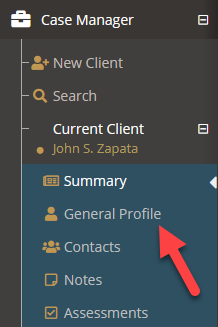
Once a client has been selected, navigate to the General Profile application in the main navigation menu.
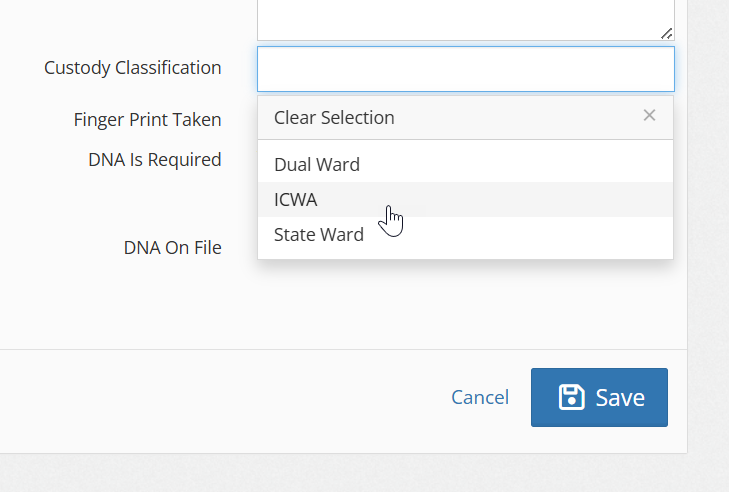
Scroll down to the Demographics section and press the pencil edit button.

Update any desired fields, and then press the blue save button on the bottom right of the edit Demographics form.
Below is an example of adding a custody classification option into the demographics fields.
Adding a Custody Classification #
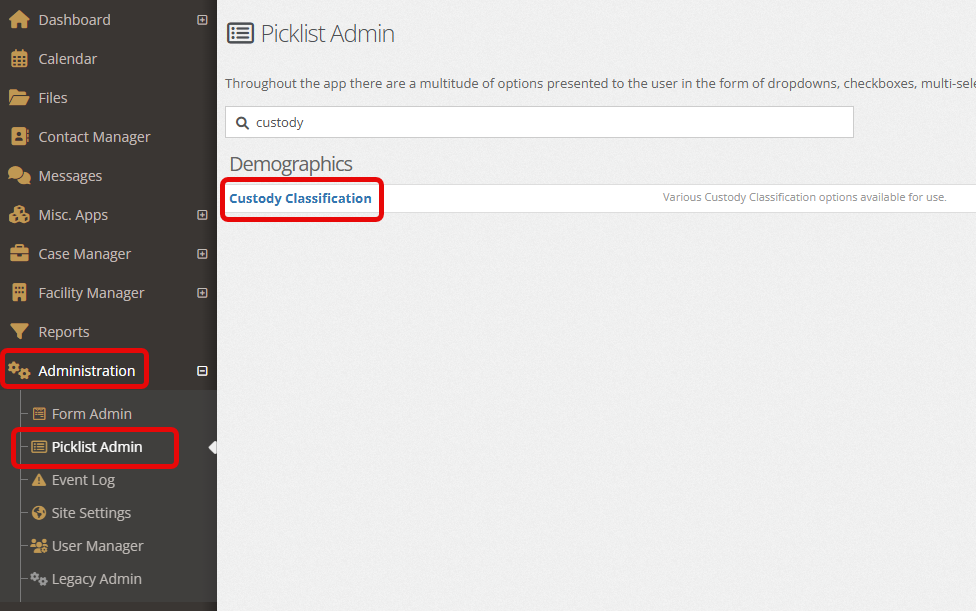
To add these specifications and options, a user with administrative access can go to the “administration” tab, followed by the “picklist admin.”
Search for “Custody Classification” and add or edit previously listed options.
Once filled out, the custody Classification will be shown and completed under a youth’s “Demographics.”
Note: Many of the drop-down choices can be modified by your administrators. If you do not see an option you expect you can direct your administrators here to add additional choices.
Note: This functionality can be limited by your administration team. If the described functionality does not appear to be present, contact your administration team to verify you have the proper permissions.
