Service plans are an add-on to YouthCenter designed to allow you to set up a schedule of how often a plan for service is required for a given client. The system will prompt users to add updates to that plan on a scheduled basis. This allows your group to document needs for the youth in the beginning, middle, and end of service with your organization. The types and schedules for these plans are set by your Admin users.
YouthCenter reporting can also export the data for a particular service or client.
Service Plans can apply to youth in many scenarios, whether that’s detention, court supervision, or day treatment.
Choosing a Service Plan during Facility Intake #
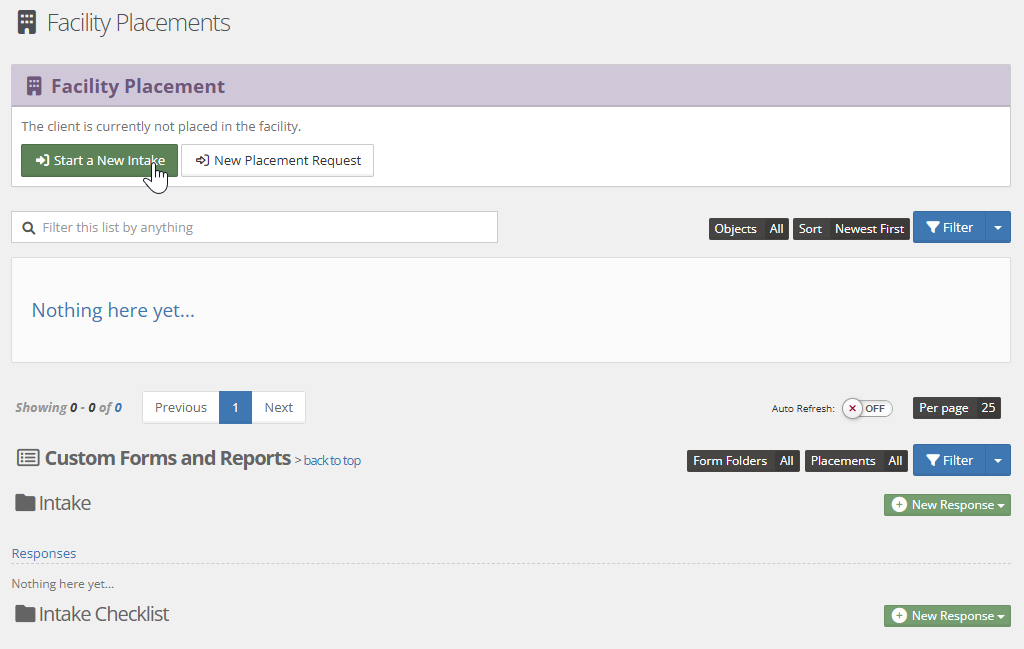
If your organization has its own facility and uses Service Plans, you’ll see the option to start one during the Facility Intake. Adding a Service Plan here will set up a schedule automatically:
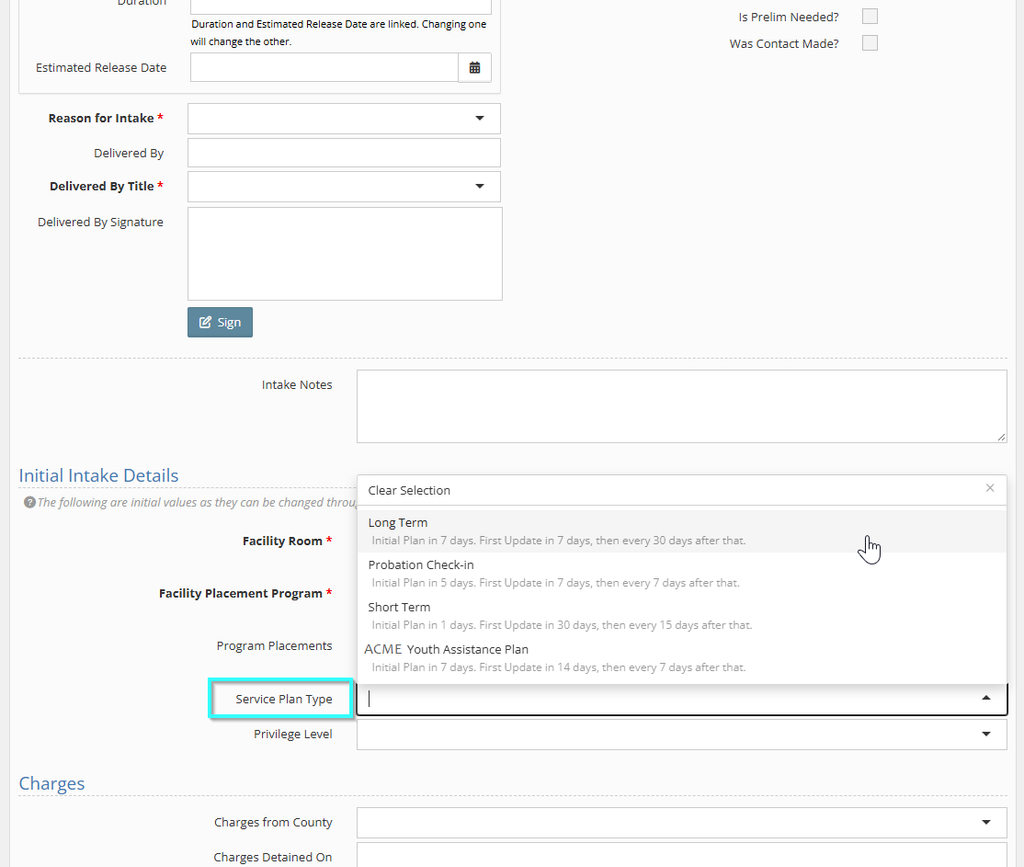
During an initial intake for detention, you will be asked to choose a service plan on the Intake form.
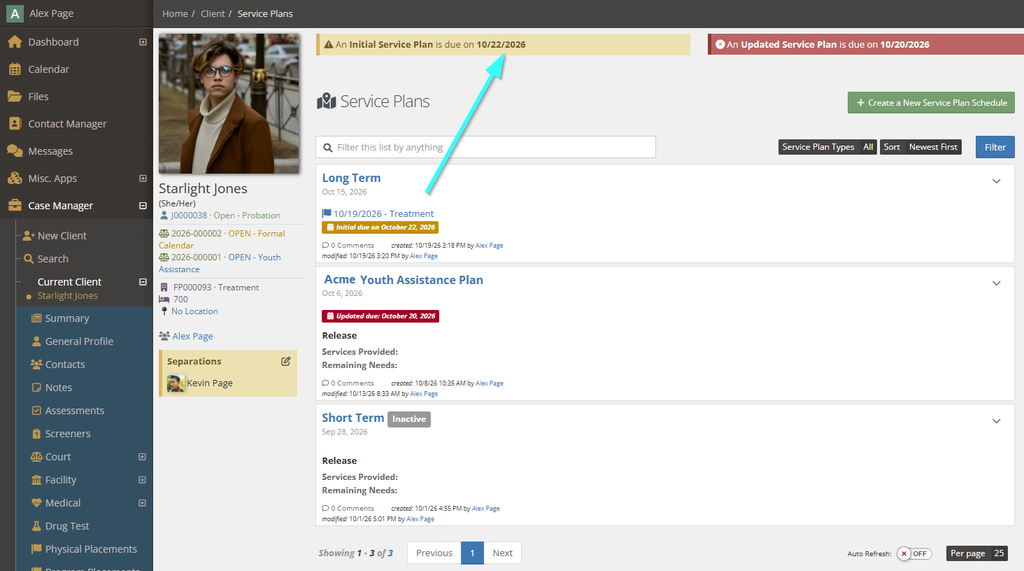
Once a Service Plan is saved, you will see a notification flag on the client’s Case Manager to remind you of the due date. The time frame for these notifications are set in the administration of the Service Plan Types. Yellow starts X days before it’s due. Red starts Y days before it’s due. Administrators set the X and Y dates.
Adding a Service Plan outside of Facility Intake #
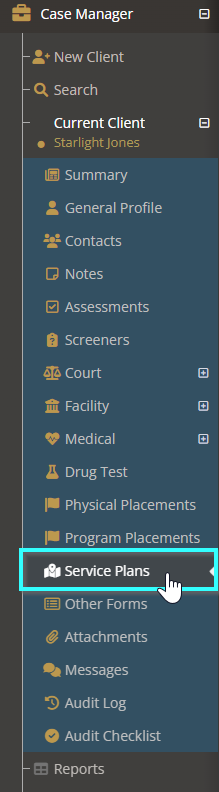
Select your client and expand their Case Manager. Find and select the Service Plans sub-application:
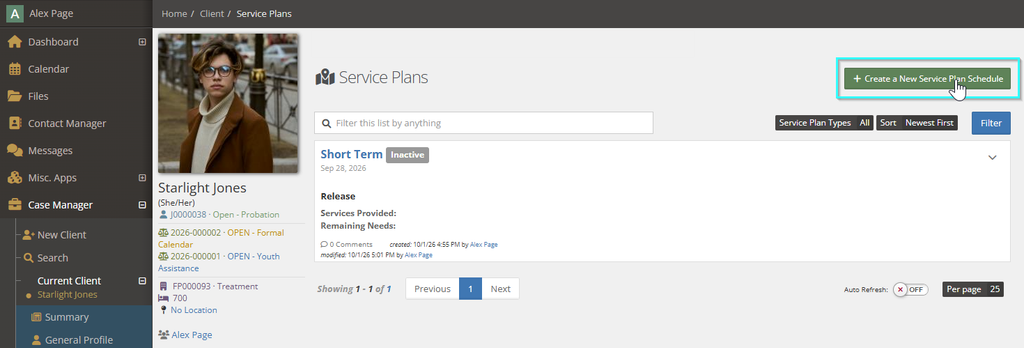
If a client doesn’t already have any active Service Plan Scheduled, add a new one by clicking the green + Create a New Service Plan Schedule button:
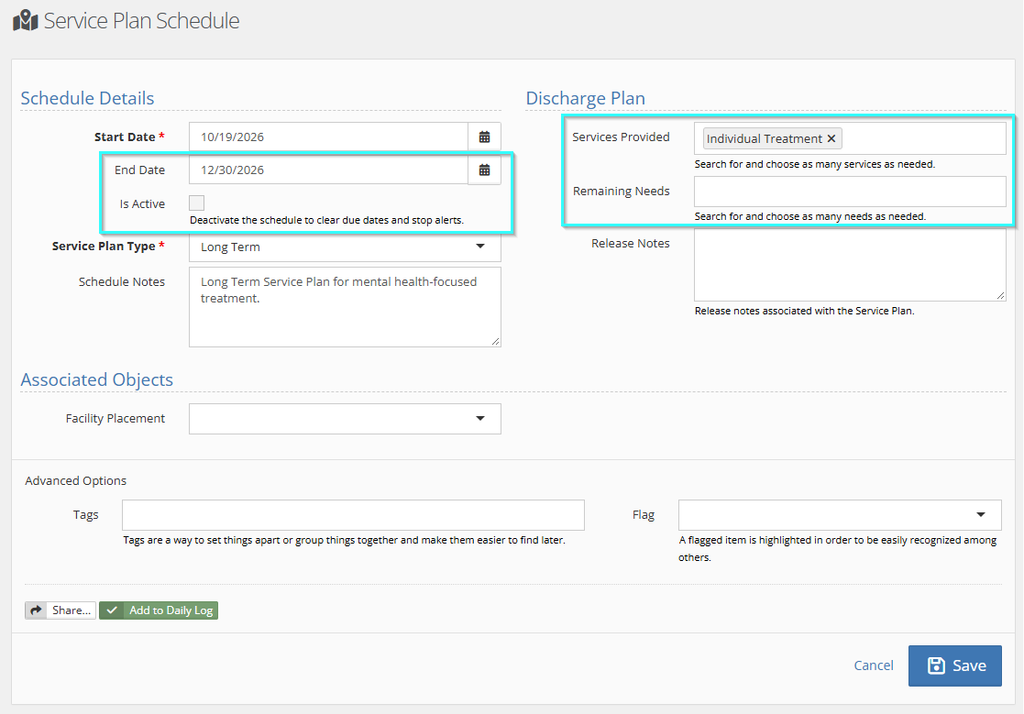
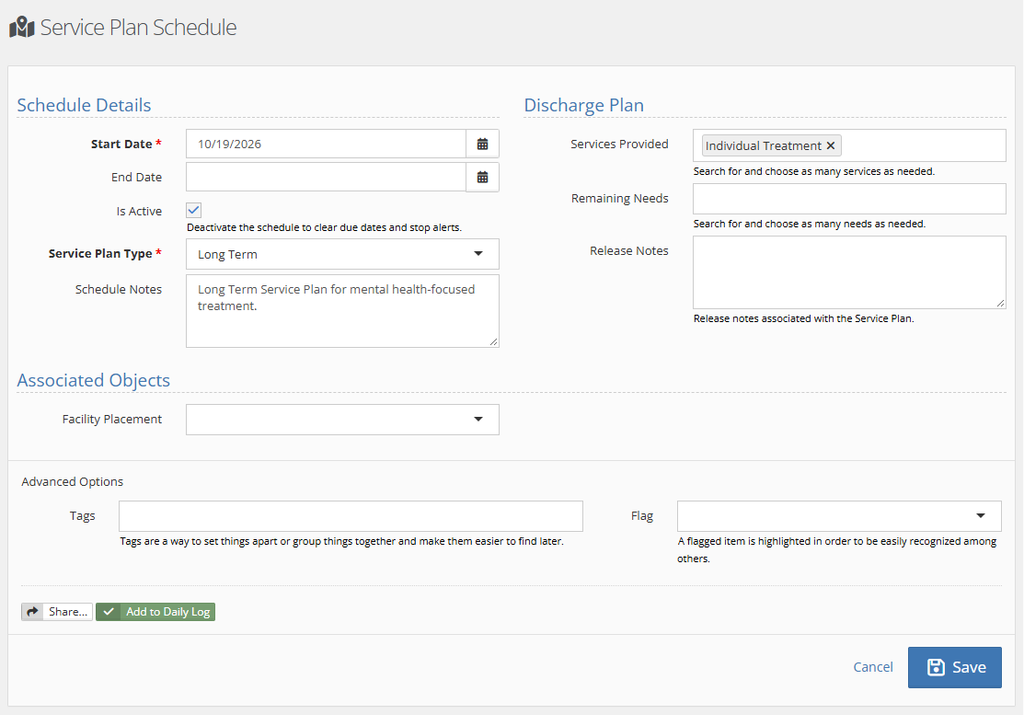
Fill out the Service Plan Schedule Details as needed, leaving the End Date empty. The End Date, Remaining Needs, and Release Notes will be filled out when you’re ready to close out the Service Plan. For now, Save the changes:
Responding to the Service Plan #
Service Plan warnings (yellow) and alerts (red) will drop off when you add a Response to that plan.
To add an Initial response for the Service Plan, use the green + New Response button when viewing that Service Plan. Select a form to use as the response:
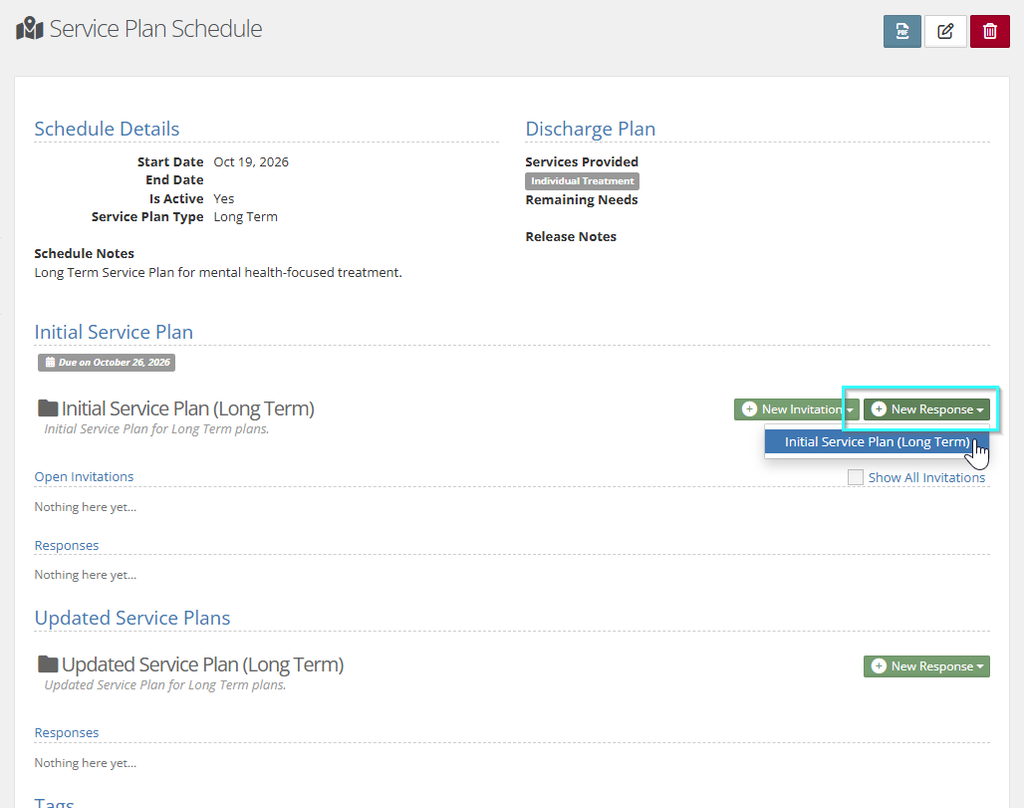
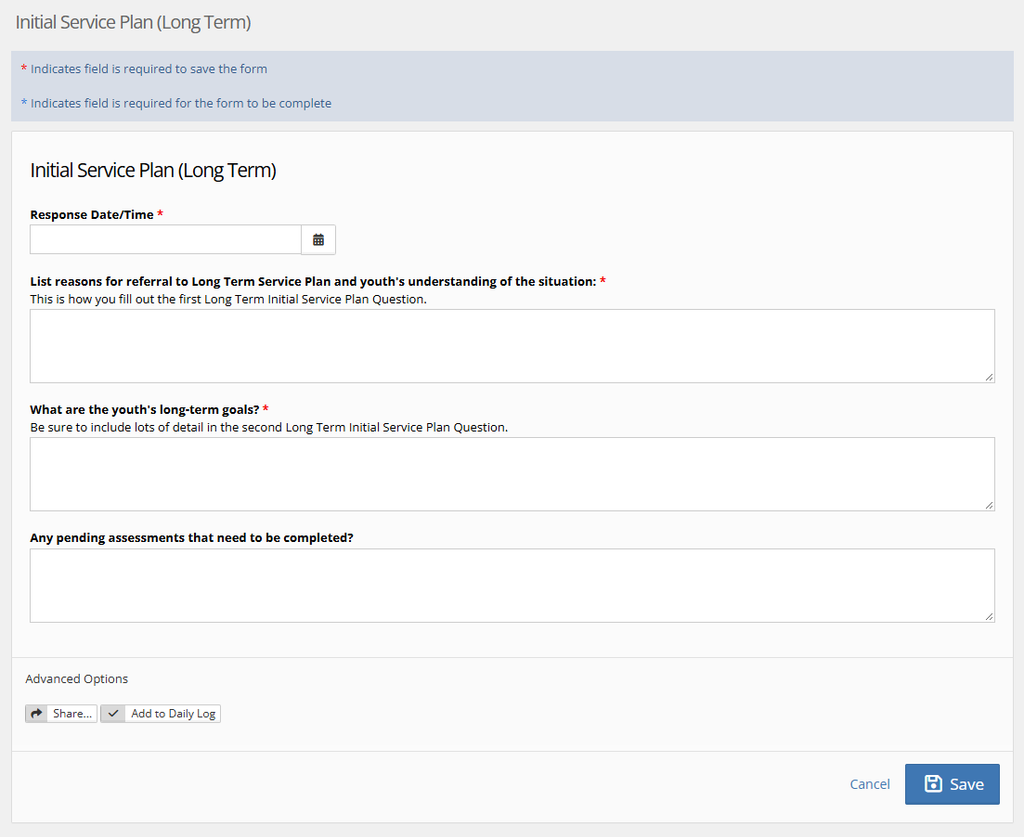
Your form may be different than what is shown below. Fill in your responses and Save changes.
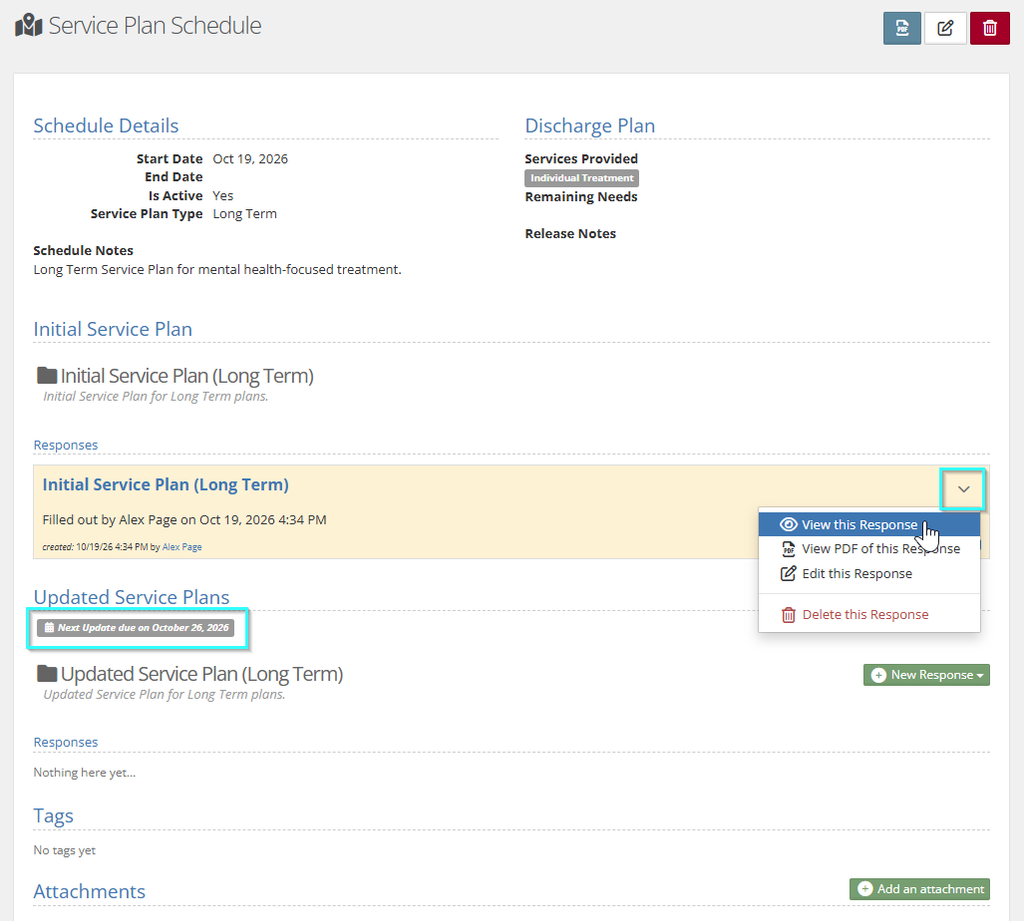
Once you return to the Service Plan, you’ll see the Initial Service Plan response and any warning/alert for the initial response will drop off. Click into the down caret on the right of the response to View, View PDF, Edit, or Delete that response. Your options may vary depending on user permissions.
The Updated Service Plans section will show when the next response is due. A flag will appear on this client’s Case Manager as the date gets nearer to remind you when the updated response is due.
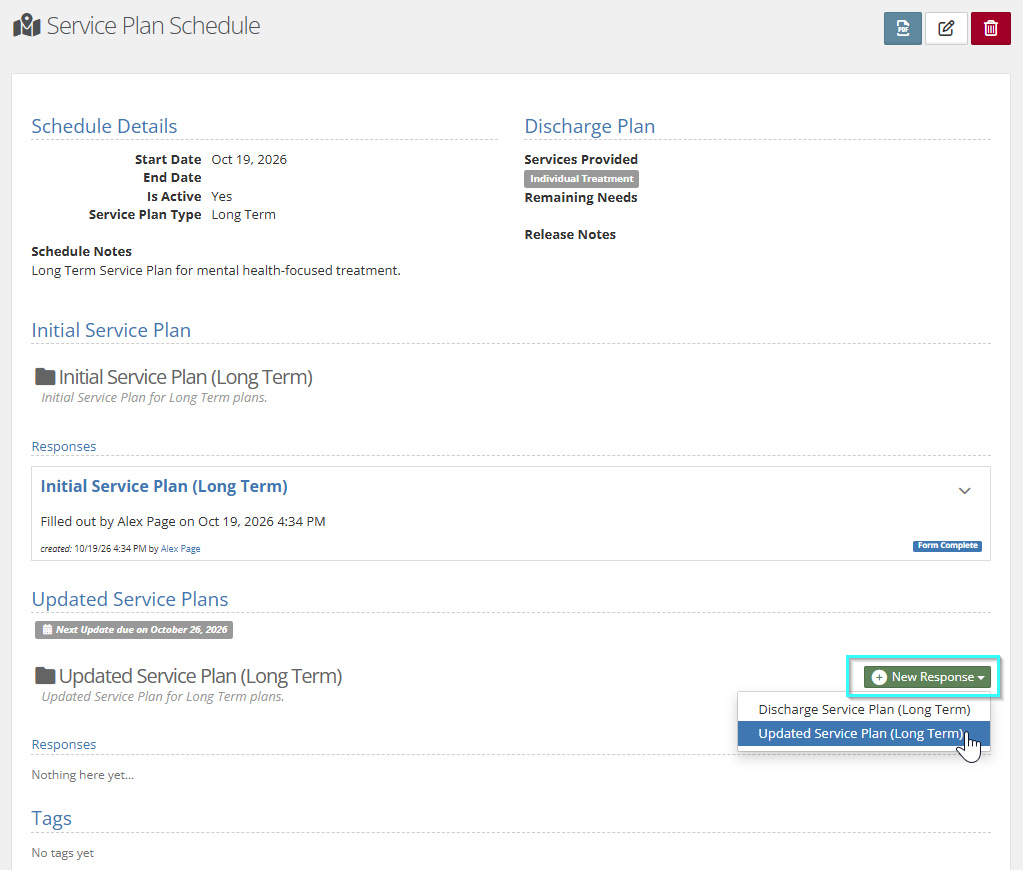
Add the Updated Service Plan response by using the green + New Response button and selecting a form from the drop down. Again your choices will vary from what you see here. Dates for the next Updated Service Plan response will be updated after the response is entered and saved.
Closing out a Service Plan #
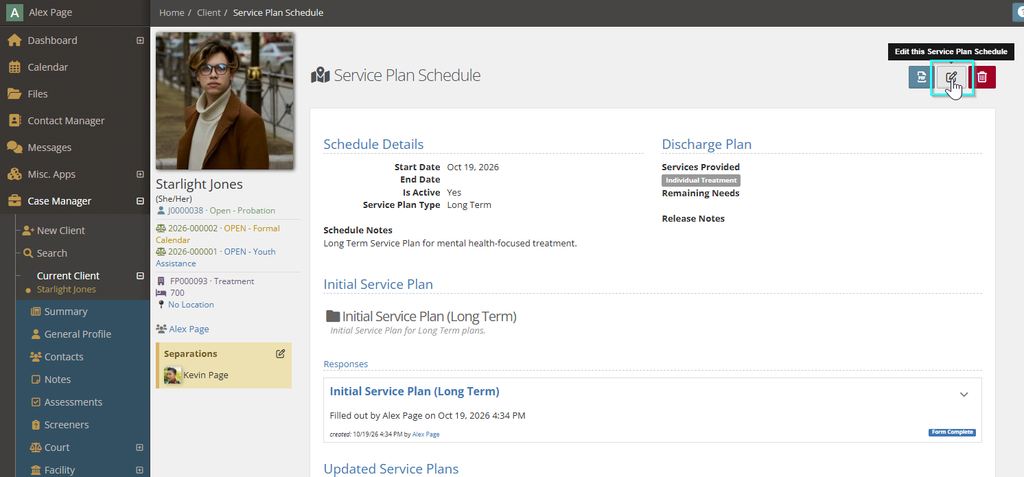
To complete a Service Plan, view the Service Plan Schedule and click the Edit icon on the top right:
Fill in the following details:
- End Date – when did this client graduate from this plan?
- Is Active – uncheck this box
- Services Provided – add anything that was done during the term of the plan
- Remaining Needs – add any ongoing concerns
- Release Notes – as needed, per your policies
Save the Service Plan Schedule to close it out. Any plan that is marked Inactive will stop displaying the notifications to add more responses.