There are two parts to setting a client contact for the portal, the first is to send them a portal invite, and the second is to assign a client or clients to their portal user.
Important note: Client Contacts must have an email address on record in order to access the portal.
Setting up a client contact #
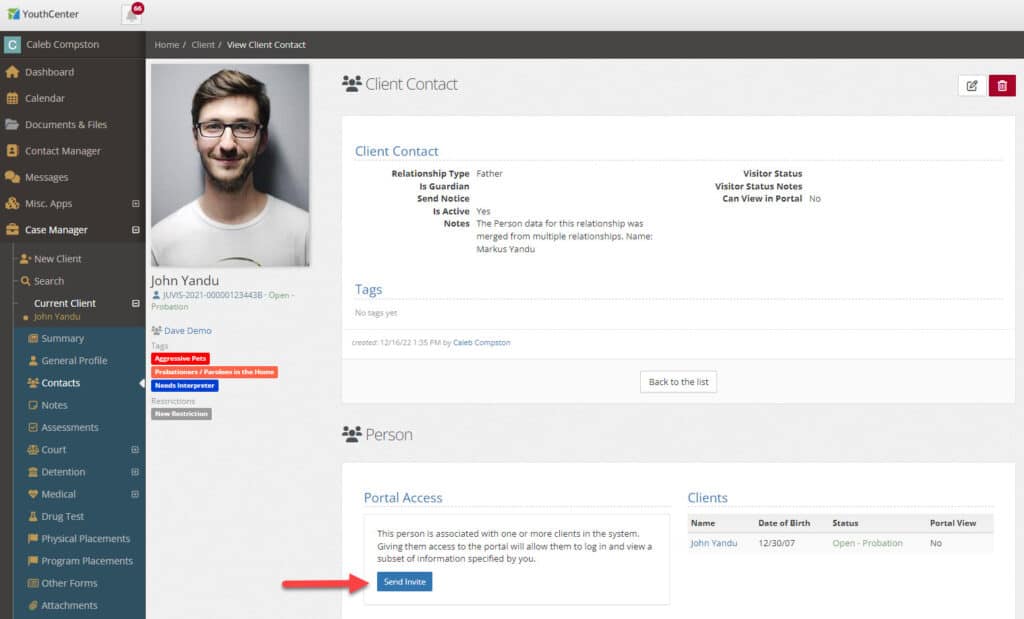
If you are already on the client contact page, select the contact you wish to invite to the portal by clicking on their name to enter the detail view.
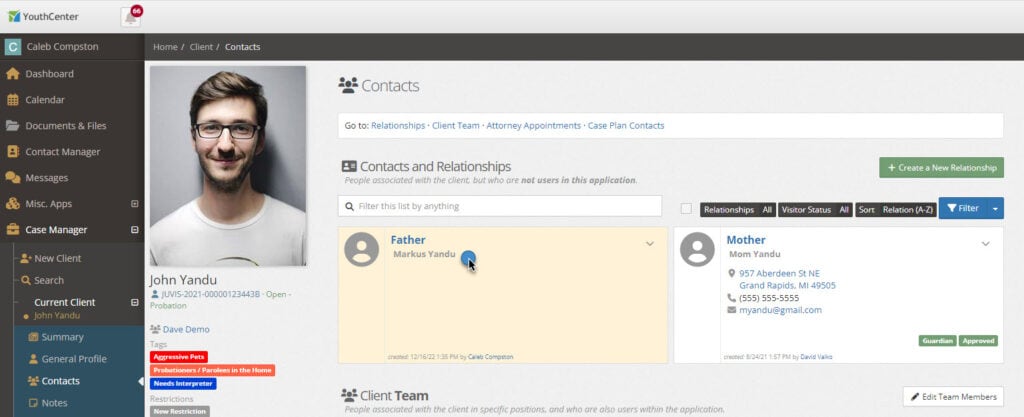
Then, press the blue Send Invite button in the Portal Access section.
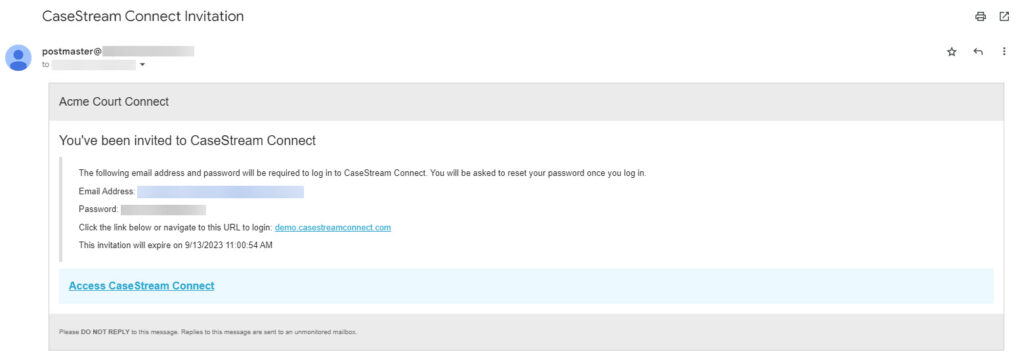
The client contact will receive an email inviting them to the portal. The Portal Access will then change to show that they have an invite pending as well as who invited them.
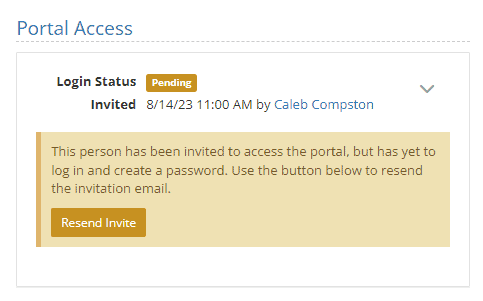
If their email is incorrect, you can update the email and resend the portal invitation via the Resend Invite button. If desired, you can also cancel an invitation by selecting the carrot menu and selecting Disable Portal Access.
Adding a portal user to a client #
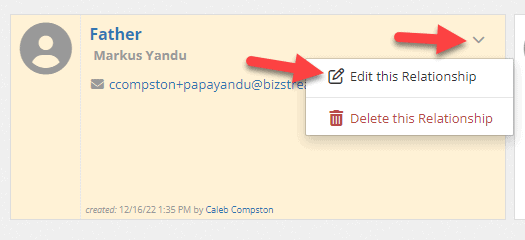
Once a client contact has a portal account, you can then add them to clients. From the client contact page select the carrot menu button to the right of the contact you wish to edit. Select Edit this Relationship.
In the edit screen, select the Can View in Portal checkbox and then press save.
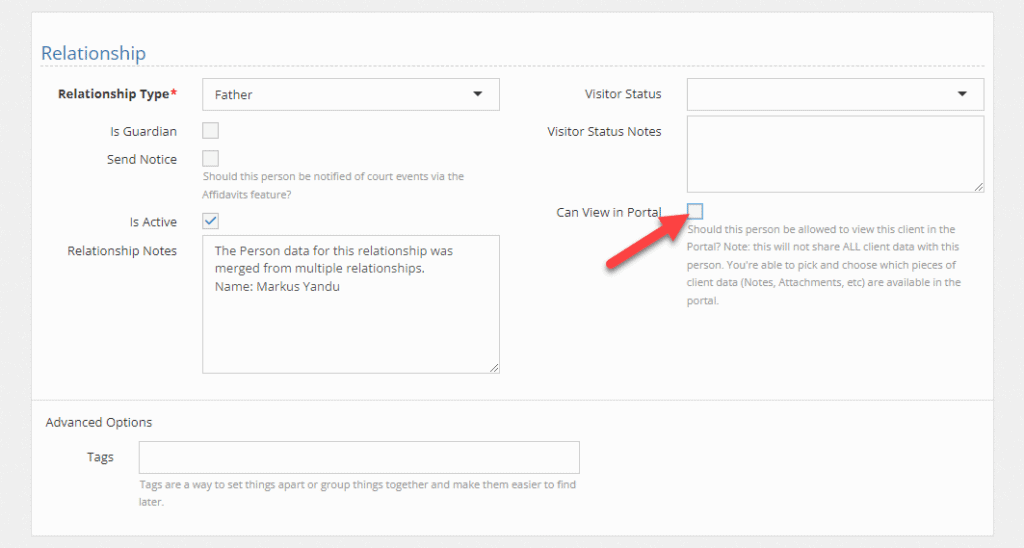
By default, the user will be able to see limited information about the primary team member and team supervisor.
For a brief review of the portal see a brief video shared here.
