Adding new users to your YouthCenter instance is simple, and can be done in just a few clicks.
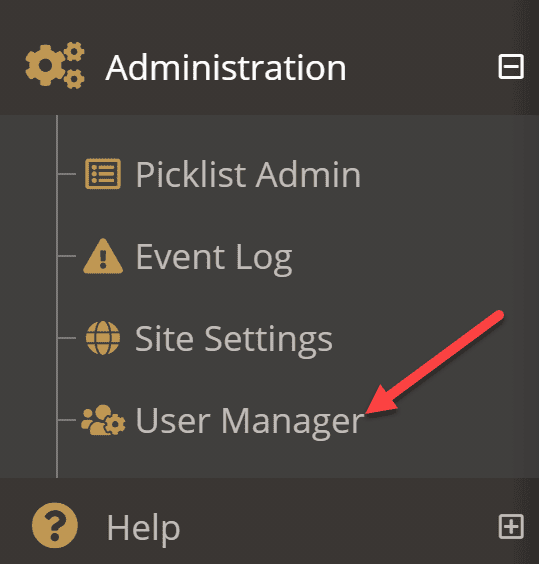
To add a new user to your YouthCenter Instance, expand the Administration menu item and select User Manager
Select + Create New Users button on the right side of the screen.

Add all required fields
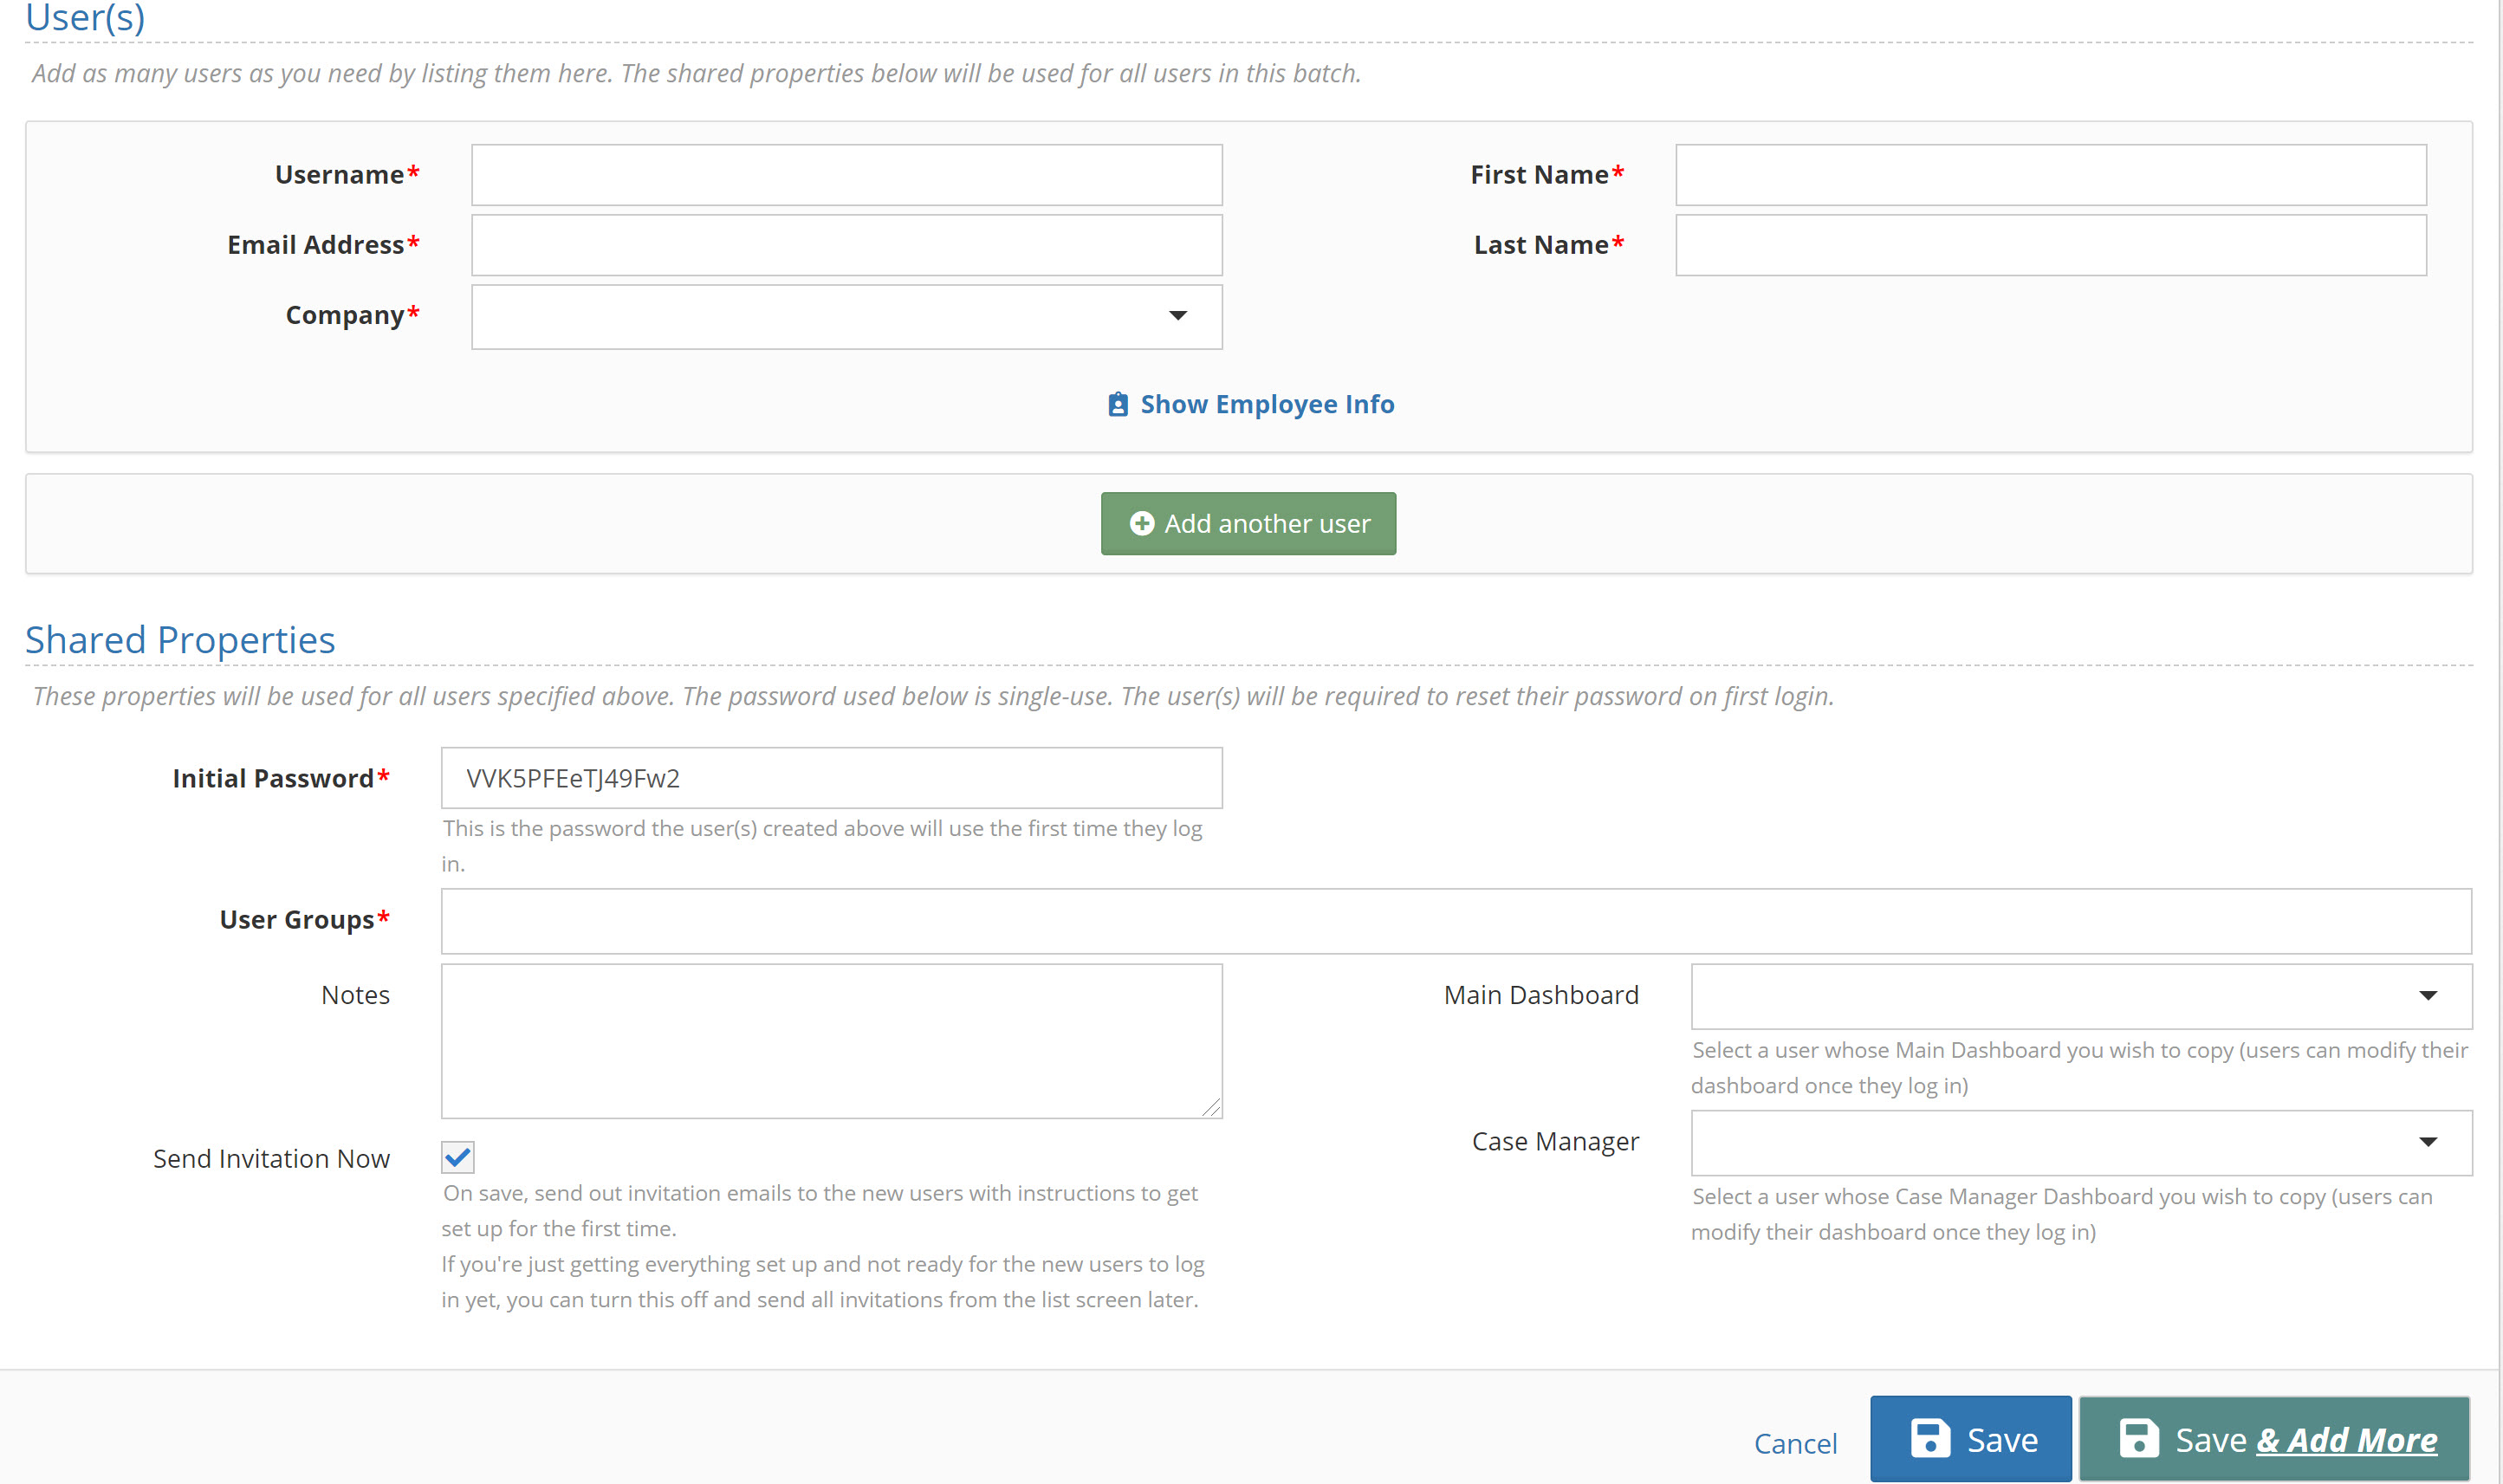
Username: What the user will login with
Email Address: Used for notifications and password resets
Company: What company in YouthCenter the user will be associated with (Most users will be associated with your organization)
First Name, Last Name: How the system will reference them in comments, notes, user menus, etc…
NOTE: If you need to add additional users who share the same user groups (if you were adding several detention staff for example) you can press the + add another user, if you need to add users that are part of a different group, you should do them seperately.
Initial password: Sets the initial password of the new users
User Groups: Sets the initial permission group(s) of the new users
Main Dashboard: If you wish to copy another user’s main dashboard (The dashboard you see when you first log in) select the user here
Case Manager Dashboard: If you wish to copy another user’s case manager dashboard select the user here
Notes: Added to a user(s) account details
Send Invitation Now: If checked it will send an invitation to the user right away. If unchecked you can resend it in the user manager list screen later.
Finally, press Save or Save and Add More
