
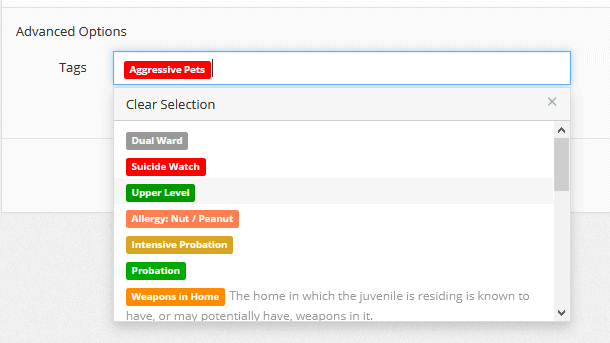
Tags are a highly visible at-a-glance representation of data that is common across multiple clients. Modifying what tags are available and in which applications is simple with the powerful tag administration tool.
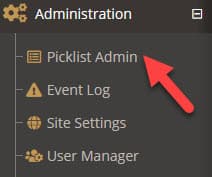
You can access the tag administrative options for the General Profile, Facility, Medications, and other applications by selecting the Administration link in the main navigation of any application with tags. If you do not see this link and believe you are the administrator for your YouthCenter installation, contact another administrator or BizStream support.
Tag Options: #
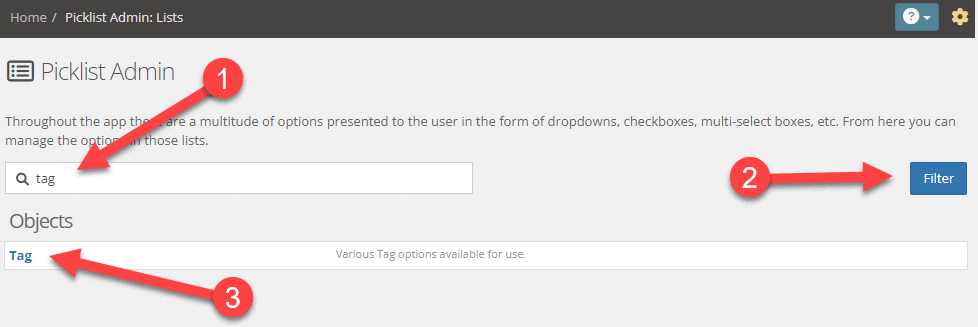
Once under the Picklist admin, filter by tag and select the “Tag” Object.
A list of your current tags will come into view.
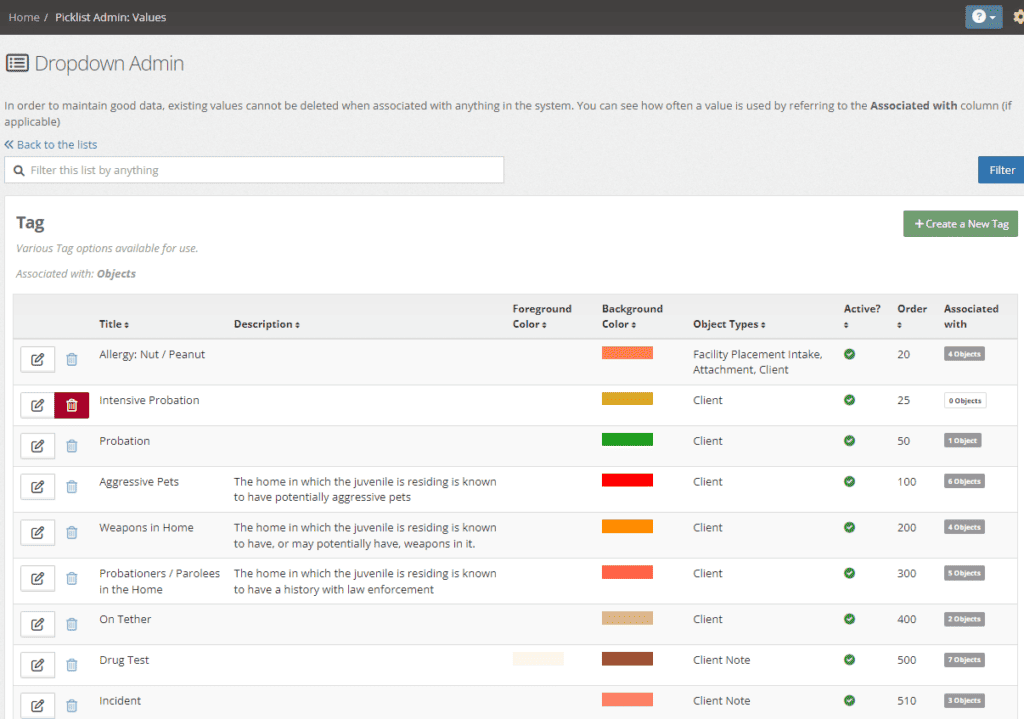
To add a new tag:
- Press the green + Create a New Tag
- Add all required fields
- Select Save
To edit an existing tag:
- Press the pencil & paper edit icon left of the tag title
- Make changes as needed
- Select Save
To delete an existing tag:
- Press the red trash can button. NOTE: You can’t delete a tag if there are any clients using that tag.
- In most cases inactivating by editing the tag and deselecting the checkbox will be the best plan.
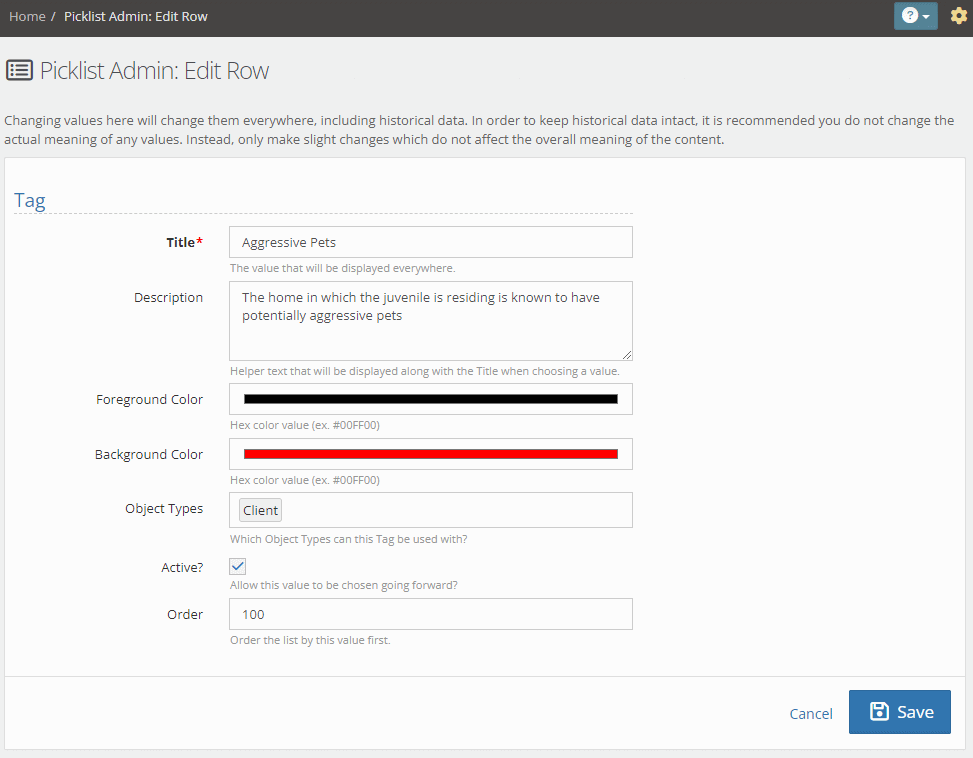
Field Summaries:
- Title is what is shown in the drop-down and in summary screens.
- Description shows after the title in the drop-down, but does not show on summary screens.
- Foreground Color is the text color of the Title.
- Background Color is the tag’s background color.
- Is Active? determines if the tag can be selected in the drop-down.
- Display Order adjusts where in the order of tags it is displayed with numbers closest to zero being at the top of the drop-down. It also determines the order of tags in summary screens.
- Which Objects can use this Tag? Determines which applications inside of YouthCenter this tag will be available in. Selected items will display the object’s dropdown