Juvenile probation departments use different Drug Test Kits. With this in mind, YouthCenter allows you to personalize your drug kits and add drugs to those kits to allow for the recording of your drug test results.
Given that you are an administrator for your organization, you will be able to:
- Add Drug Test Drugs
- Creating new Drug Test Kits
- Update Drug Test Actions
Adding New Drugs #
In order to make a new kit, you must first add each drug you wish to the kit.
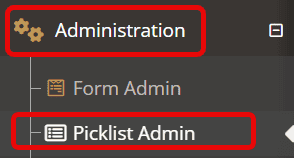
Navigate to the “administration” tab and choose “picklist admin.”
Search for “Drug Test” and choose “Drug test drug.”

By default, some common drugs are provided with your installation of YouthCenter.
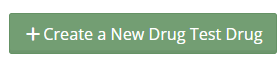
To add a new Drug, select the green plus icon
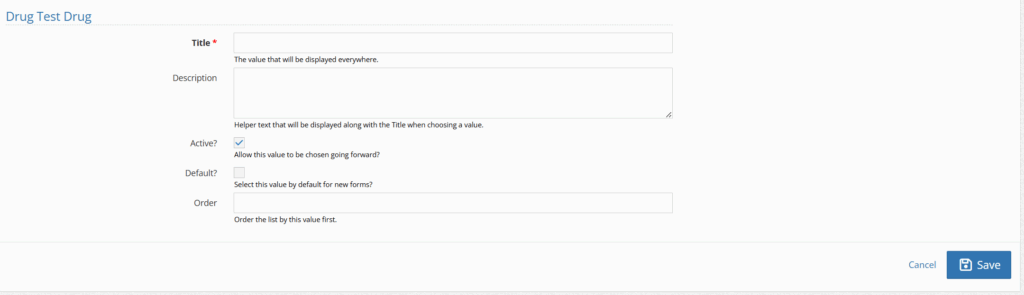
Fill out the necessary fields below and click “save”.
Creating a new drug kit #
Once you have all the drugs involved in a drug in the system, you can group them into a single kit.
To update this, navigate to the “administration” tab and choose “picklist admin.”
Search for “Drug Test” and choose “Drug test kit.”

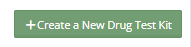
To add a new Drug Test Kit, select the green plus icon.
Fill out the necessary fields below and click “save.”
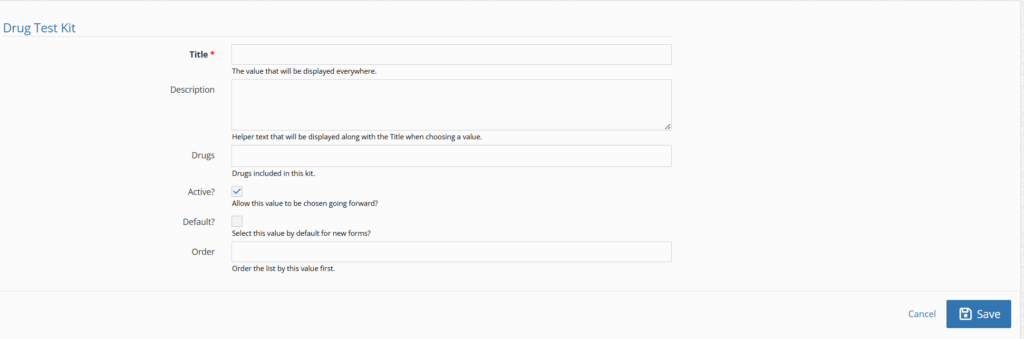
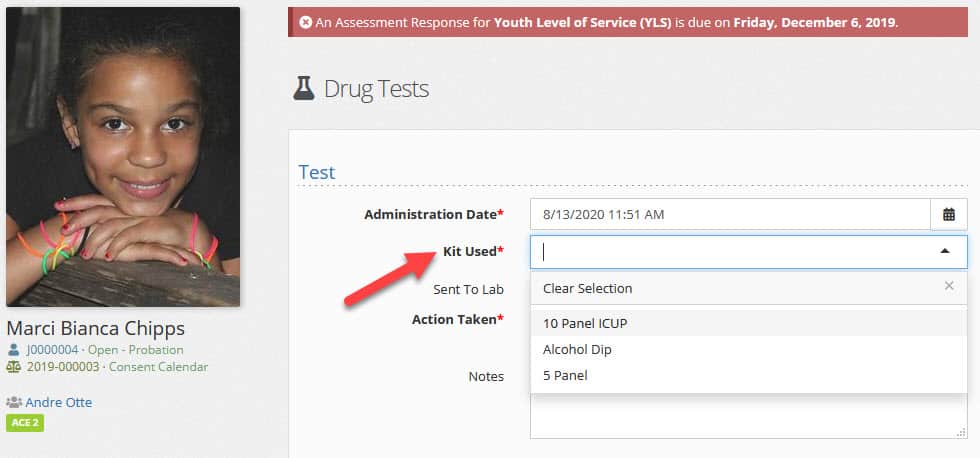
Given that you set the drug kit to active, the kit can now be used in the Drug Test application (under case manager).
Adding Drug Test Action #
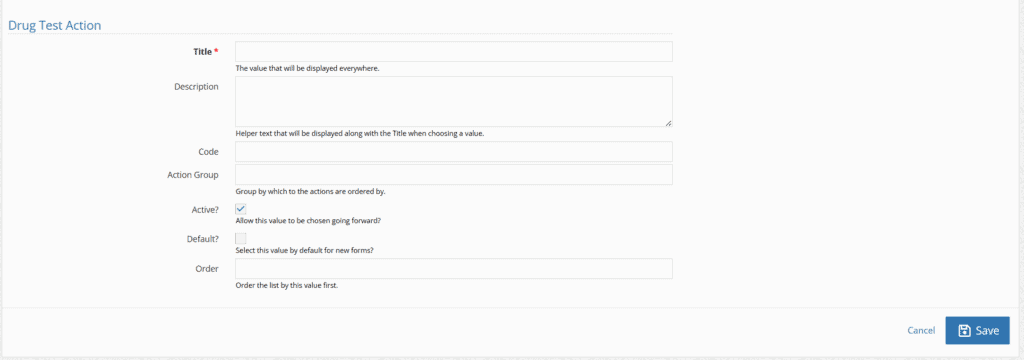
Drug Test Action describes what the result or consequence of the drug test is for a client.
To update this, navigate to the “administration” tab and choose “picklist admin.”
Search for “Drug Test” and choose “Drug Test Action.”

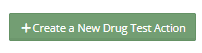
To add a new Drug Test Action, select the green plus icon.
Fill out the necessary fields below and click “save.”
Editing, Deleting, or Inactivating Items #
In all of these instances, you will access the edit, delete, or inactivate by navigating through the “administration” tab, to the “picklist” admin, and search for what area of the drug test you would like to update.
To edit an item, select the pencil and pad icon to the left of the item you wish to modify

To delete an item, choose the red trash can to the left of the item you wish to delete.

Note: Most options can NOT be deleted if they are in use. As an alternative, you can Unselect Active check box to prevent users from using the item going forward.

