To enable forms to be filled by invitation, an administrator will need to create a new form or modify an existing form to allow invitations.
If creating a new form, select the “new form” option shown below.
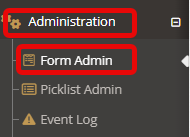
If editing a previously made form, select the down carrot followed by “edit this form”

Outside of the normal form options you will see the following fields that can be used to support invitations:
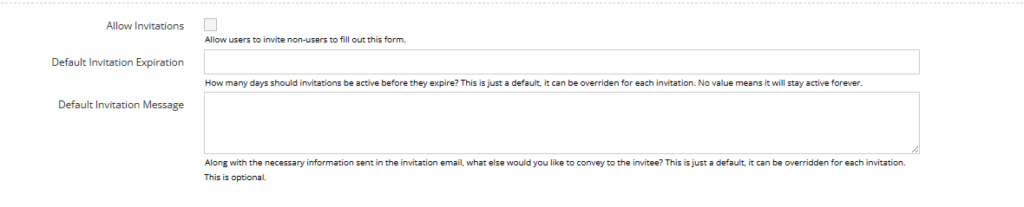
Fields:
- Allow invitations: When checked, this box will allow invitations to be sent out to the system
- Default Invitation Expiration (days). When an invitation is generated, the expiration date will automatically be set to the current date plus the number of days you designate here. A YouthCenter user sending out an invitation may still modify the date if desired when sending out an invitation. Once an invitation has expired, it will need to be resent if the form still needs to be filled out.
- Default invitation message. Whatever text is placed here is what an external guest will see in the email invitation that is sent to them. A YouthCenter user sending an invitation may still customize the message when they send the invitation to the form.
Don’t forget to save the form to keep your settings.
Build the form as you normally would #
If you are setting up a new form, you will need to add fields using the “Add a Field” tab and drag the appropriate fields to the form.
Once you’ve finished creating or editing your form, be sure to save the form.
For more support in building forms see more information on building custom forms linked here.
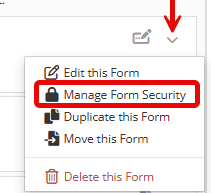
Set security on the form #
If you are modifying an existing form, the security from the original form will carry through to the modified form, however, if you are creating a new form you will need to set security permissions on the form to allow editing or filling out/inviting guests to the form.
From the form listing, select “Manage Form Security” which will bring up the form security settings. From the drop-downs, select the user group you wish to grant access to the form.
Set the form to Active #
If you are creating a new form, you will need to be sure to make the newly created form active. If you are editing an existing form, you will need to turn off the previous version and turn on the newly edited form. The checkbox under each form’s “settings” will determine whether a form is active or not.

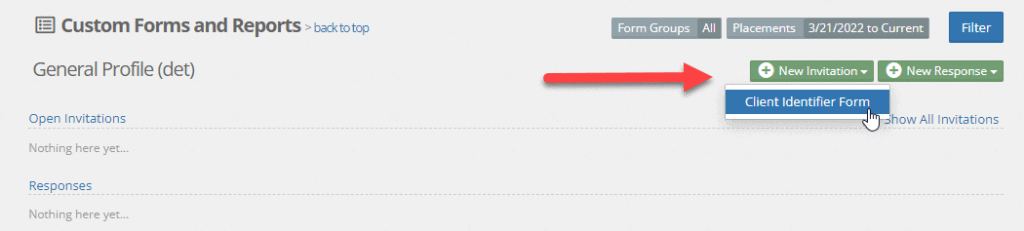
Invite a person to fill out the form #
Once a form has been designated as fillable, the form view looks slightly different. To send a form to a guest to fill out, select the + New Invitation button to the top right of the form. If you have multiple external forms that can be filled out a dropdown will appear and allow you to select the form you want.
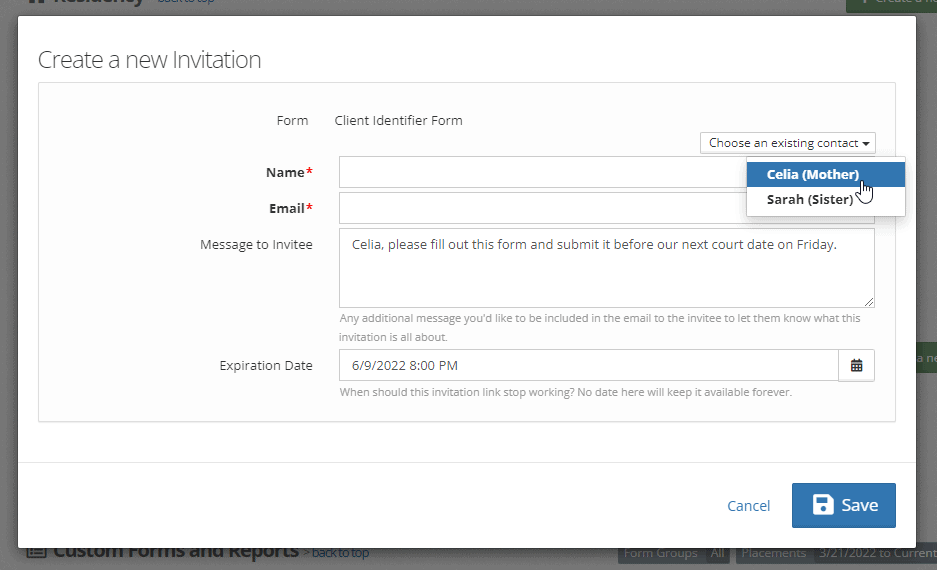
Once you have selected the form, the external invite window will appear.
If the guest you are inviting is already part of the client’s contacts, you can simply click Choose an existing contact and that contact’s name and email (if available) will populate. Otherwise, enter the name and email of the guest you wish to be able to fill out the form. Optionally, customize the message and expiration date and press Save.
The invitation is sent via email to the guest with information with a URL, their auto-generated username, and password for the invitation. Each invitation will generate an audit log entry for tracking purposes.

