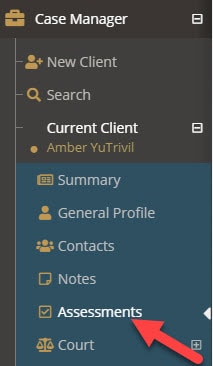
If a client is not already selected, use the Case Management search or client search.
Once a client is selected, select the Assessment application
Adding an Assessment Schedule #
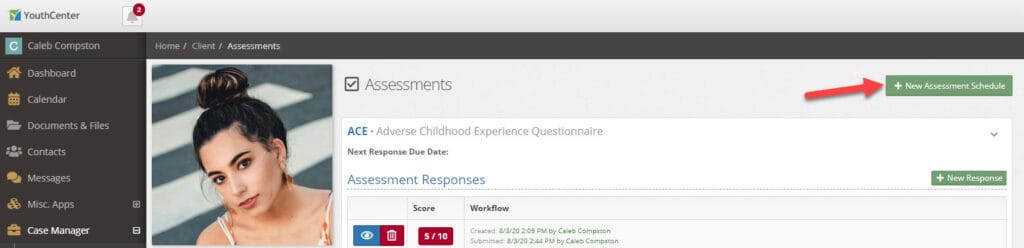
- Select the green New Assessment Schedule button
- Choose if the assessment is active
- Select the assessment from the drop-down list
- Optionally, choose if there is a due date for the next assessment
- Press the blue Save button
Now that you have chosen an assessment, it’s recommended you add the first new response.
Adding a New Assessment Response #
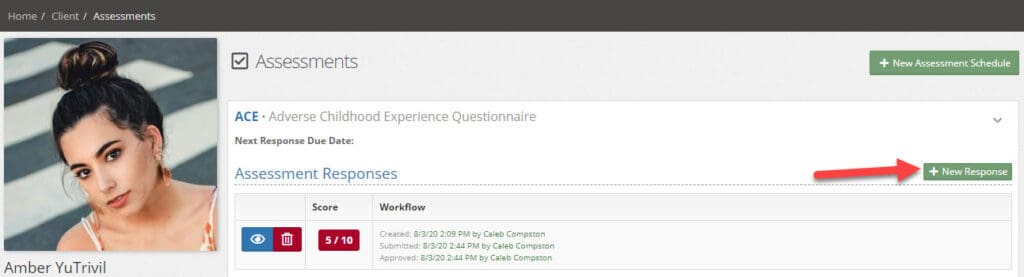
- Select the green New Response button
- Enter any relevant information
- Select the blue Save button
Once an assessment has been saved, if the information is complete, it should be submitted.
Submitting a New Assessment Response #
Once an assessment has been entered, you can modify when the report was given to the client, as well as optionally set a reminder of the next time this assessment should be completed and comments.
Reviewing a Submitted Assessment #
The final step in the assessment process is a supervisor review. Granted that you have permissions you will receive a notification in your Messages application indicating you have an assessment to review. Selecting the link within that message will take you to the Assessment application.
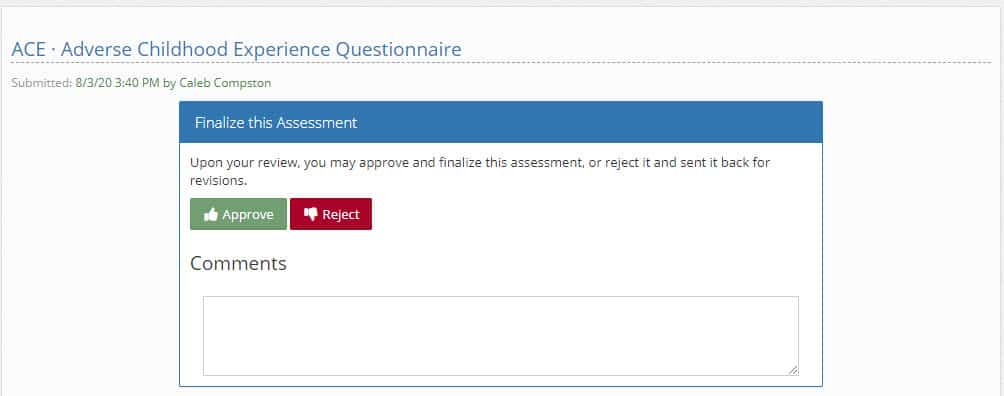
As a reviewer, you can approve or reject an assessment with or without comments. Rejecting an assessment will send a notification message to the original submitter.
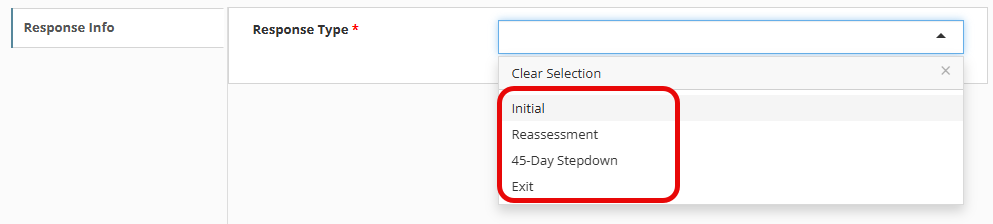
YLS & CAFAS Assessments Stage Classification #
To ensure quick filtering and understanding of when a YLS or CAFAS was given, an “Assessment Type” section has been added that includes:
- Initial
- Reassessment
- 45-Day Stepdown
- Exit
When creating a “new response” for either YLS or CAFAS, all team members will be required to choose the response type before proceeding to the normal questions associated with this assessment.
This field will now allow administrators and users to report on score ranges for different stages for the youth.
