The Dashboard is your home page on YouthCenter. Use it to navigate from client to client, see important information at a glance, and get your day started by focusing on your cases.
Note: you can create and add Dashboards depending on your user rights. You may even see pre-configured Dashboards that have been shared with you. It’s important to remember that your edits on Shared Dashboards will affect everyone else using that Dashboard.
Expand your Dashboard to see your options. Each Dashboard gives you access to different arrangements of information:
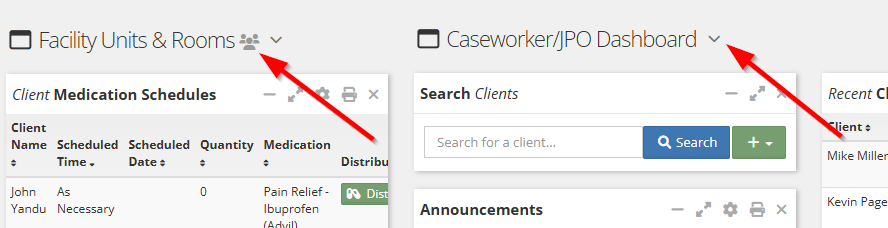
Shared Dashboards have the group of people icon. In the example below, the Facility Units & Rooms dashboard is Shared but the Caseworker/JPO Dashboard is personal to that user:
Widgets #
Widgets are modules of information that make up the Dashboard. Each Widget has its own set of themed information that can be filtered wide or narrow depending on what you need. You can move the widgets into different configurations using Manage Dashboard (see below).
Several different Widgets make up the Dashboard below: Clients in Programs, Recent Placement Requests, Search Clients, Clients in Facility, and Clients in Programs.
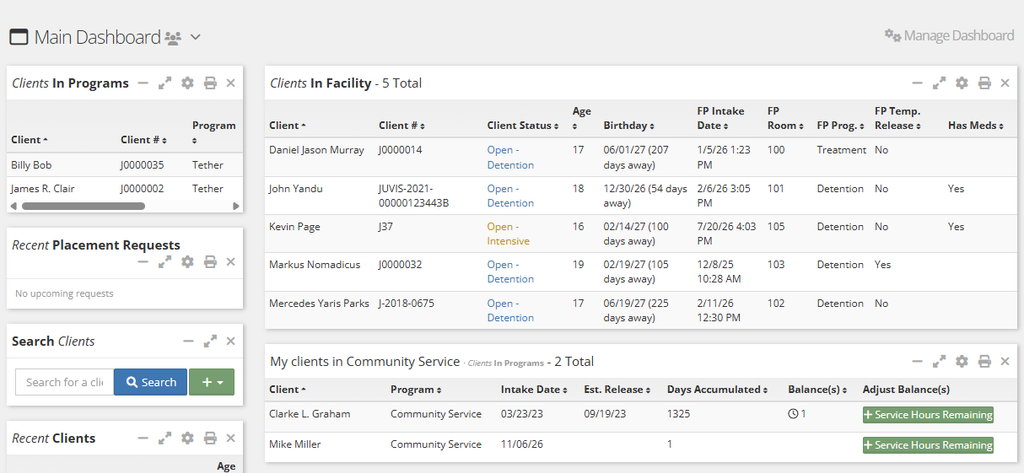
The Widget called “My clients in Community Service” is actually a Clients in Programs widget that’s been given a custom title:

Clicking the items in the Widgets will link you right over to that item.
Dashboard Manager #
Change the shape, arrangement, and add Widgets using the Dashboard Manager. This icon has two gears and shows up on the top right:
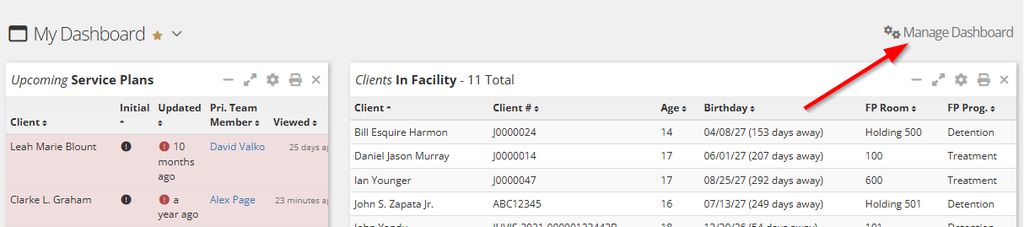
When you’re in Manage mode, the current Widgets are outlined in blue and can be dragged around the screen:
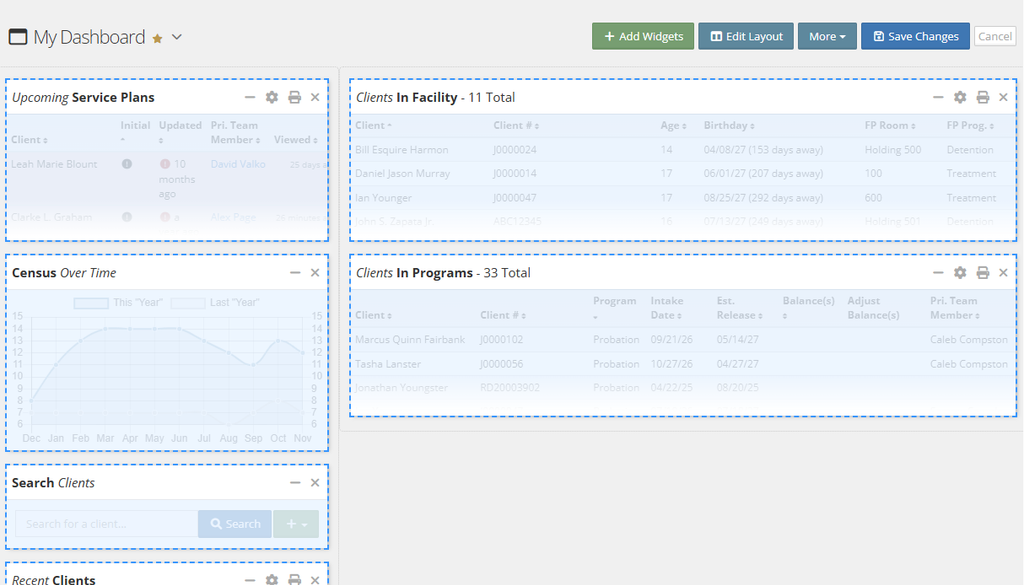
To change the shape of the Dashboard, click Edit Layout. This gives you 6 options to arrange your Widgets:
Adding New Widgets #
Use the green + Add Widgets button to add more items.

You can have as many Widgets of the same type as needed – this is common if you use filtering to show different information per Widget. Widgets contain different information per category. Clients is the most broad choice with several data points to choose from:
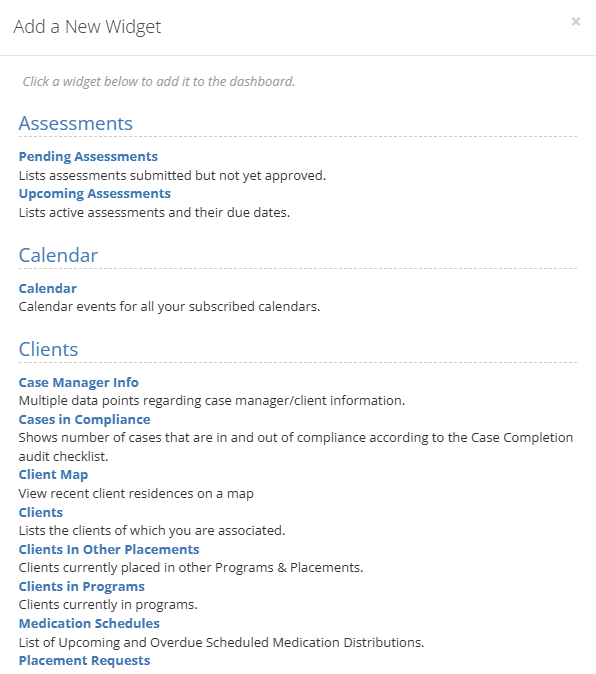
Be sure to Save Changes when you are done with the blue button on the top right.
Basic Filtering #
Once you have the desired Widgets on your Dashboard, you can refine the information.
Note: filters narrow the information. If you’re not seeing a youth that should be there, you may need to open up your filters.
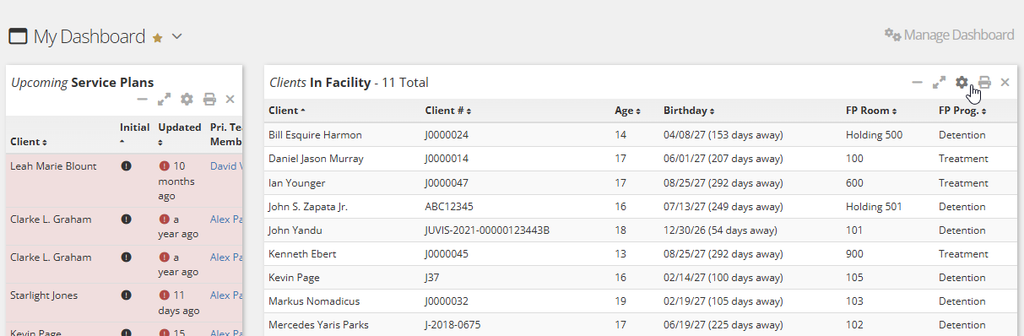
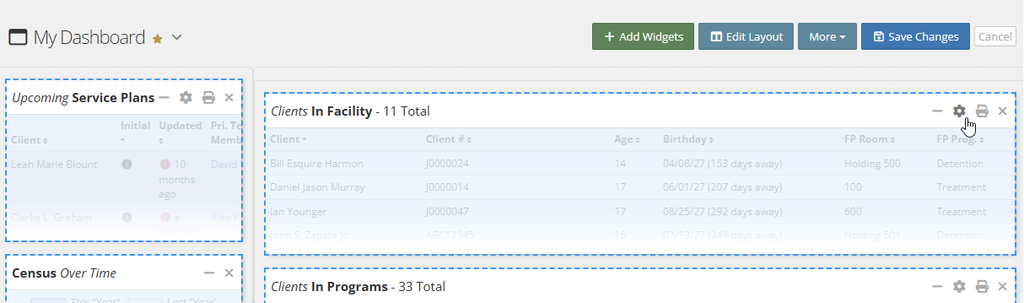
To add or change your filters, use the grey gear icon to Edit. This appears whether you’re still in Manage mode or you’re looking at your live Dashboard:
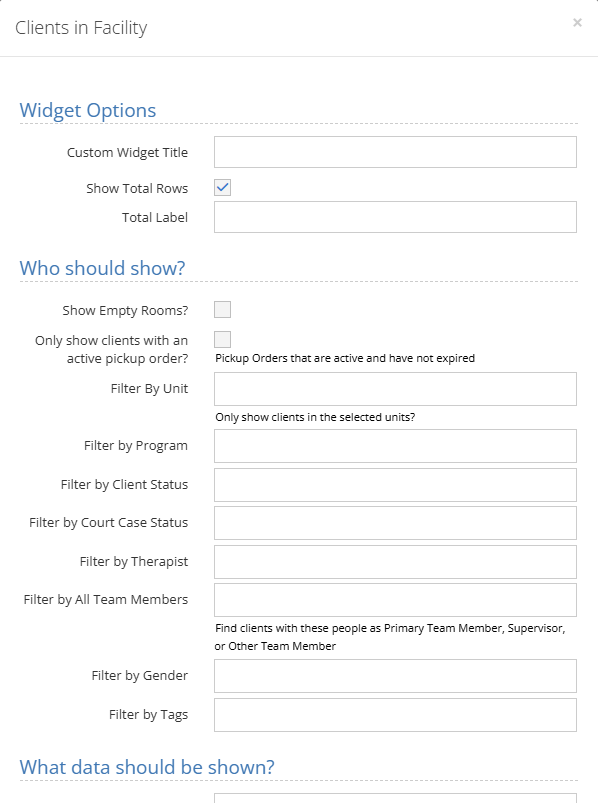
Based on the widget selected, you will have three main Categories to help with filtering. These include:
- Widget Options
- Custom Widget Tile: allows you to name this filtered widget
- Show Total Rows: quantifies the number of units in the widget
- Who should show?
- How would you like to filter to see only specific types of data?
- for example, Filter by Client Status or Primary Team Member
- How would you like to filter to see only specific types of data?
- Which data should be shown?
- What information from YouthCenter would be useful to see?
- for example, Client Name or Privilege Level
- What information from YouthCenter would be useful to see?
See the Advanced Filtering article for more details and examples.