Note: You must have the CaseStream Connect Portal enabled and be an administrator to make changes to the portal.
The CaseStream Connect Portal can be customized to include your organization’s name, logo, and contact information. Additionally, you can add some introductory text so users will understand what the portal will offer them. To begin, log in to your YouthCenter site.
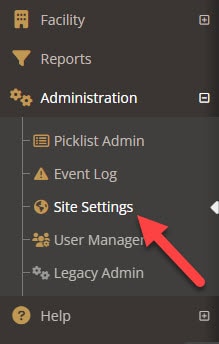
Expand the administration menu and select Site Settings
Scroll down to the Connect Portal section.
Example CaseStream Connect Portal login page:
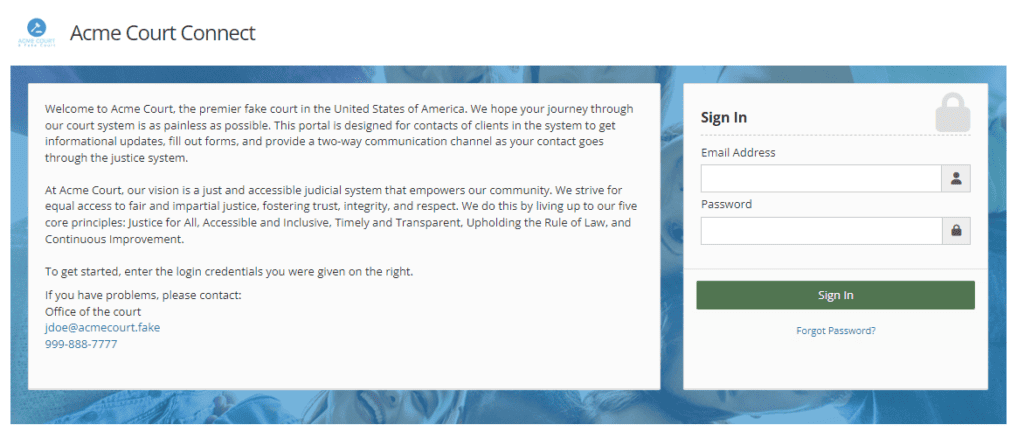
Name of the Portal Site: This setting changes what shows in the top left of the portal
Logo: Allows you to upload a logo of your organization
Login Text: A customizable section that allows you to write a welcome and explanation on how you envision the site working
Contact Name: Shows below the welcome message on the login screen and in contacts section of the dashboard.
Contact Email: Who individuals should contact if they have questions about the site
Contact Phone: A phone number if people have questions about the site.
Portal Visitations: When checked, Portal visitation scheduling will be allowed for approved client contacts.
Once you have set up your site settings, press the blue save button in the bottom right. Changes should be live within 5-10 minutes.
For a brief review of the portal see a brief video shared here.
