Below are some best practices for closing a youth before officially moving them to a “Closed” status.
*Note: Your location may have additional steps, or your role may not include all of these. Be sure to communicate with your administrators for your group’s best practices.
Step 1: Audit Checklist #
The Audit checklist is an important area to check when beginning your closing processes.
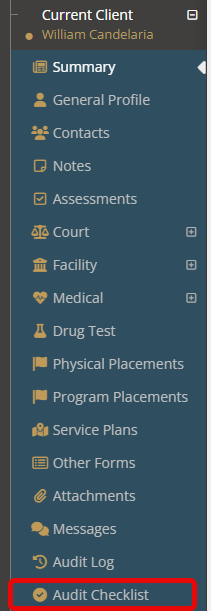
Within this menu item, several tools will showcase parts of the youth’s file that your administrative team has deemed important and need to be completed.
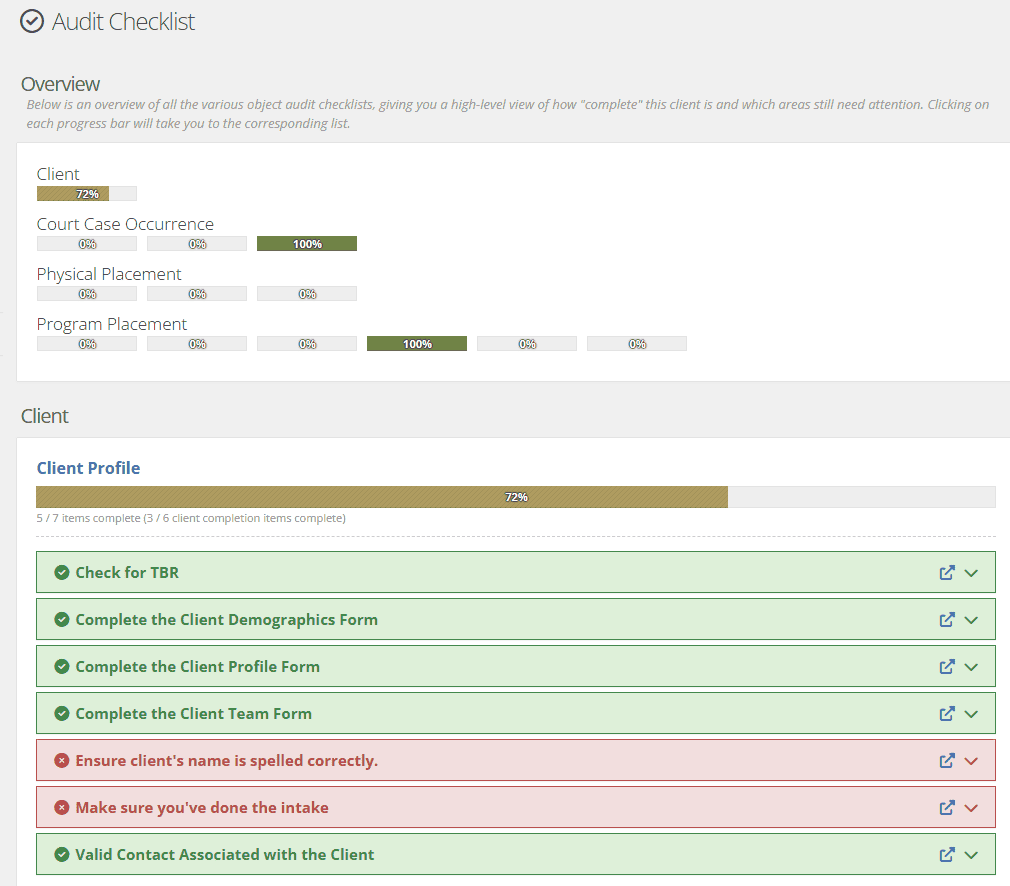
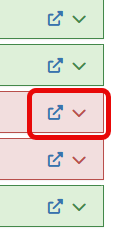
To view the exact action that needs to be completed before closing the youth, click on either the down carrot to view the action that needs to happen and/or the the blue external link button to be taken directly to the area of YouthCenter where the data needs to be filled.
For more information on using the client audit checklist please see the documentation here.
For more information for administrators building the audit checklist please see the documentation here.
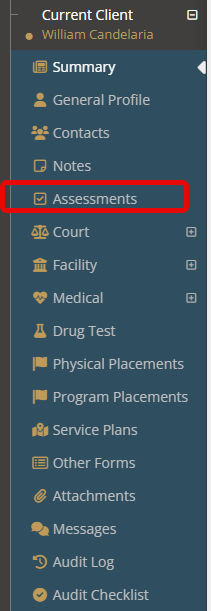
Assessments #
Oftentimes, an assessment or screener will have been completed for the youth.
Before setting the client to “closed,” the assessment or screeners schedules will need to be inactivated.
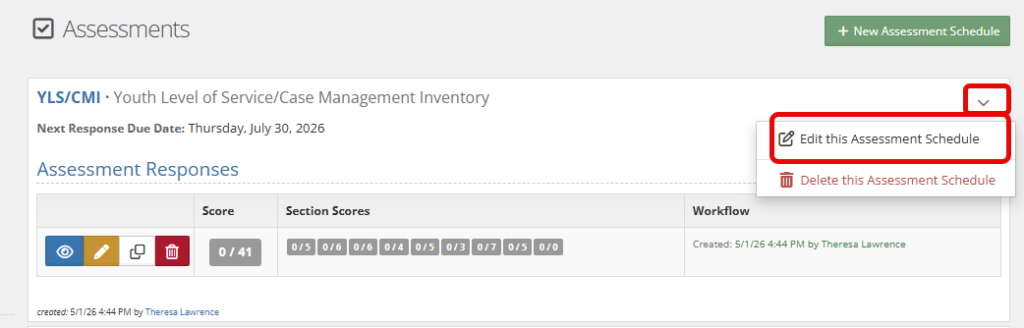
To inactivate an assessment/screener schedule, select the down carrot and choose “edit this assessment schedule.”
Deselect the checkbox next to the title “Is this assessment Active?”
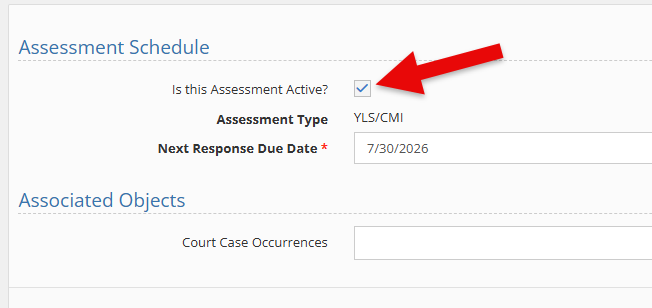
This action will turn off any reminders for this assessment/screener.
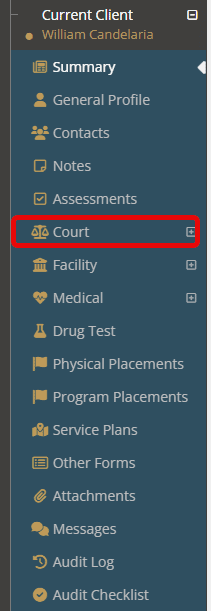
Court #
Depending on your role, the court case and/or court case occurrence may need updating before closing out the youth.
Note: If using the JIS integration, updating the youth should automatically change the court status.
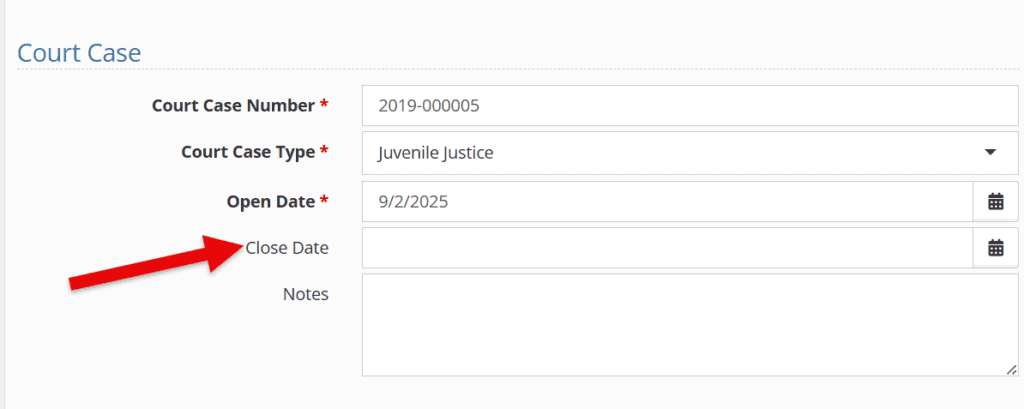
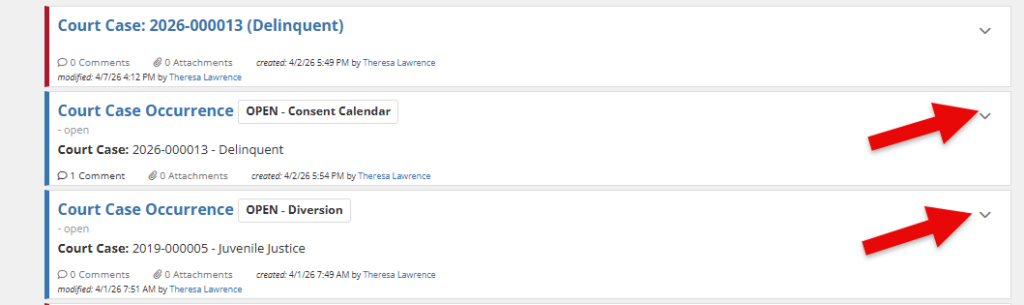
To close a court case, select the down carrot to the right of the court case and select “edit court case.”

Add the “Close date” and click save.
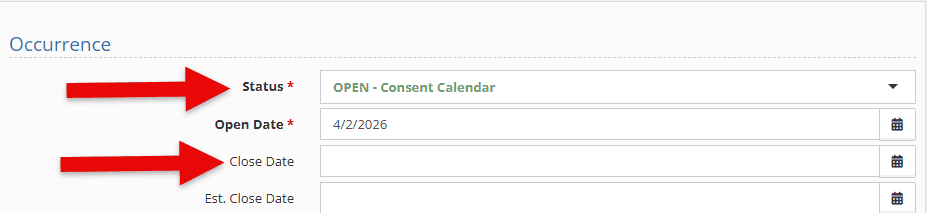
To close a court case occurrence, select the down carrot to the right of the occurrence and choose “edit this court case occurrence.”
Change the status and add a close date. Select save.
Physical Placements #
Depending on your youth’s situation, they may or may not have physical placements (placements that are outside of your facility).
Ensuring your physical placements have the appropriate release date and/or notes will ensure reporting and necessary follow-up can be completed.
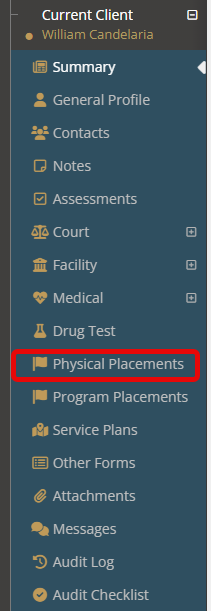
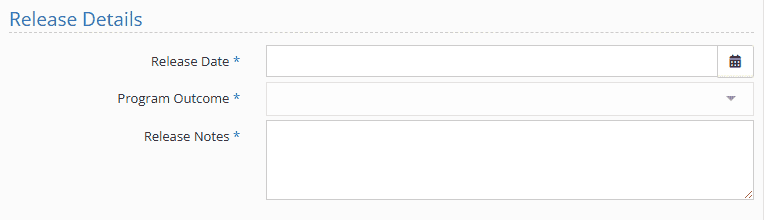
For any open Physical placement (will have a gold “open” text), select the down carrot and choose “edit this placement “
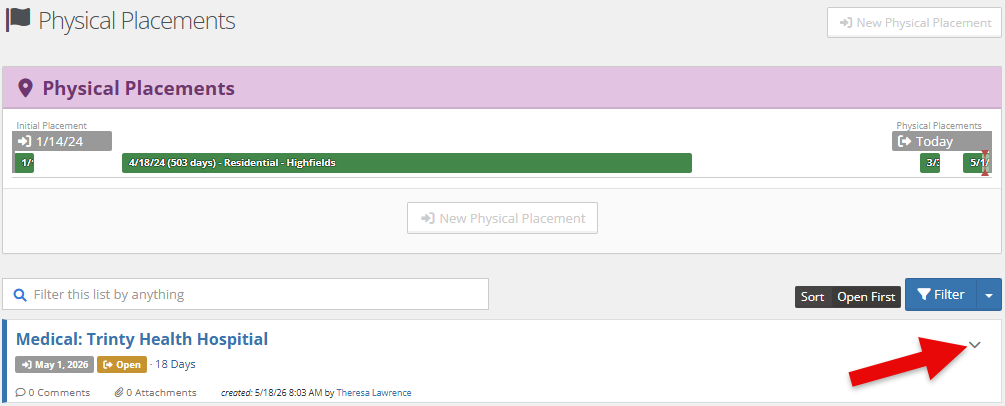
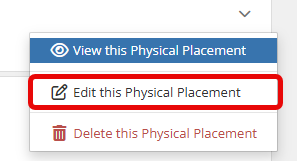
Input the necessary “release date” and “release notes” and click save.

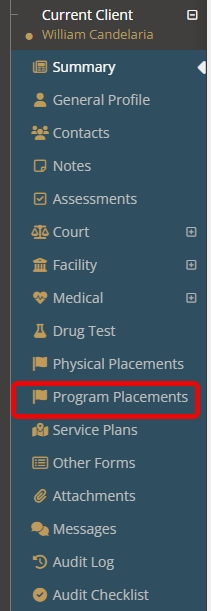
Program Placements #
Depending on your youth’s situation, they may or may not have a program placement or multiple program placements.
(As a note, supervision types are often tracked under program placements to allow for a clear start and end date. )
To close any open program (will have a gold “open” text), select the down carrot and choose “edit this program placement.”
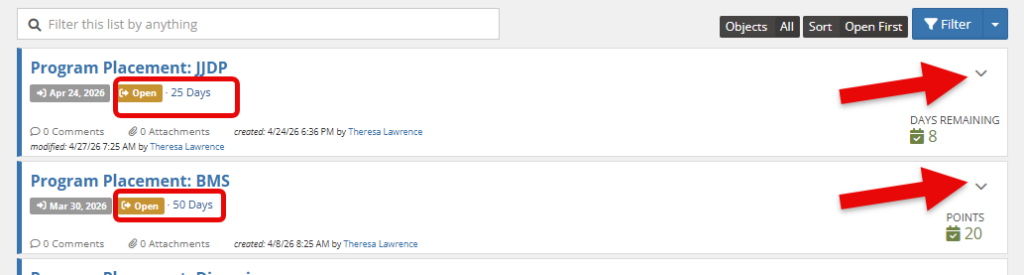
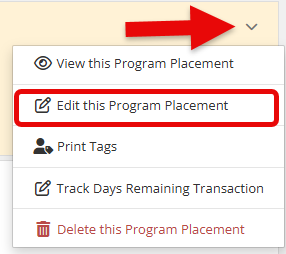
Input the necessary “release date” and “release notes” and click save.
Status change #
For those NOT in a facility, the client status will be the final step to closing a youth. For facility users, continue forward for facility-based actions and return to this once you’ve checked through the facility-specific areas.
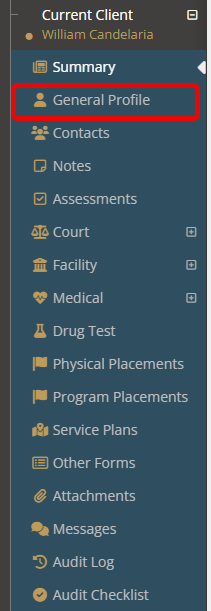
To change the client status, select the “general profile” menu item.
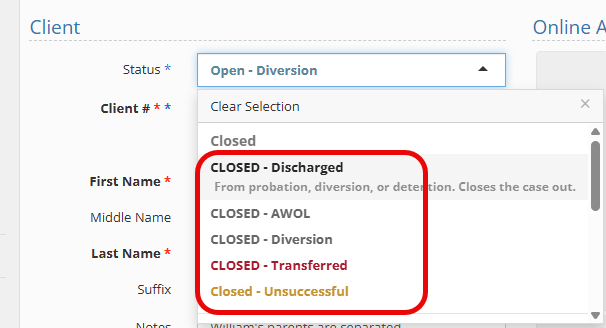
From the dropdown, choose the appropriate “closed” status that matches your situation (note: your closed statuses will be unique to your group).
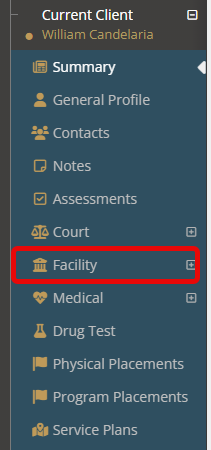
Facility-Based Actions #
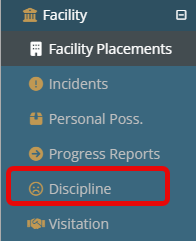
To access the Facility-Based closing actions, select the “facility” menu.
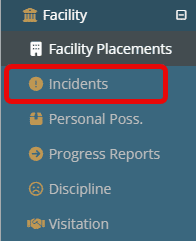
Facility-Based Actions: Incidents #
Checking for any open incidents will ensure all narratives and reporting are completed before a youth is discharged.
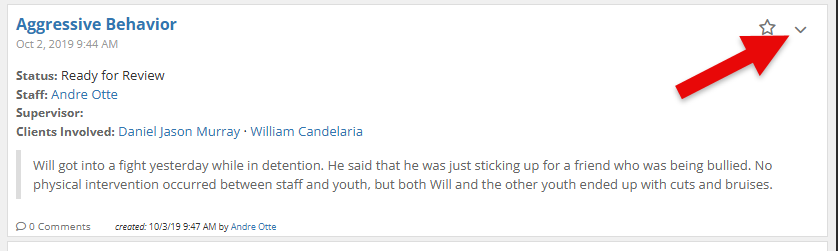
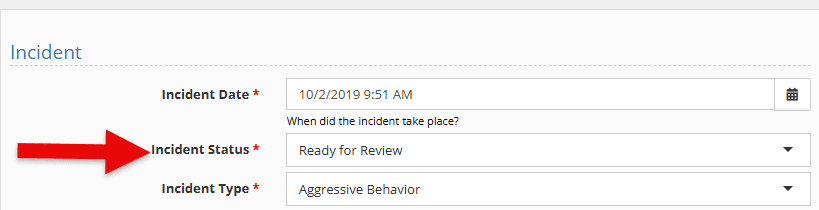
If an incident and status need to be updated, select the down carrot on the incident.
Select “edit this incident.”
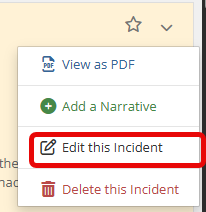
Under “incident status” change to closed as needed.
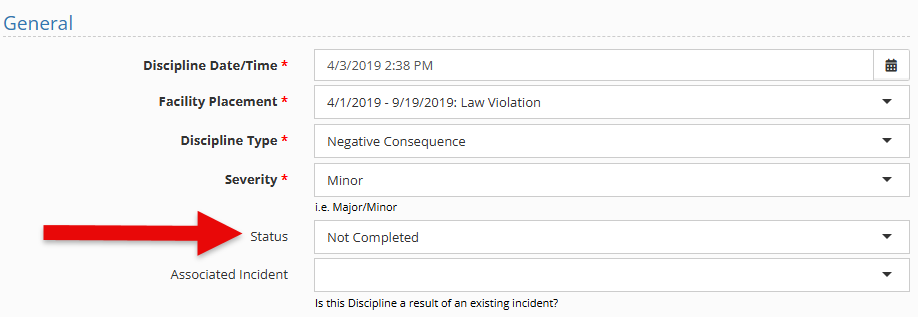
Facility-Based Actions: Discipline #
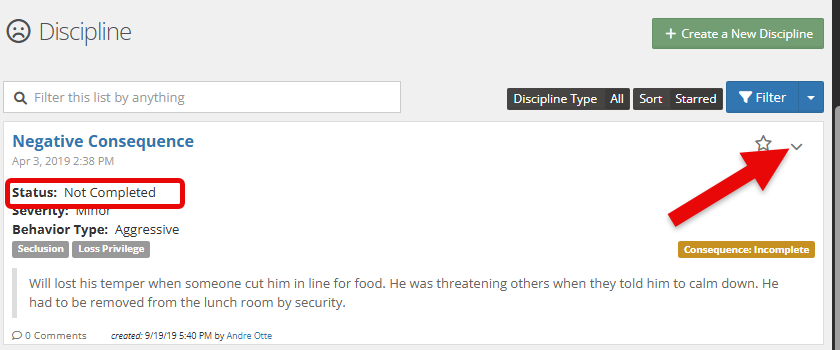
Checking for any open disciplines will ensure all is completed before a youth is discharged.
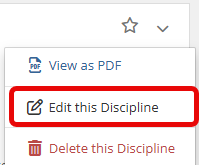
If a discipline and status need to be updated, select the down carrot on the incident.
Select “edit this discipline.”
Under “status” change to closed as needed.
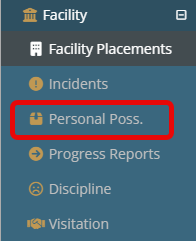
Facility-Based Actions: Personal Possessions #
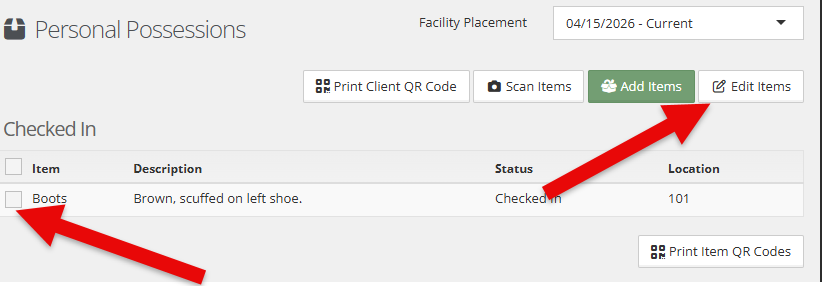
Before a youth is discharged, their personal possessions will need to be returned and tracked.
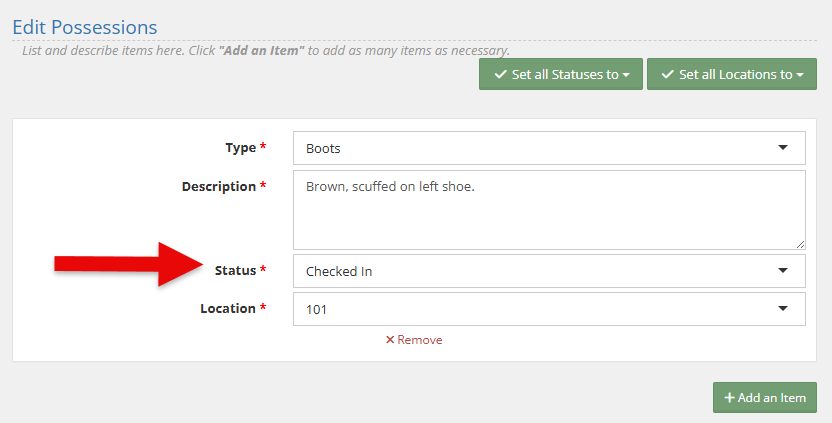
To change possessions from checked in to checked out, select the items you are returning and choose “edit items.” You can select multiple itesm at the same time.
Change the possession’s status below and gain signatures as needed. For more information on personal possessions, please see the documentation here.
Once these areas have been checked and all aspects of your normal duties are completed, finish by changing the client status (see above).
