Separations #
Occasionally, facilities and programs will have individuals who shouldn’t be in the same area for various reasons. YouthCenter supports the tracking of these separations.
Where can I see active separations? #
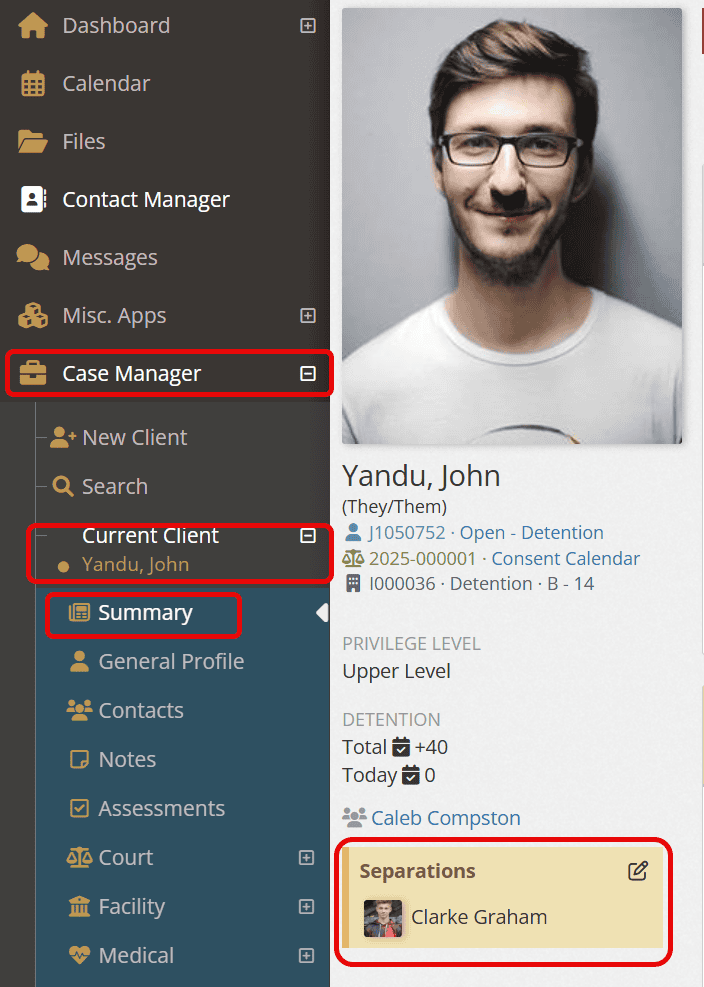
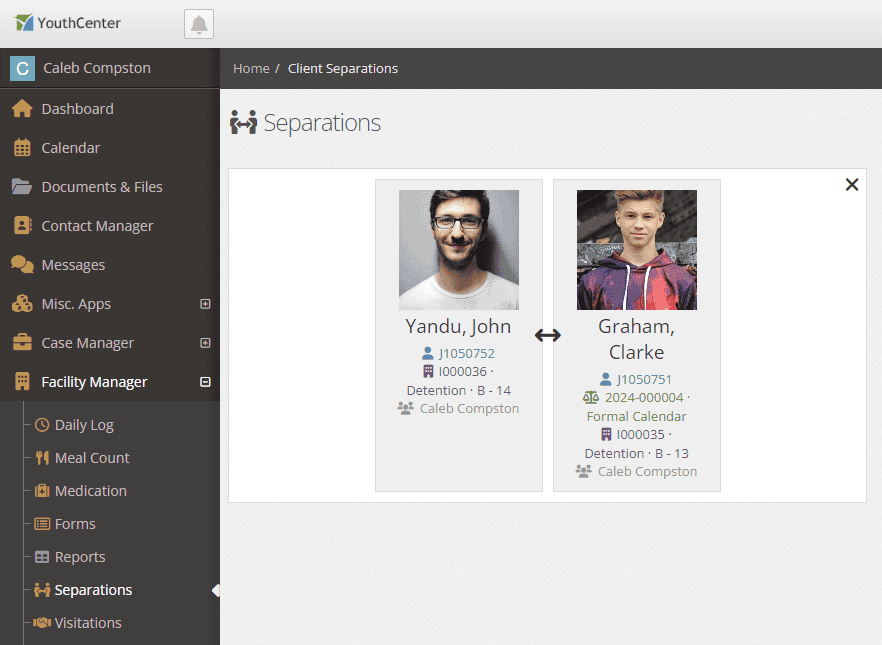
Active separations can be viewed directly on the client summary screen and under “facility” with the “separations” list screen.
Adding a separation #
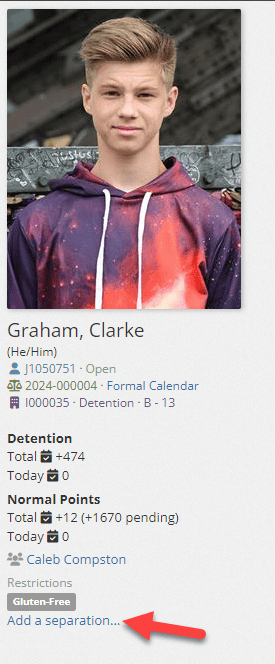
You can add a separation directly from the client by clicking on “add a separation” under their profile image.
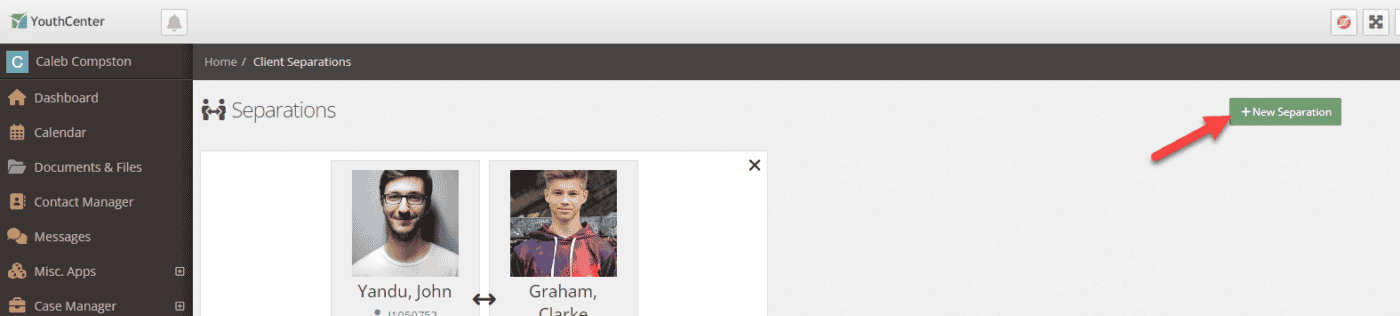
Or by selecting the “+ New separation” in the separations application.
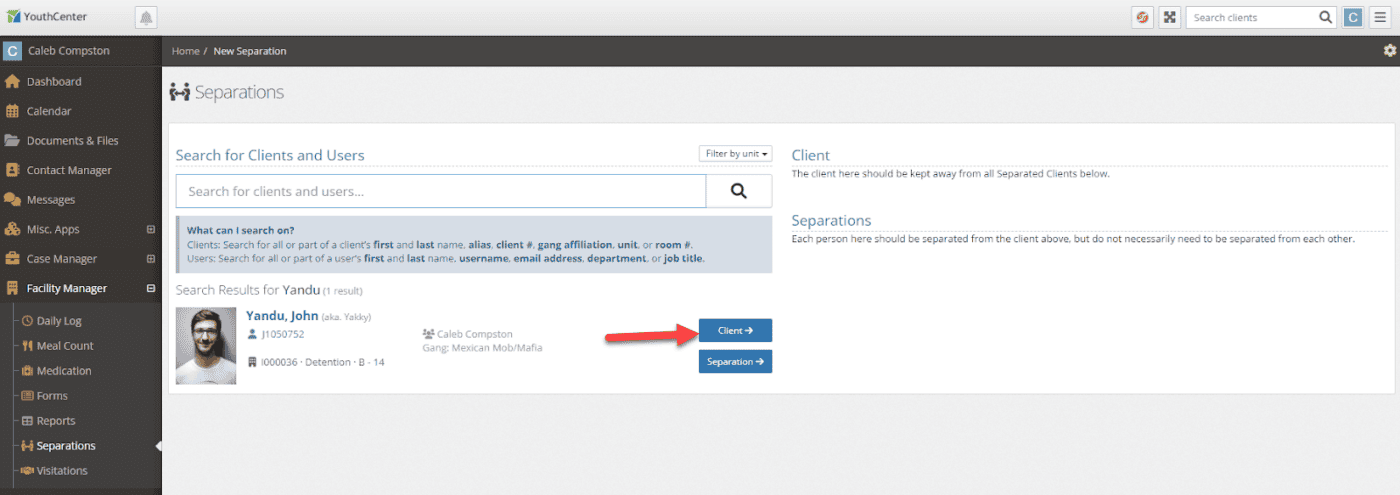
You can search for the first client by name, date of birth, ID number, or gang.
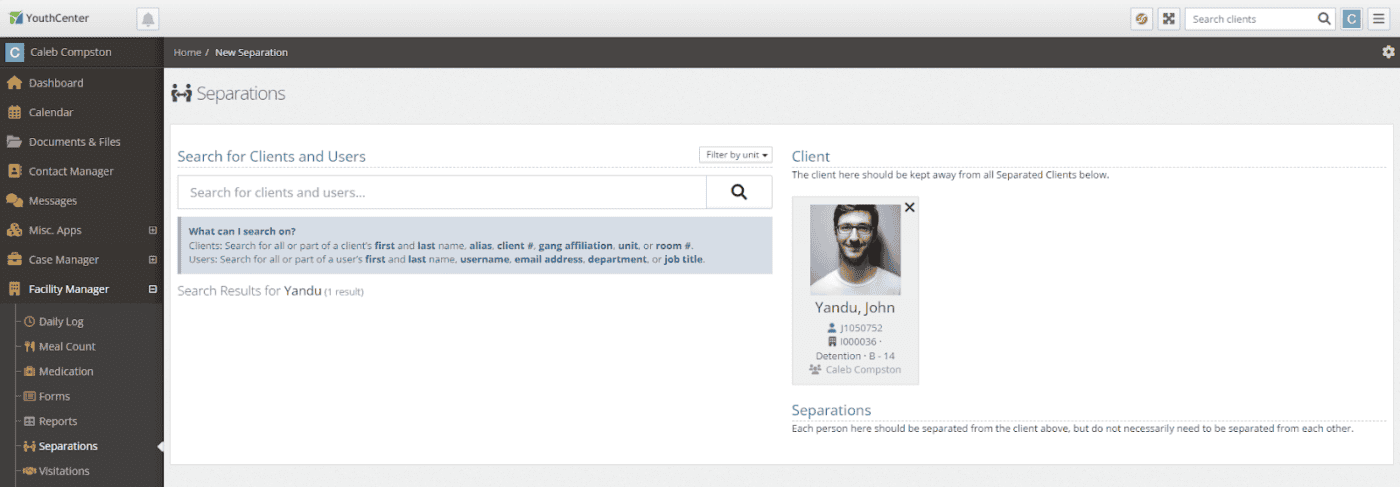
Once you have found the client you are looking for, simply press the “client” button to the right of their information. They will move into the client section.
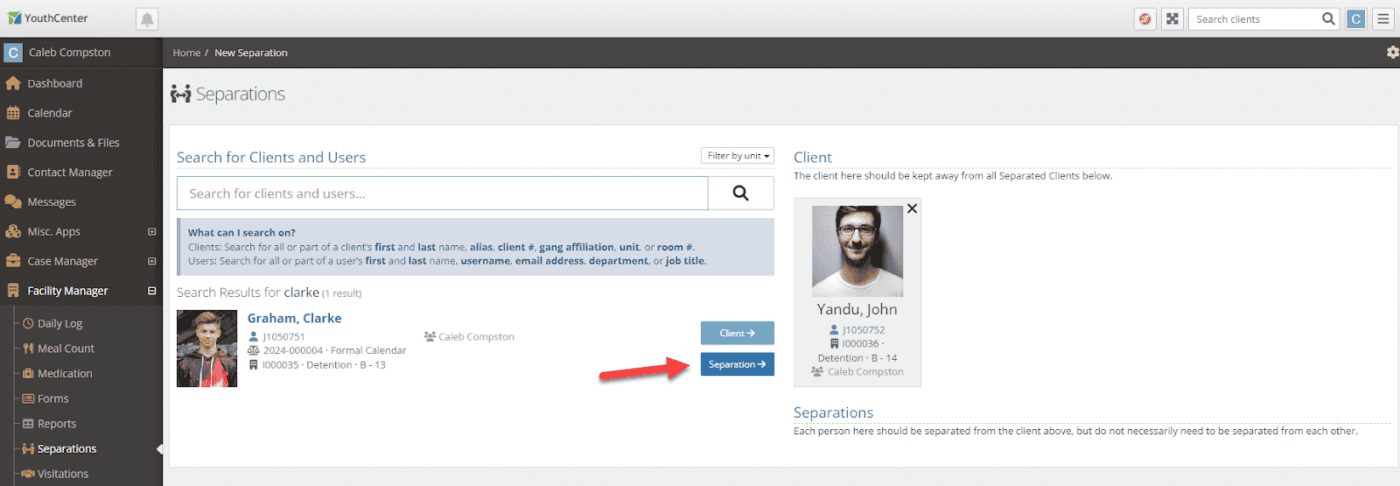
Next, to add the client(s) they are supposed to be separate from, search the other separations’ name, date of birth, ID number, or gang. When you locate the client, press the “separation” button.
You can add as many separations as you want to the client. Once you are finished adding clients that should be separate from the primary client, click “save.”
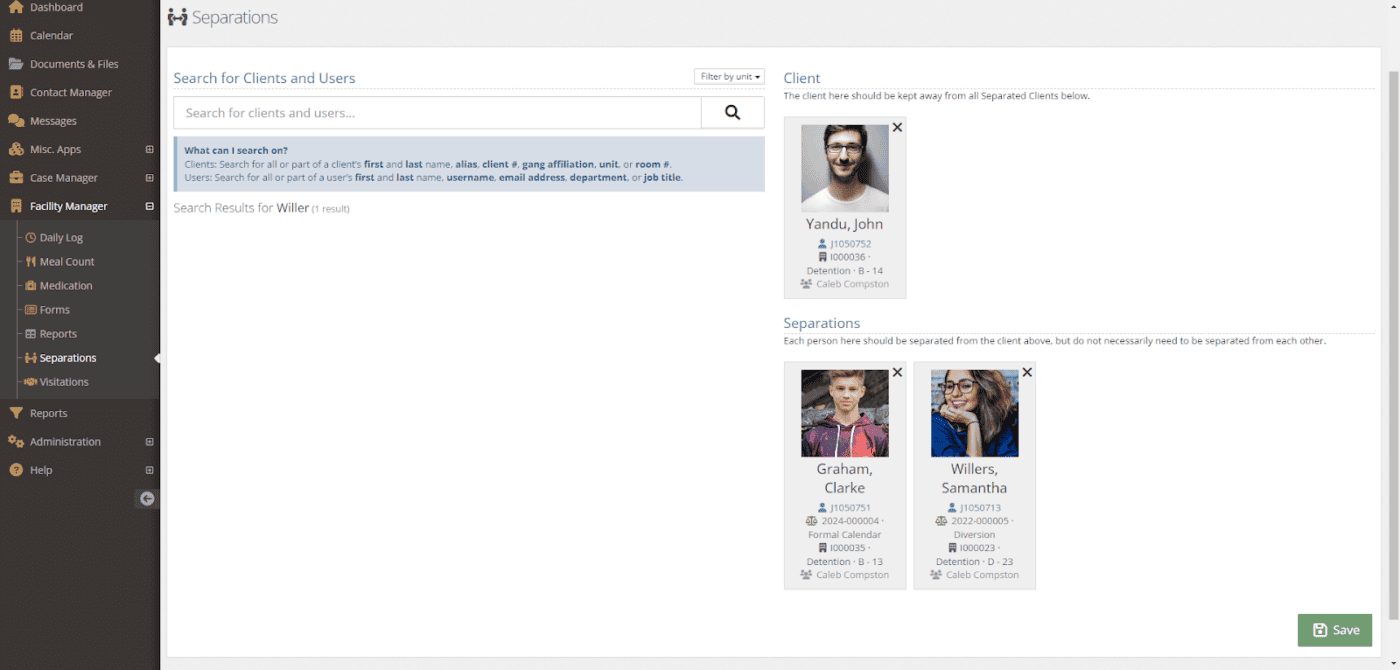
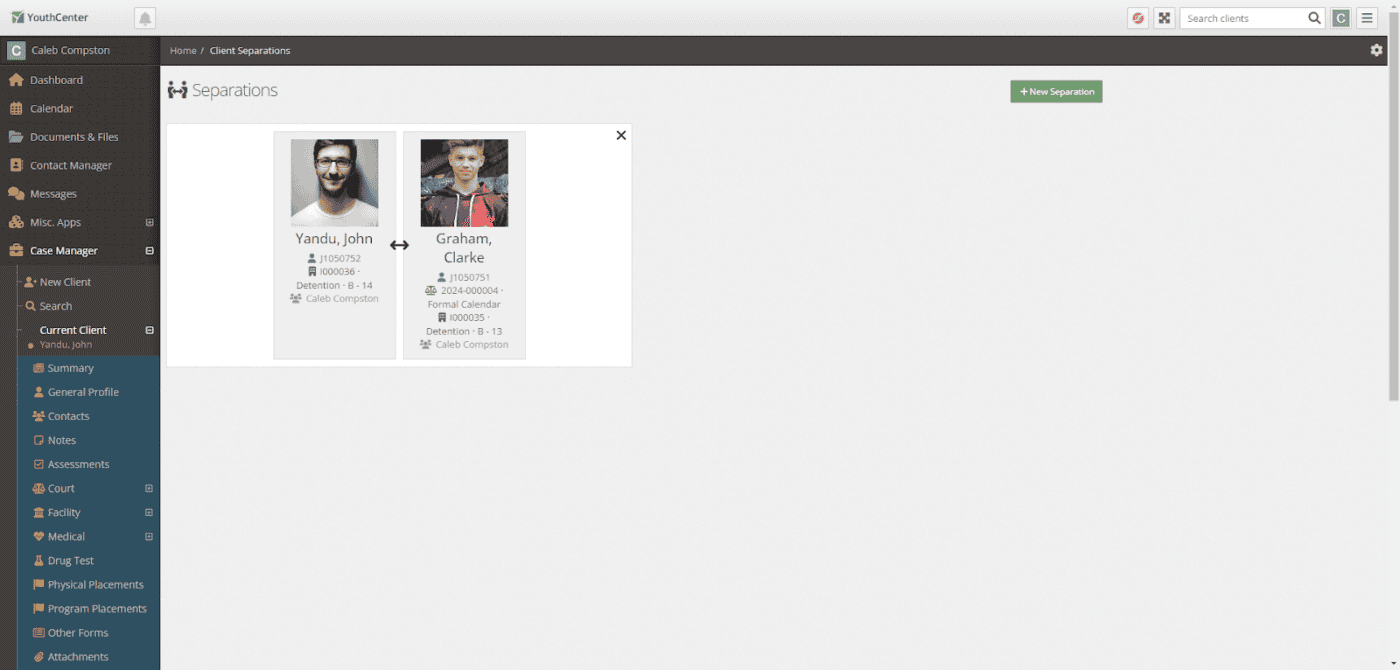
You will be taken back to the Separations page and will be able to view all the new separations.
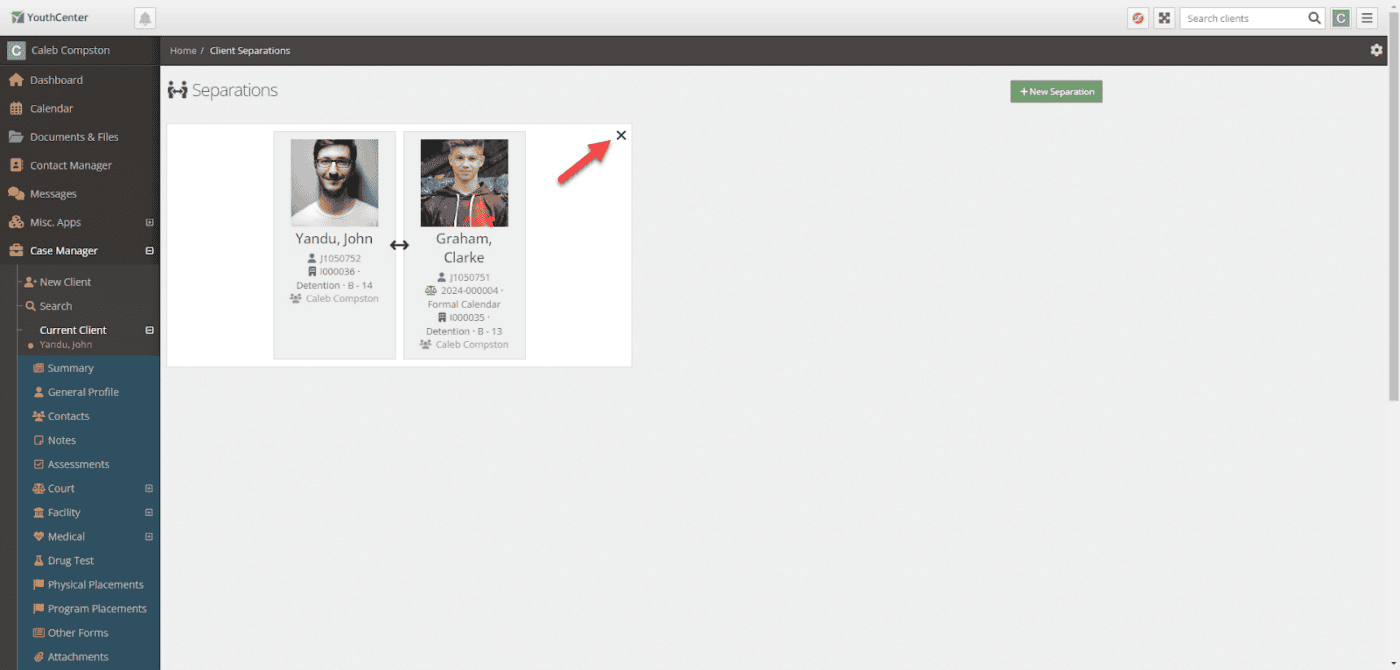
Deleting a separation #
If you no longer want a separation, you can simply locate the separation and press the “x” on the top right of the separation. A warning message will appear and confirm you want to delete the separation before removing it.
Reporting on Separations #
As with all other data inside of YouthCenter, you can generate ad-hoc or regularly scheduled reports that highlight separations. Simply use the Client: General Profile data source.
