Advanced Meal Tracking #
Facilities and programs that need detailed meal tracking to comply with the national school lunch programs, or those who wish for a more thorough inventory of meals served, can benefit from this advanced meal tracking system.
Turning on Advanced Meal Counts #
Advanced meal counts must first be enabled via the site settings. To enable advanced meal counts:
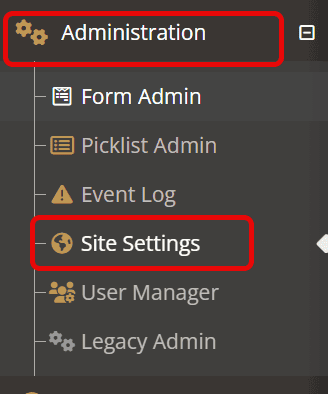
- Expand the Administration menu
- Choose Site Settings
- Select YouthCenter Settings on the top menu bar
- Scroll down to the Meal Count Options section
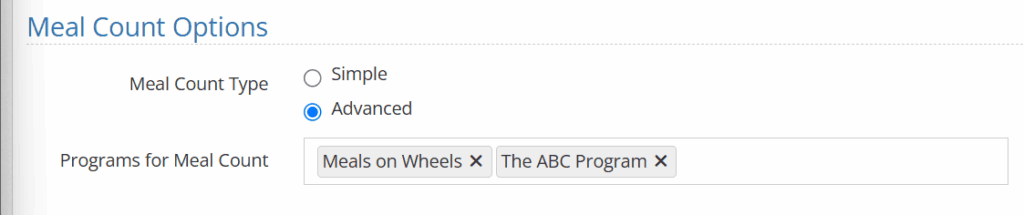
- Select Advanced
- (OPTIONAL) If there are programs like Day Treatment that have clients that are not in detention but should still be tracked, select the relevant programs in the Programs for Meal Count typeahead.
- Press Save
Setting up Meals #
If you do not already have meals and snacks you wish to track set up, administrators can adjust the tracked meals via the Picklist Admin.
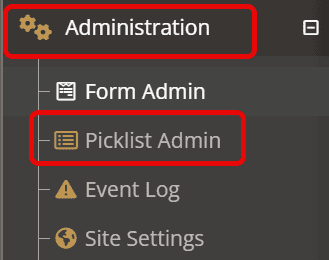
- Expand the Administration Menu
- Select Picklist Admin

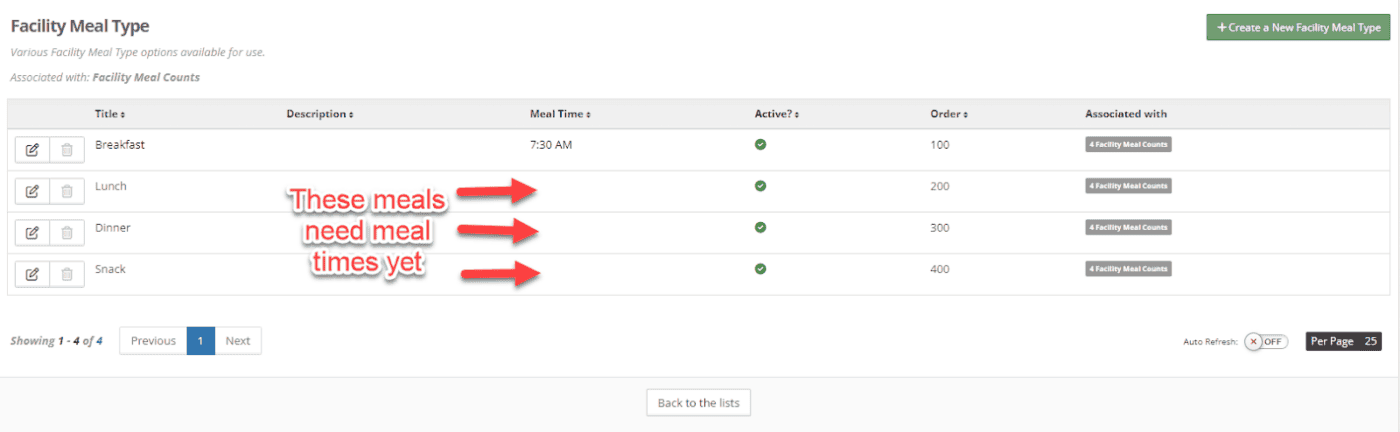
- Search for Facility Meal Type
- Add additional meal types by selecting the green “Create a New Facility Meal Type” button
- If you already have meal types set up, we recommend adding Meal Time to your existing meals.
Tracking Specific Meal Types (OPTIONAL) #
If you wish to track how special meal type distribution like vegetarian, kosher, non-dairy, etc., meals, you can set that tracking up in the Meal Food Type picklist.
- Expand the Administration Menu
- Select Picklist Admin
- Search for Meal Food Type
- Add additional meal types by selecting the green “Create a New Meal Food Type” button
- Create as many entries as needed
Tracking Meals #
Using the advanced meal tracking functionality of YouthCenter is simple.
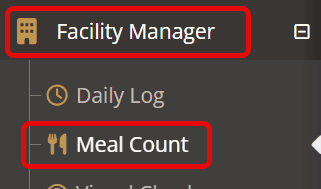
- Expand the Facility Manager menu
- Select Meal Count
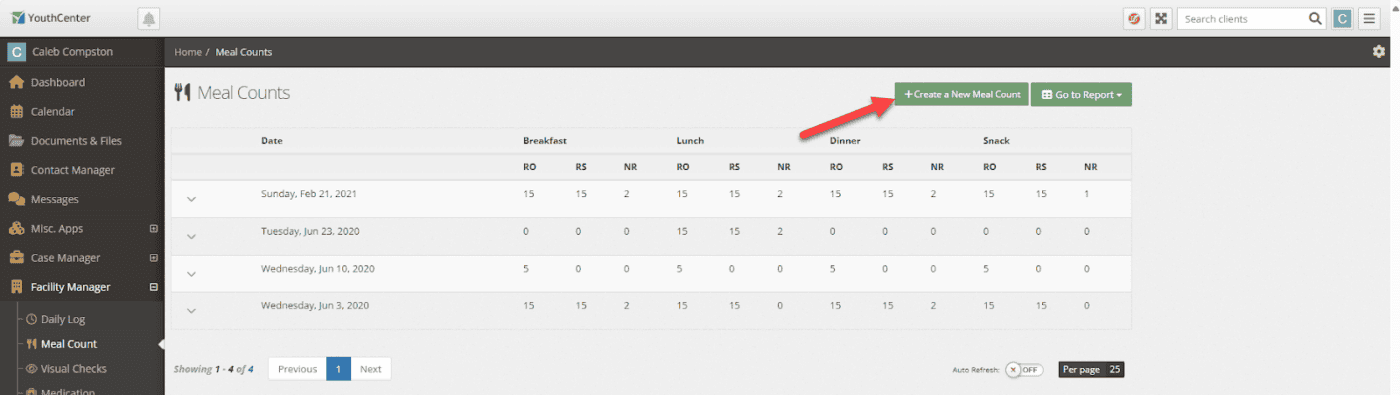
- If you do not already have an entry for the desired date, select the +Create a New Meal Count button in the top right corner do not already have an entry for the desired date, select the +Create a New Meal Count button in the top right corner
- (OPTIONALLY) Enter the meal date
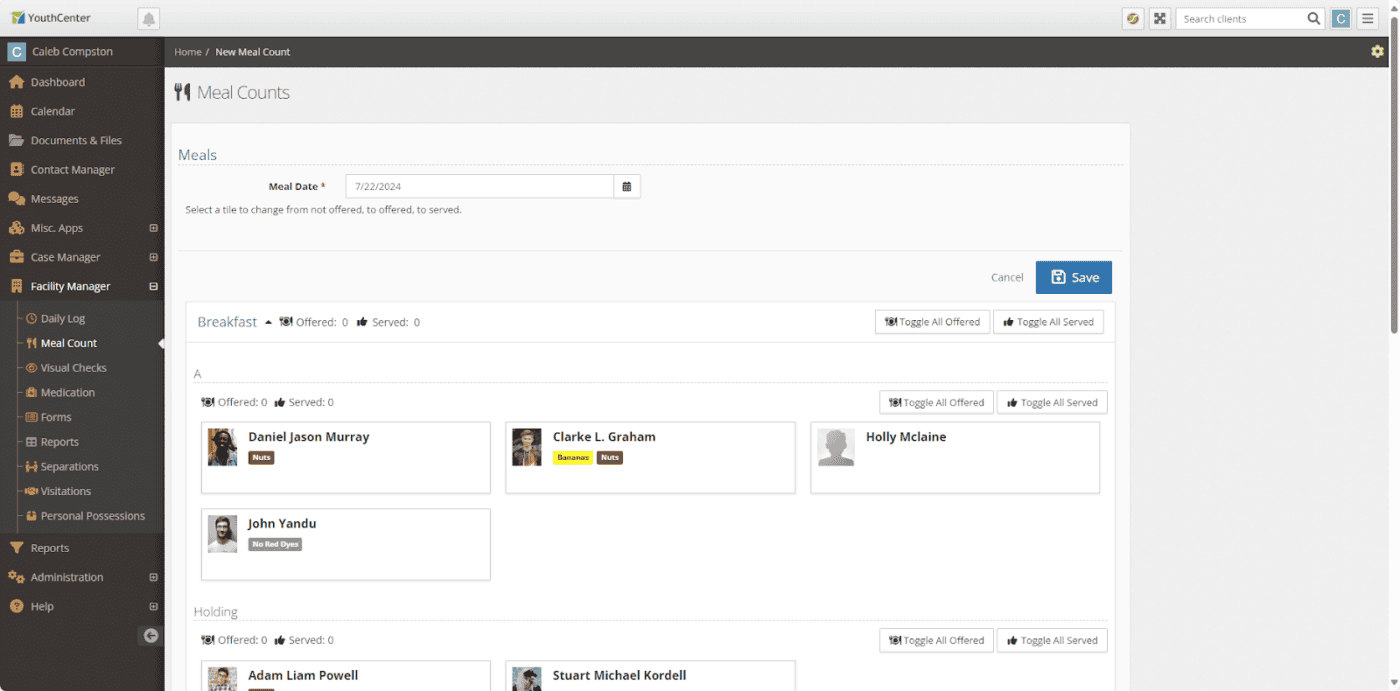
- You can note offered or served for the entire population, a unit, or a program by using the Toggle All Offered or Toggle All Served options
- Alternatively, you can denote by individual or make changes after selecting the mass toggles by selecting the card of the individual you wish to modify
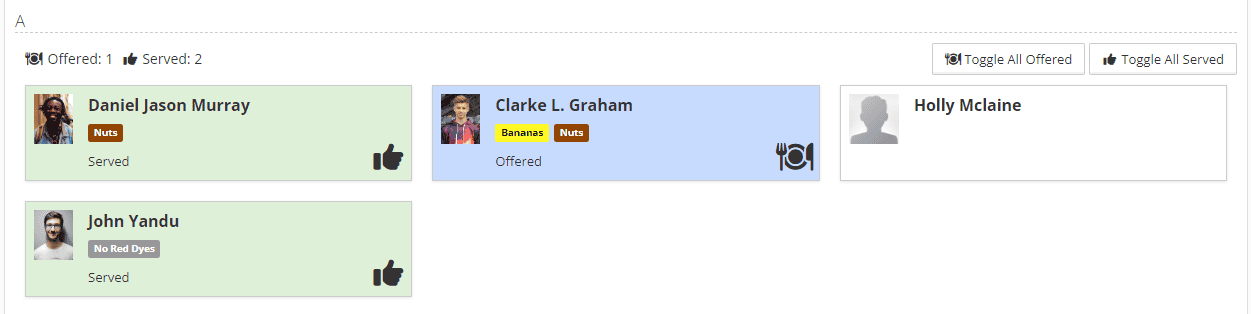
- Individuals who are served are noted in green
- Individuals who have been offered a meal but did not accept are noted in blue

- If you have any non-residents served, you can add them to the meal count at the bottom of the meal.
- Press Save
Designating clients who have received special meals #
If you are tracking special meals that have been prepared and served, a carrot menu will be added to every client’s tile. Simply click the menu and select the meal type you offered or served. The tile will update with the type of meal offered or served:
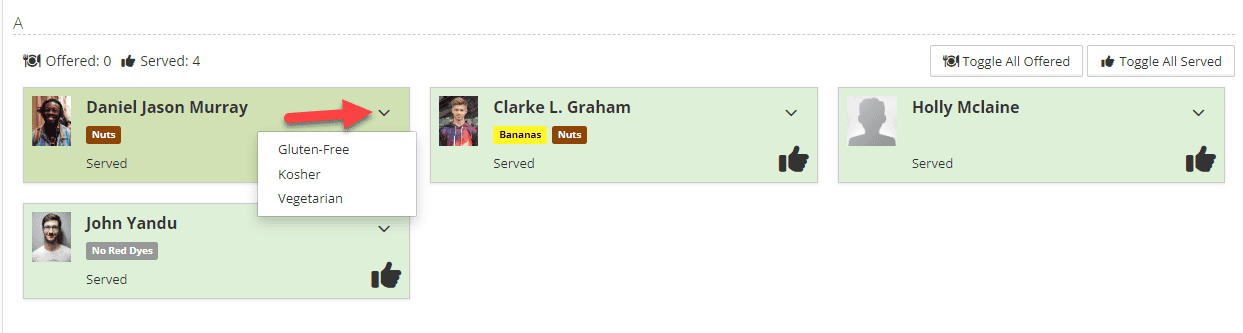
In addition to the visual display, you can report on special meal types offered and served through the reports application.
Adding meals later in the day #
If you’ve served breakfast and are ready to track lunch, for instance, you can simply click the context menu button next to the date you wish to add to and select Edit this Meal Count.

