While building Custom forms, you can add an image that can be labelled or annotated upon. An example of this may be an image that allows you to mark identifying features, such as tattoos or scars.
Adding an Image Labeler #
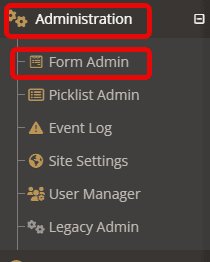
To build the Image Labeler into your forms, you will click on the “Administration” tab, followed by “Form Admin.”
Under the Form admin, choose “Custom Forms” followed by “New Form.”

Fill in the necessary components for your form under Settings.
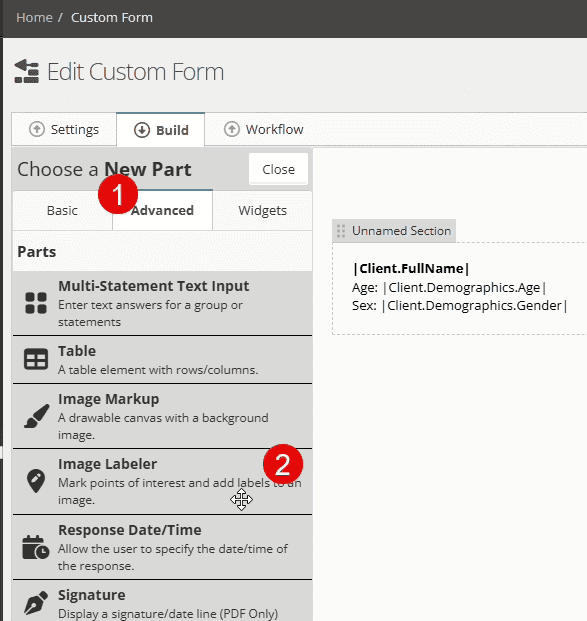
The Image Labeler form part can be found in the Form Builder, under the Advanced form parts tab.
Once the form has been completed and saved be sure to set up the necessary permissions for your team to view and edit this form by following the steps below:
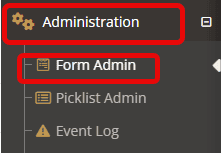
Open the “Administration” tab and choose “Form admin.”
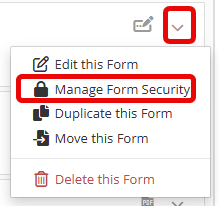
Select the downcarrot to the right of the report and choose “Manage Form Security.”
Ensure all necessary groups have access.
Using the Image Labeler #
To use, find the form with the Image labeler and select it.
Click “Add Label,” followed by clicking to set a location.
Finally, set the font size and color.