This feature is currently reserved for groups that are utilizing Safeguard. If you would like more information on Safeguard or would like to discuss more on the client portal, please contact us.
Client Portal #
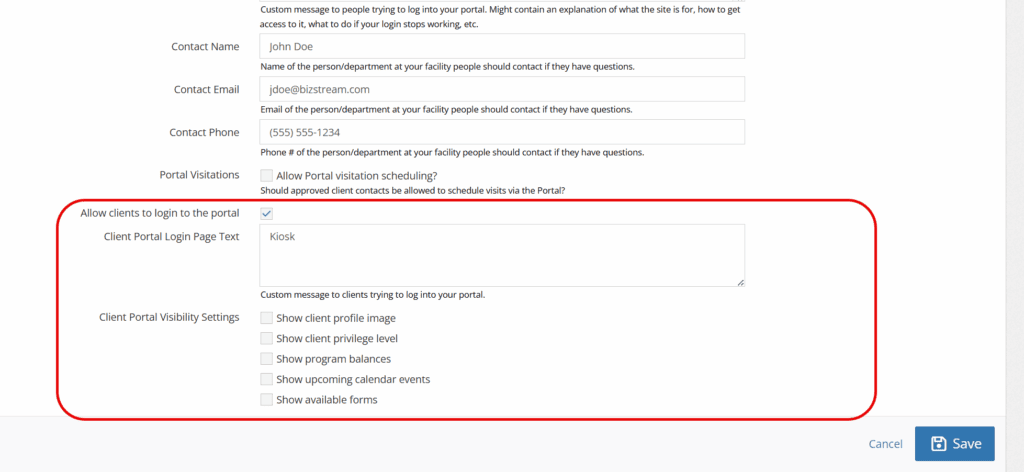
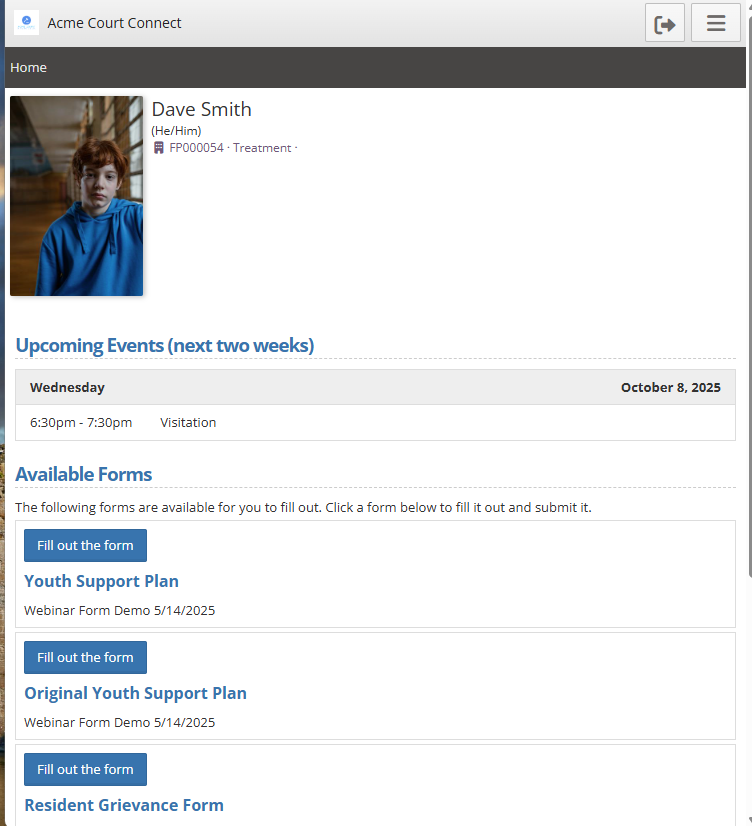
Based on the preferences selected, you can allow certain components to be available to clients, including their:
- Profile image
- Privilege Level
- Program Balances
- Upcoming Calendar Events
- Available Forms
These can all be turned on or off by the admin as needed (see information on site settings below).
Using the Client Portal #
In order for a youth to access their portal, they must use a QR code that can be added to a wristband.
*Note* If a youth does have an email on file, they can access forms from an email invitation. This resource is not the full portal and will only allow them to see/complete the forms. For more information on client form invites please see the resource here.
You can find the print wristband feature on any facility placement page (It looks like a little band).
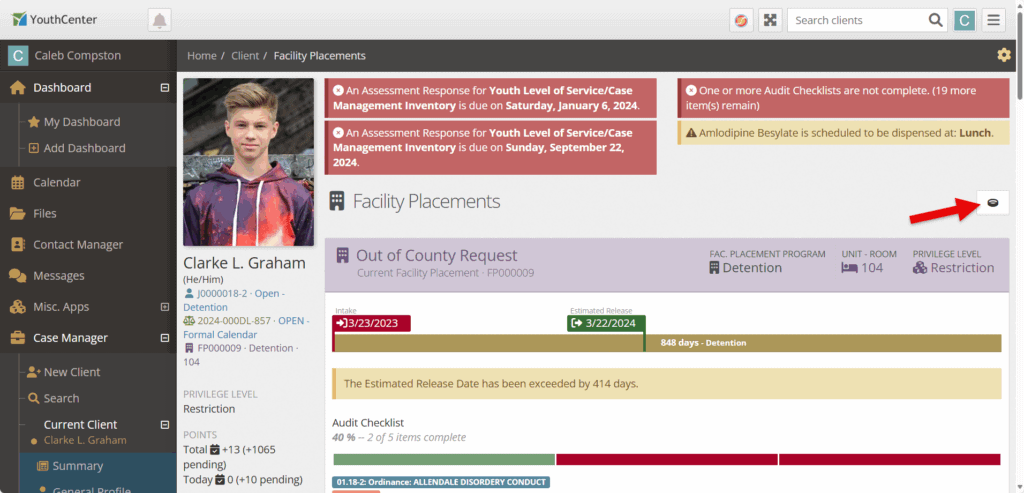
Once the youth has access to their band, they are able to utilize a kiosk, computer with a camera, phone, tablet, etc. (based on the facility’s preferences), to scan and access their individual client portal site.
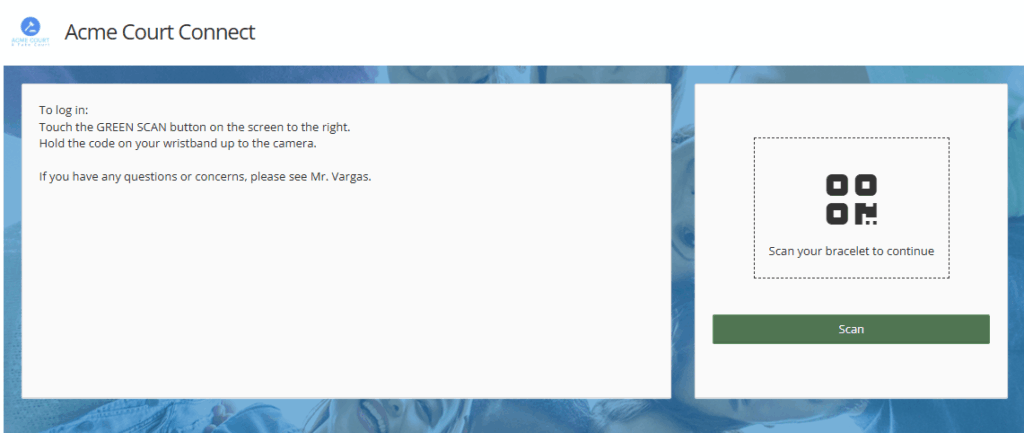
Based on the site setting initially set, the portal’s main page will look similar to what is shown below.
Updating Client Portal Settings #
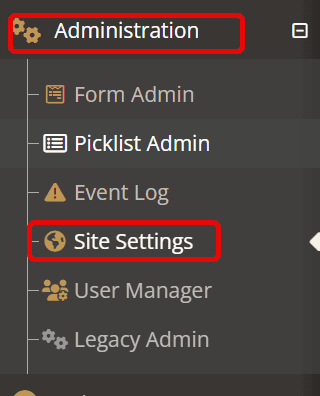
To set these preferences, open the Administration tab and choose “Site Settings.”
On the upper tabs, choose “General Settings.”

Scroll to the Connect Portal section and look for the section shown below in red. This will be the area that sets the Client Portal viewing powers as well as the description of the main login page.