Announcements serve as a quick and efficient tool to share important updates or inject a bit of fun into your team’s day—such as posting a “joke of the day.” Whether it’s for critical information or light-hearted engagement, announcements help streamline internal communication and keep your team informed and connected.
Location #
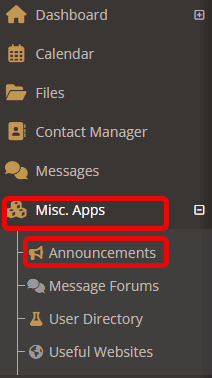
As long as you have the administrative ability, use your main menu to choose “Misc. Apps” followed by “Announcements.”
Creating a New Announcement #
Once you are under Announcements, choose “Create a New Announcement.”

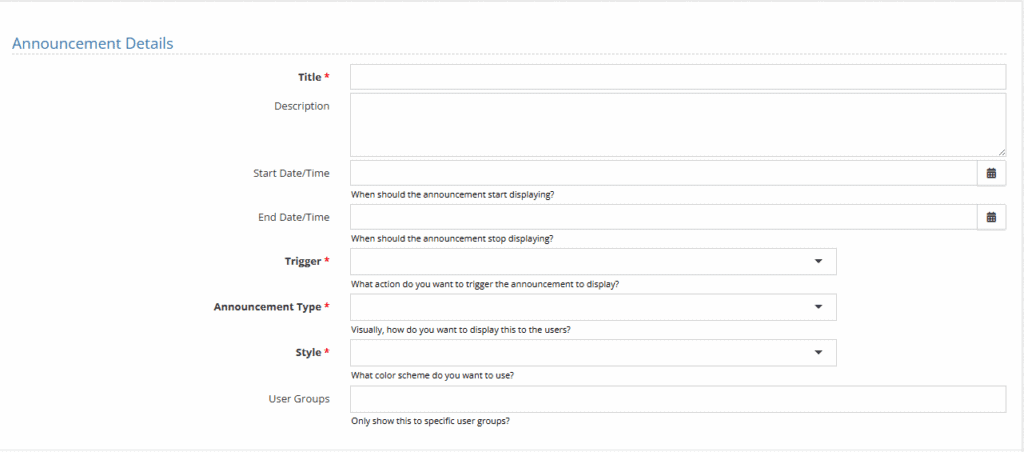
Fill in the necessary details in each of the fields. Once complete, click “Save.”
Announcement Field Descriptions #
- Title
The headline or name of the announcement. - Description
The main content area where you can enter the message you want to share with your team. - Start Date/Time & End Date/Time
Set the time frame for when the announcement should appear. Tip: Leave these blank if you want the announcement to display indefinitely. - Trigger
Defines when the announcement appears to the user:- Unsecure Page – Shown on the login page before the user logs in.
- Secure Page – Shown after the user logs in, somewhere within the application.
- Announcement Type
Choose how the announcement is displayed on the page:- Modal – A large pop-up box with a dimmed background.
- Alert – A small notification box in the bottom-right corner.
- Toast – A subtle message near the top of the window.
- Style
Customize the color of the announcement to match its tone or urgency (e.g., red for urgent, green for positive). - User Groups
Specify who should see the announcement:- Leave blank to show it to all users.
- Enter specific groups to limit visibility to certain users or roles.
Editing an Announcement #
To edit an announcement, select the down-carrot on the right of the announcement and choose “edit the announcement.”

If you need to see or edit any previous announcements that had a time limit, select the check box “show expired” followed by “filter.”

