When an incident happens within a facility, ensuring all the necessary information and narratives are recorded is essential. At the same time, it can be important that only certain users can view details of the incident. Below will share information on how to use YouthCenter for these moments.
Creating an Incident #
To create an incident, go to your “Case Manager” tab and select the client with whom this incident occurred.
Open the “Facility” tab and click “Incident.”
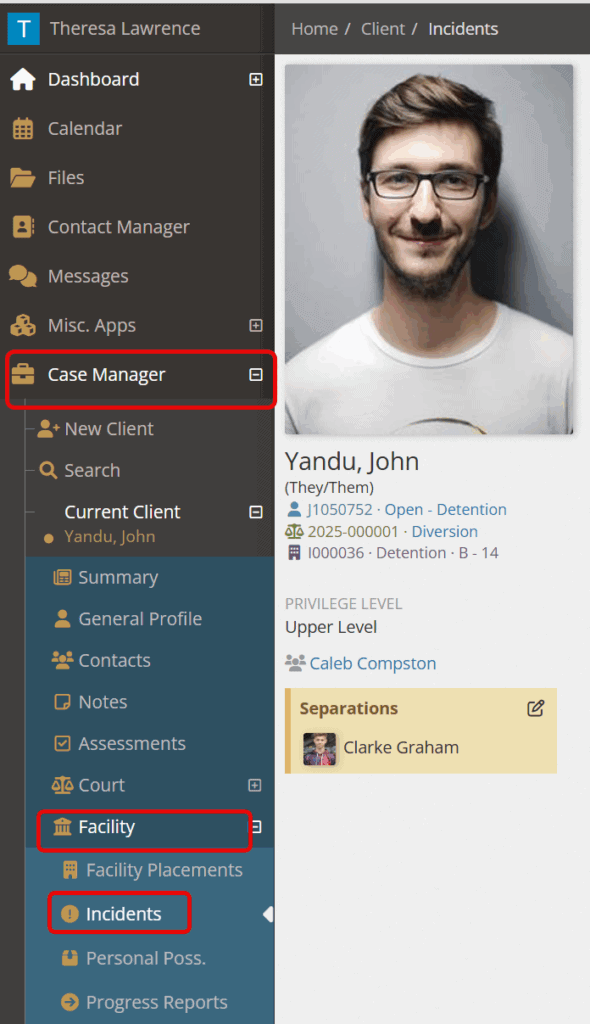
Select “Create a New Incident.”

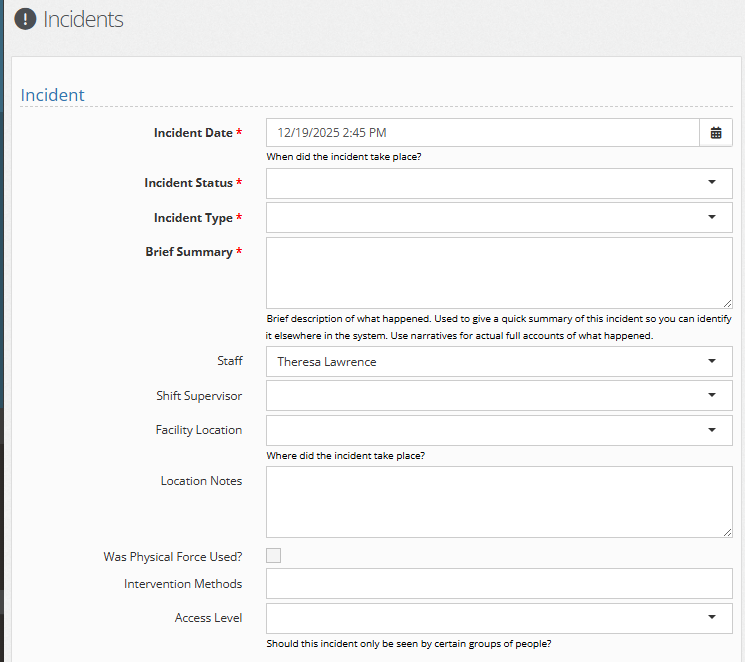
Ensure all necessary information is filled in. (At a minimum, all red asterisk fields must be completed for the incident to be saved.)
Access Levels #
An important area to note is “Access Level.”
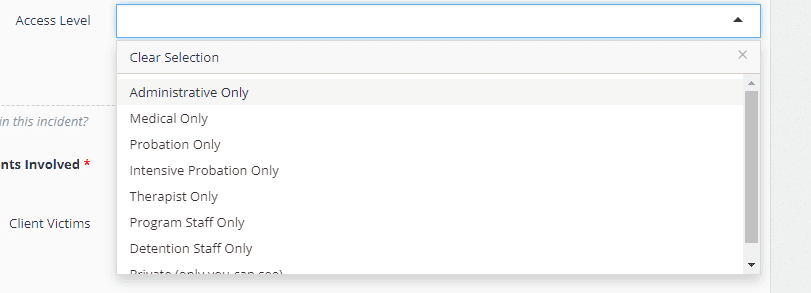
Adding access levels on incidents allows you to restrict the visibility of sensitive incidents to certain groups of your staff. To add an access level to an incident, simply select a group from the access level dropdown. (See below for how to update these groups’ access.)
Under “Other Associated Clients,” the clients associated with the incident, the victims, staff witnesses, and client witnesses can be added here.
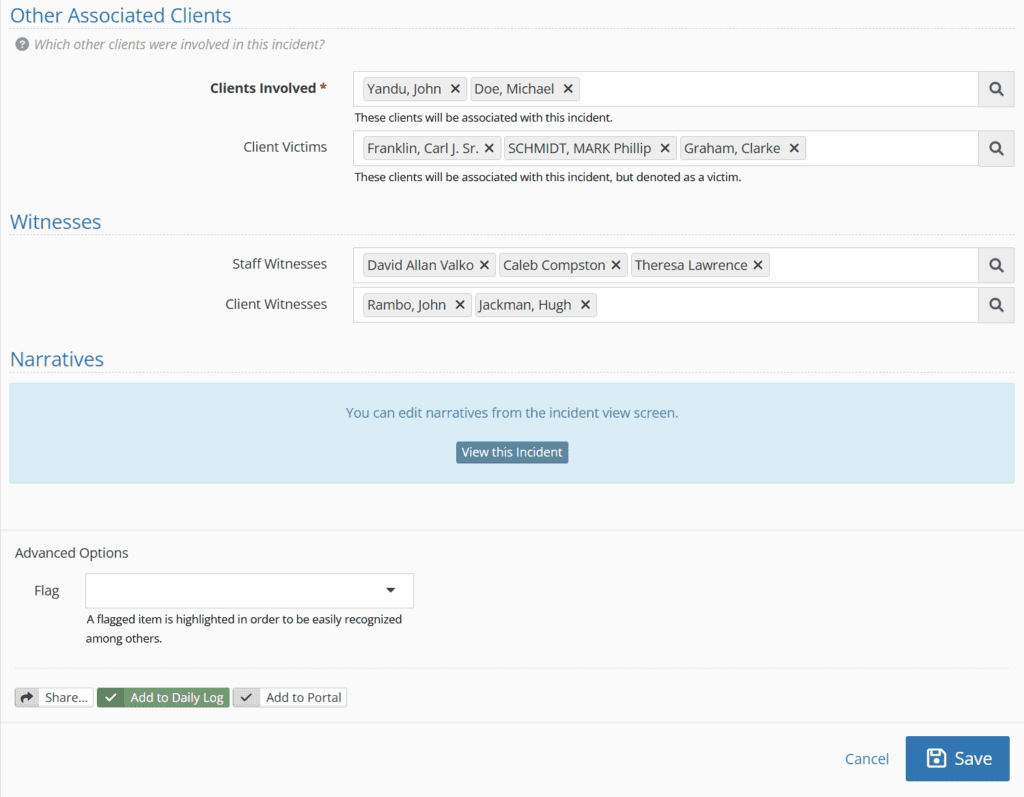
When finished, hit “Save.”
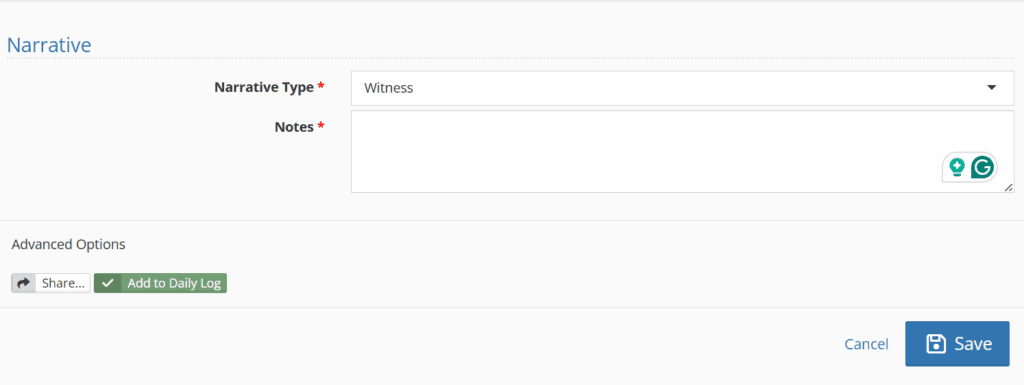
Narrative types #
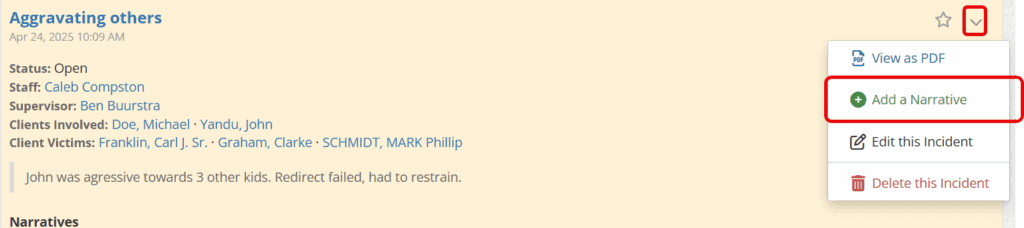
Different Narrative types can also be added by either clicking on “View this incident” in the narrative box above, OR from the main incident page by selecting the down carrot and choosing “Add a Narrative.”
Multiple narratives can be placed under a singular incident.
A completed incident may look something like this:
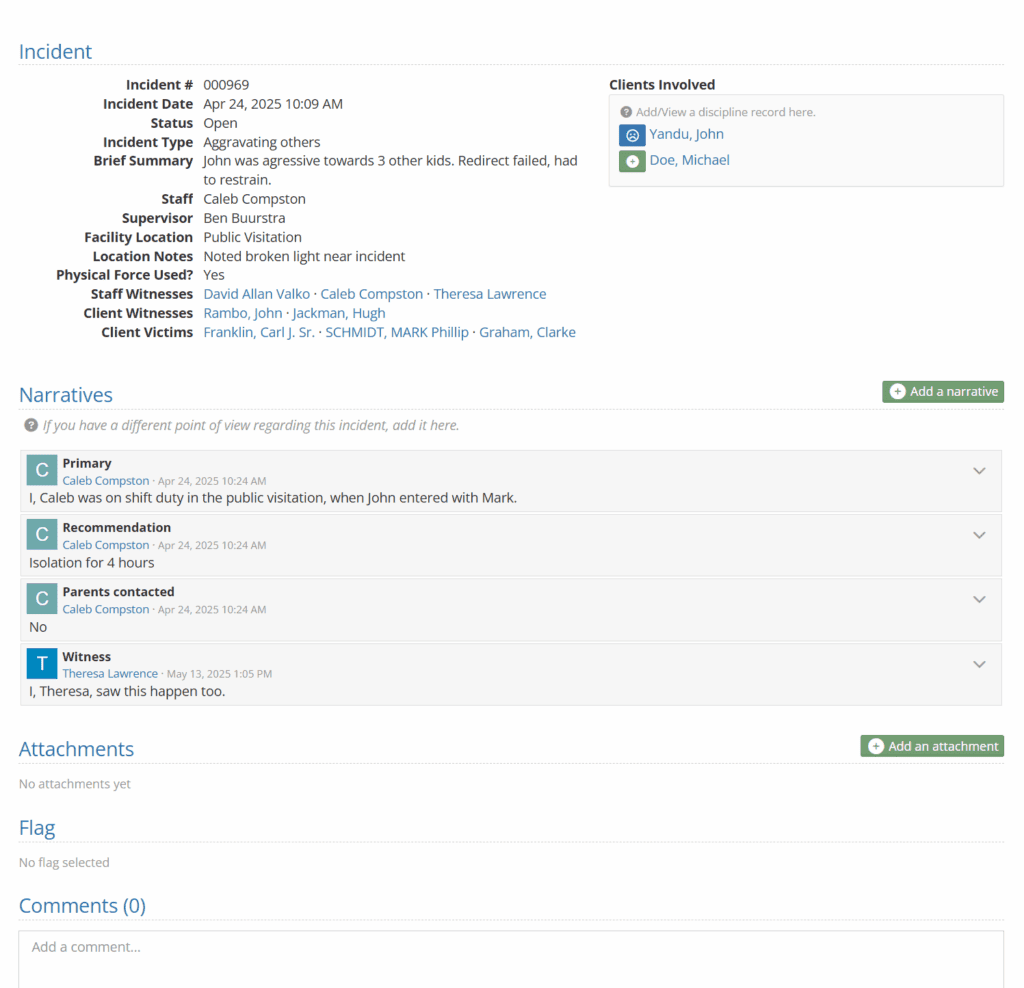
As a reminder, the comments box above can also be used to communicate with different team members by using the @ symbol followed by the team members’ name(s).
Updating Group Access #
Access Levels are groups of users that administrators can set up via the Picklist admin. To adjust your access level groups, open picklist admin and select the access level picklist.
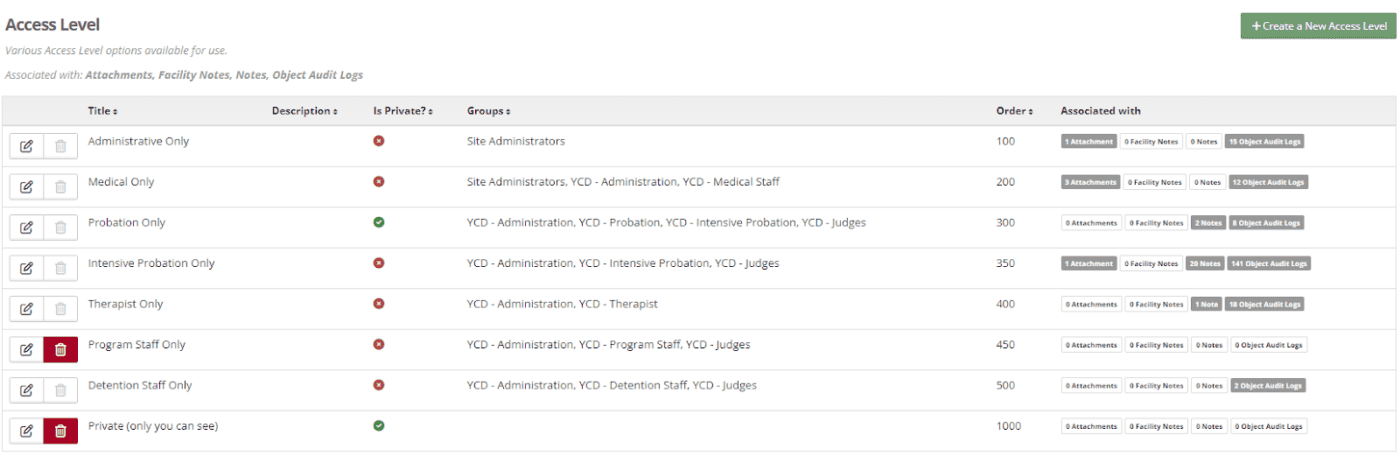
You can add a new access level by selecting the green + Create a New Access Level button.
You will need to provide a group title and select the user groups you want to include. Once saved, any note or incident you add an access level to will only be visible to those in that access group.
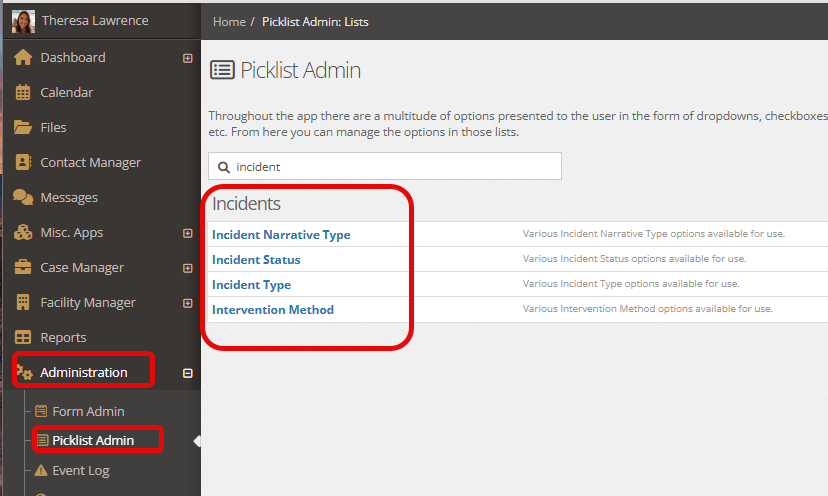
Picklist Admin #
For those with administrative access, you can update the following fields under incidents to match your needs: