A contact or relationship is a person who is not in the YouthCenter system as a user, but is associated with the client. These often include family members and school contacts.
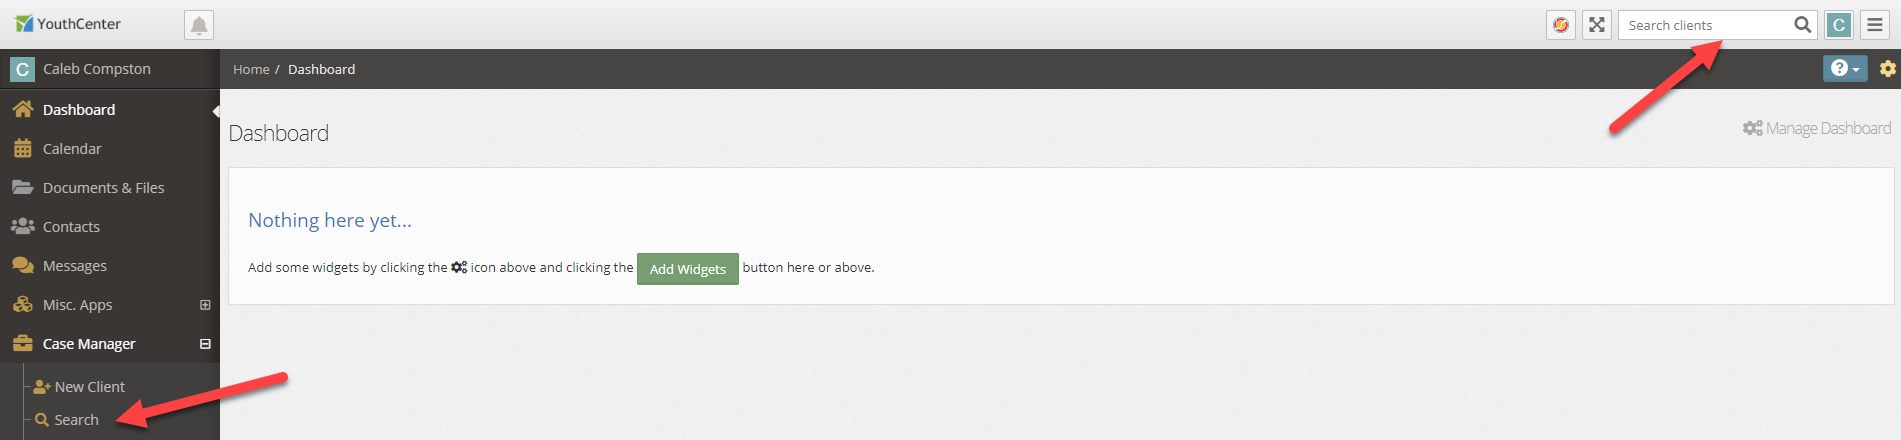
Granted that you have proper permissions to add or edit a client contact, you must first select a client through either the Search application under the Case Manager application or by using the Search Clients search bar in the top right of the screen.
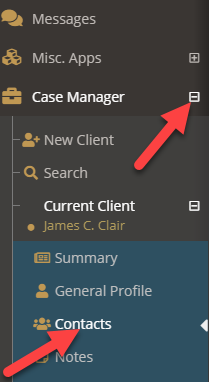
Once a client has been selected, navigate to the Contacts application in the main navigation menu.
Adding a new Client Relationship or Contact #
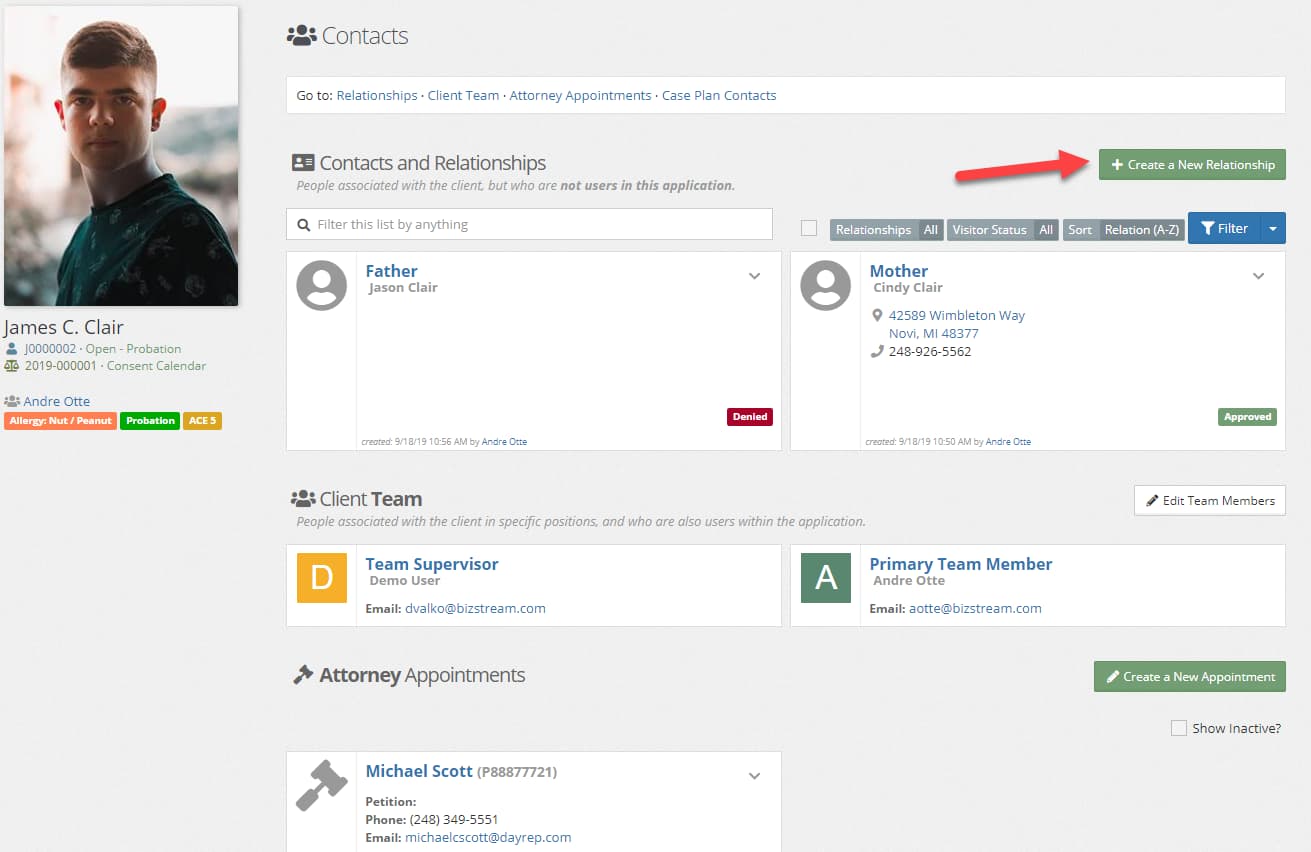
- Select Create a New Relationship
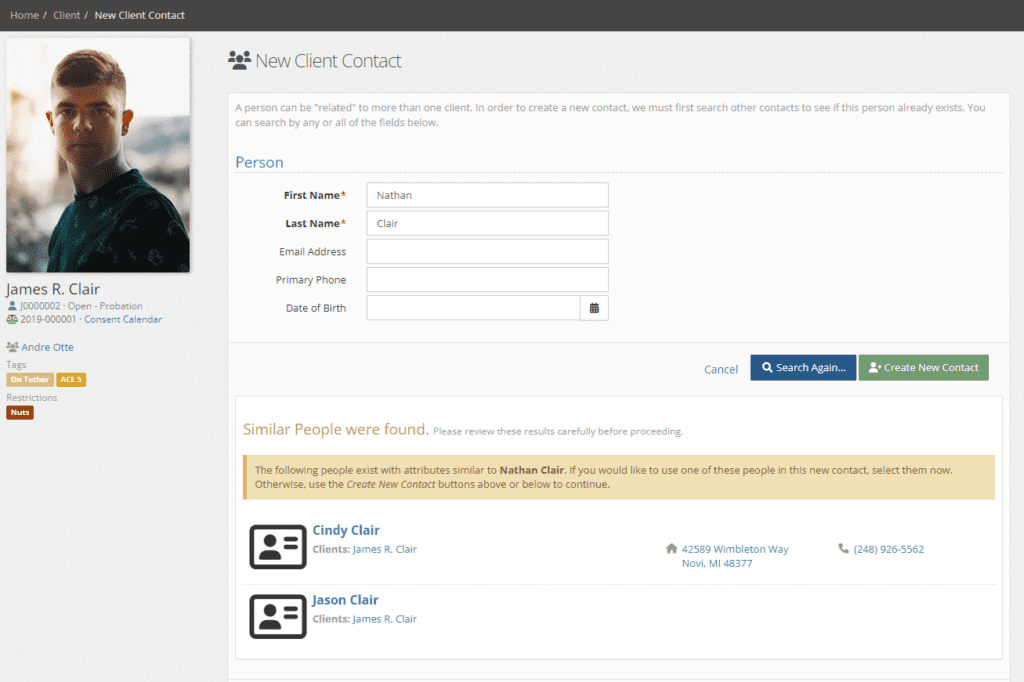
- Enter the first and last name into the New Client Contact search box
- Press Next
- Select an existing contact if desired, or select the Create New Contact button
- Enter the required fields
- Optionally, enter additional information based on your teams’ needs.
- Press the blue Save button.
YouthCenter Special Fields #
There are a few fields in YouthCenter that are not standard contact information fields and are used in other areas of the application.
The Relationship Type dropdown is a modifiable feature that creates a title over the contact name.
The Is Guardian checkbox will toggle the guardian flag on the contact screen. A client can have as many guardians as desired.
The Send Notice checkbox will toggle the notice flag on the contact screen and can be used to designate who should be notified of important events.
The Is Active checkbox indicates whether the contact is viewable by default in the contacts application and can be selected in other applications like visitation.
The Relationship Notes field allows for general notes about the contact.
The Visitor Status, if filled in, will show a tag in the Contact application and will display in the Visitation application when selecting the visitor.
The Visitor Status Notes will show in the contact detail screen.
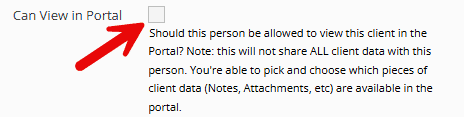
Portal Access #
When the box below is checked, the contact will be able to see any data that is selected to be shared within the portal as well as have access to the calendar by default. For the final steps on giving portal access click here. For how to share items to a client portal, click here.
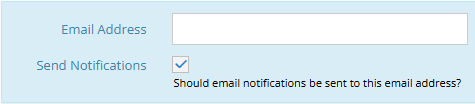
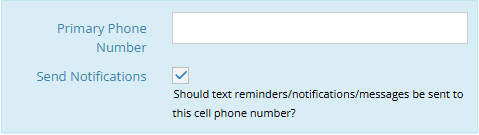
Sending Notifications to Contact #
When the information is filled in for the contacts email address and/or primary phone number and the check boxes are checked, then the contact will be sent a notification of calendar upcoming calendar events 24 hours in advance.
Adding a contact photo #
You can add a contact photo that will be displayed in the Contacts application, Visitation application, and the Contact detail screen.
You can drag-and-drop an image into the outlined space or click inside the outlined space to select a file using your file browser. The outlined box will turn green if processed correctly, or red if there is an error.
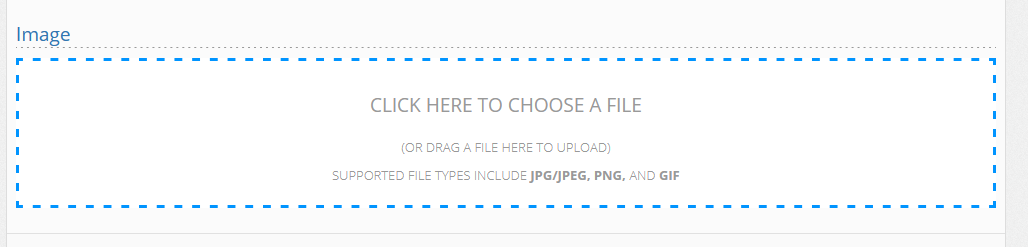
Supported file types include JPG, JPEG, PNG, and GIF.
If a file has been uploaded in error, or if you are removing an old file and replacing it with a new one, you can hover over the file you wish to remove and select the remove file link from the bottom of the picture.
Note: Some special characters are not allowed in the file name. For best results do not use special characters in your file names.
