Shared users enable the setup of a user on one site (for example, a Court and a separate site for a Detention Center). This will allow access to another connected site without the need for a separate user account.
Setting up connected sites #
To set up a connected site, you will need to contact support and request to connect sites.
Approval by both instances’ administrators will be required to connect the sites.
Adding users to a connected site #
Once the sites have been connected, as users log in to their primary site, a connected user will be created on the connected site.
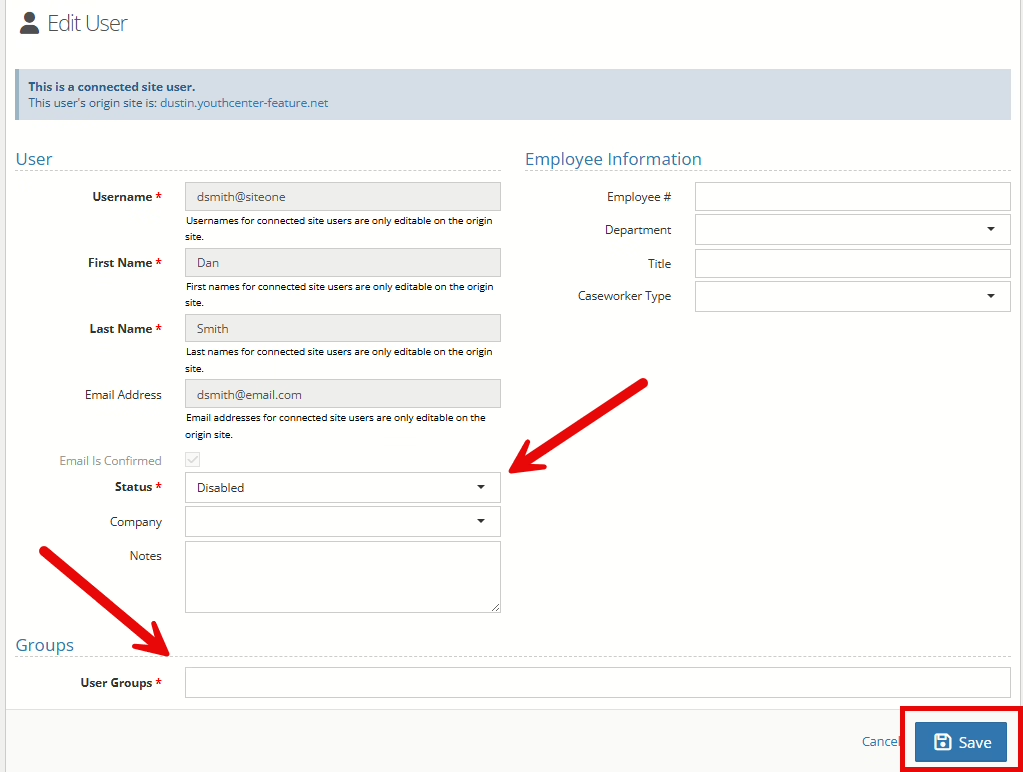
The new user created on the connected site will have no permissions, and their status will be set to “Disabled.”
The connected users will have a “Connected Site User” tag in the user listing to denote them as a connected site user.

To begin use, an administrator of the connected site will need to add the appropriate permissions to the connected user and set the connected user’s status to “Active.”
You will not be able to modify any other options of the connected user, as those items are controlled by their primary site.
Logging into a connected site #
Once a user has been set up on the connected site, the user will log in to their primary site, and a Site Connections menu item will be available in their YouthCenter menu.
To change sites, they will click the site name in the menu listing to be automatically logged in to the connected site.
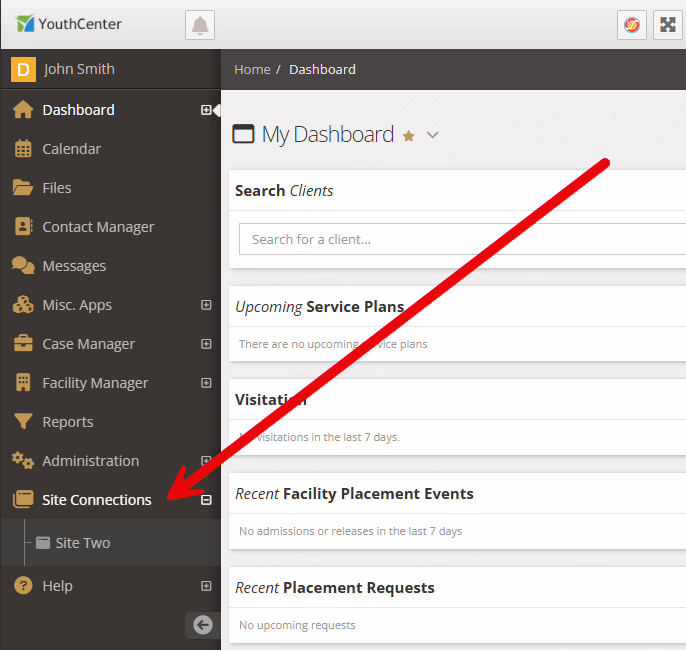
To return to the primary site, click the site name in the Site Connections menu.
NOTE: A connected user cannot log in to a connected site by visiting the connected site’s URL. They must log in to their primary site and use the Site Connections link in the menu.
Disabling a connected user #
If a user is disabled on a primary site, their access to the connected sites will automatically be turned off. An administrator of the Connected Site may choose to set the Connected Users’ status to “Disabled,” however, it is not required if the user is disabled on the primary site.
