SafeGuard is a hand-held device that can be used in Residential and Detention facilities. This useful device has scanning abilities for wristbands/rooms and also allows for quick access to the basics needed for rounds, notes, movement, points, and more. All information inputted into Safeguard is then simultaneously linked to your YouthCenter.
SafeGuard is currently in use in limited Residential and Detention facilities. For more information on SafeGuard or a demonstration, please contact us or view a webinar here.
Main Menu #
When first logging in, the main menu will appear. To access it again at any time, choose “home”
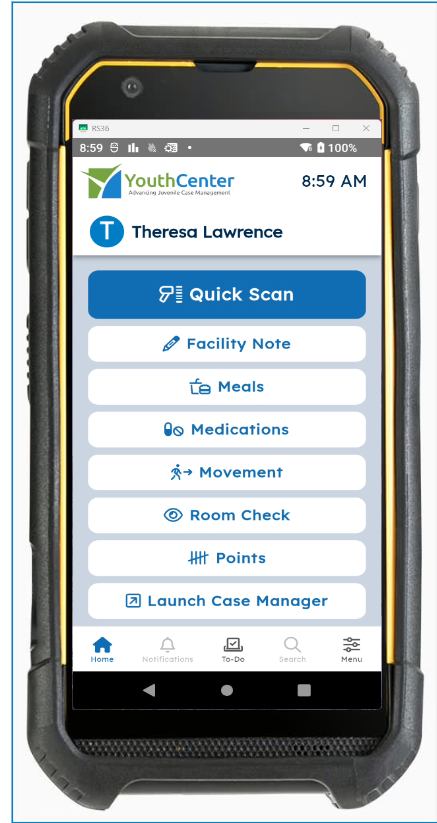
Descriptions of menu items:
- Quick Scan: Used for scanning rooms and wristbands
- Meals: Quick views of a youth’s dietary restrictions and ability to showcase if a meal was offered, accepted, or other.
- Medications: Gives the ability to see a client’s or facility’s medications while also being able to easily distribute these.
- Movement: Easily track where youth are in the facility, whether they are in transit, and any movement throughout the day
- Room Check: Update information immediately while doing room checks
- Points: Update points as needed for your facility or detention center
- Launch Case Manager: Sign in and access your YouthCenter account.
Quick Scan: Wristband & Room Plate Scanning #
Using the Scanning feature on Safeguard, users can scan associated clients’ wristbands and room plates throughout the building. This can help support with movement, personal possessions, room checks, rounds, and quick access to client information.
Facility Notes #
With the need to enter notes on the fly for facility-related events, choose “Facility Notes.”
Once selected, input the date and time for the note.
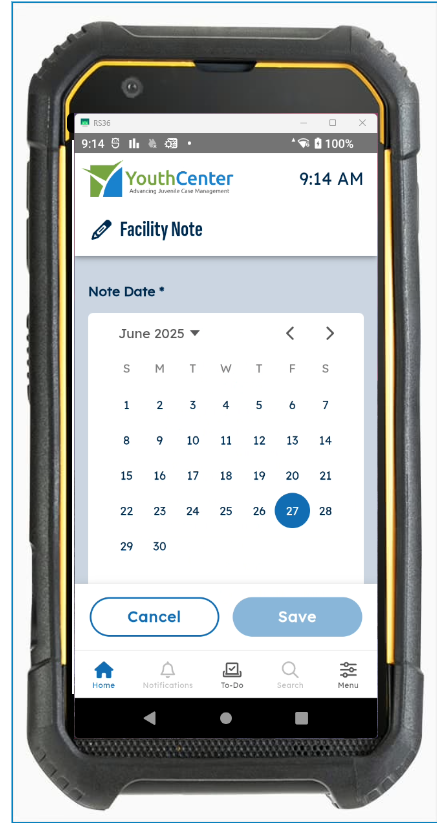
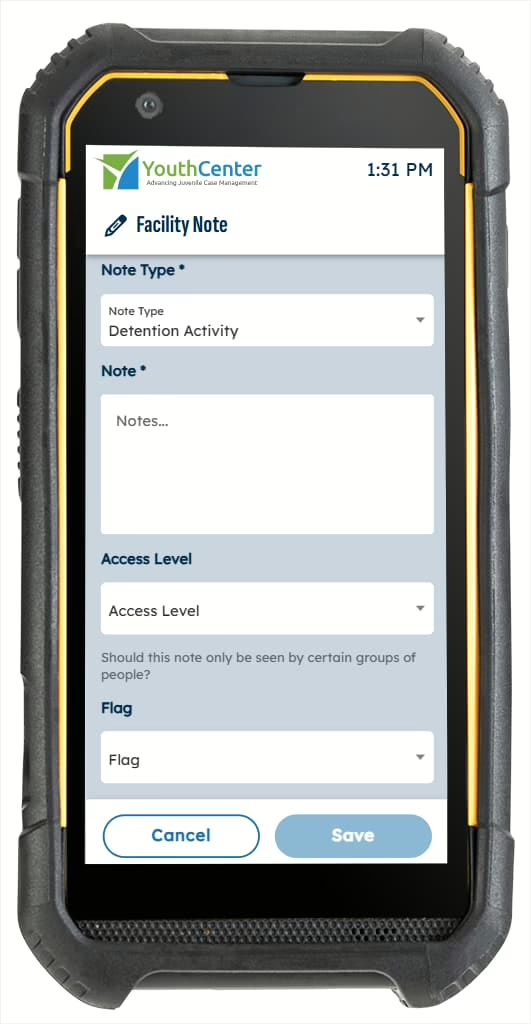
Choose the “note type” and enter the necessary information for notes, access level, and flags.
Click “save.”
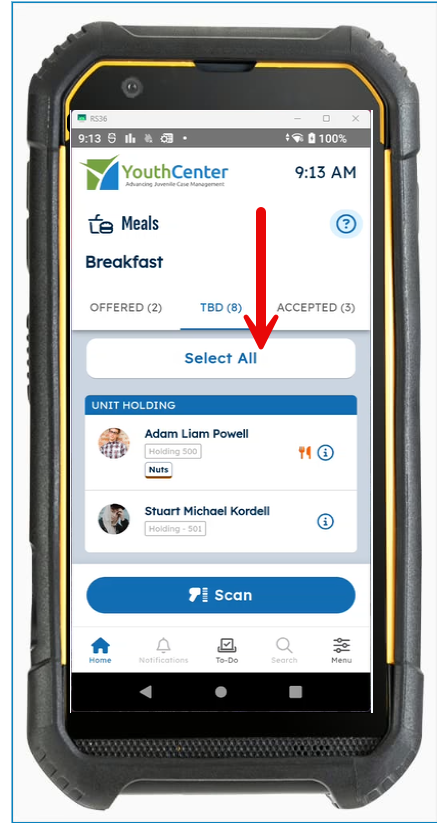
Meals #
Within Safeguard, you have easy access to all youth and choose whether they were offered or accepted a meal.
To access Meals, select it from the main menu.
On the TBD tab, choose whether a meal was offered or accepted. To do this, swipe right for accepted or left for offered, on each client’s name.
If all meals are accepted or offered you can also choose “select all” and complete one swipe for all clients.
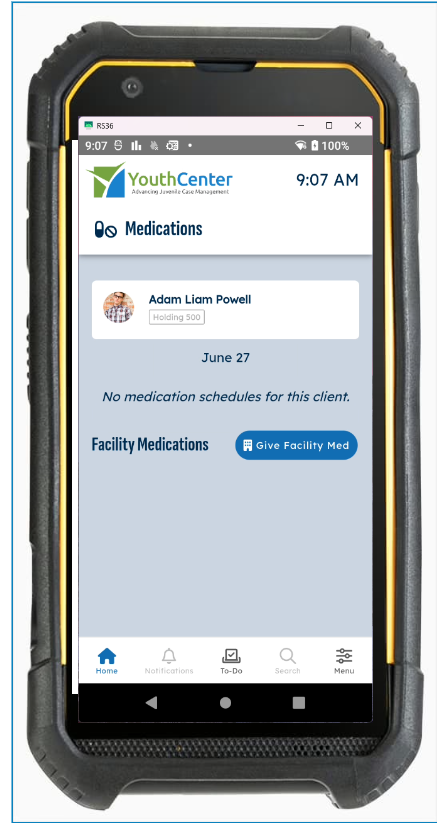
Medications #
If a client has a daily medication need or needs a facility-based medication, Safeguard quickly allows you to see the necessary medication schedules and/or facility medication options.
To begin, choose the “medication” menu item and select the client.
Facility Medications #
If a youth needs a medication for allergies, for example, you can select their profile under medications and choose “give facility med.”
As a user, you will be able to choose from the medication list, enter the quantity, and choose “distribute.”
Once selected, you will be able to confirm distribution with staff and client signatures.

Medication Schedules #
If a client has a medication schedule, this will be listed in their file with the necessary information for distribution.
To distribute, select the medication on the client’s medication screen.
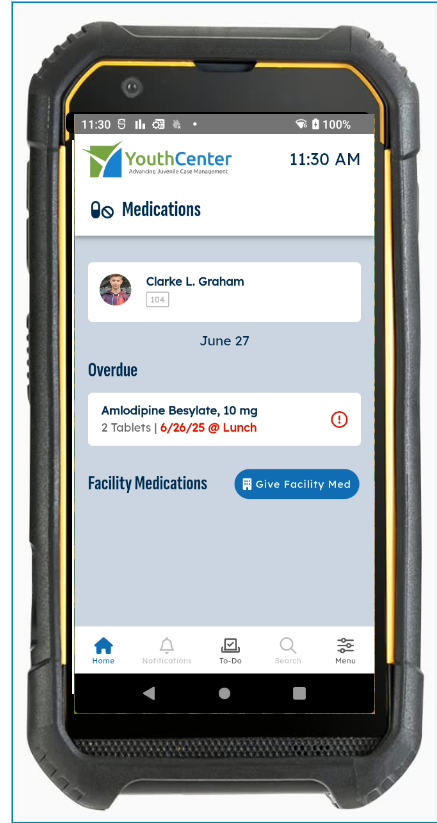
Choose the action from the different options.
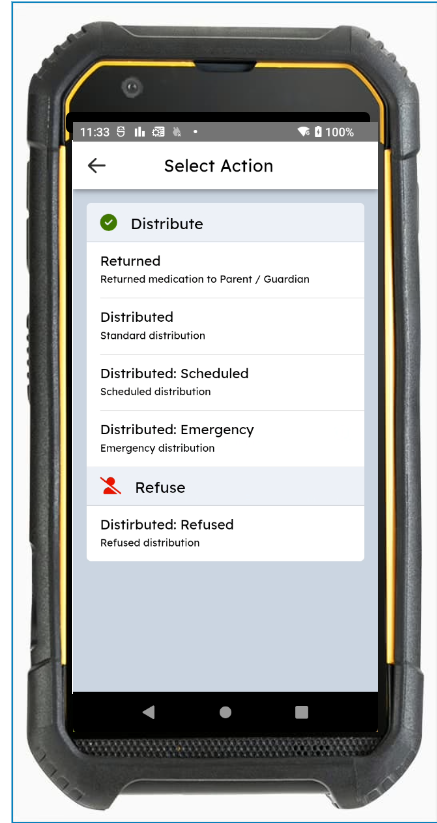
Choose “confirm distribution” and complete the necessary staff and client signatures.
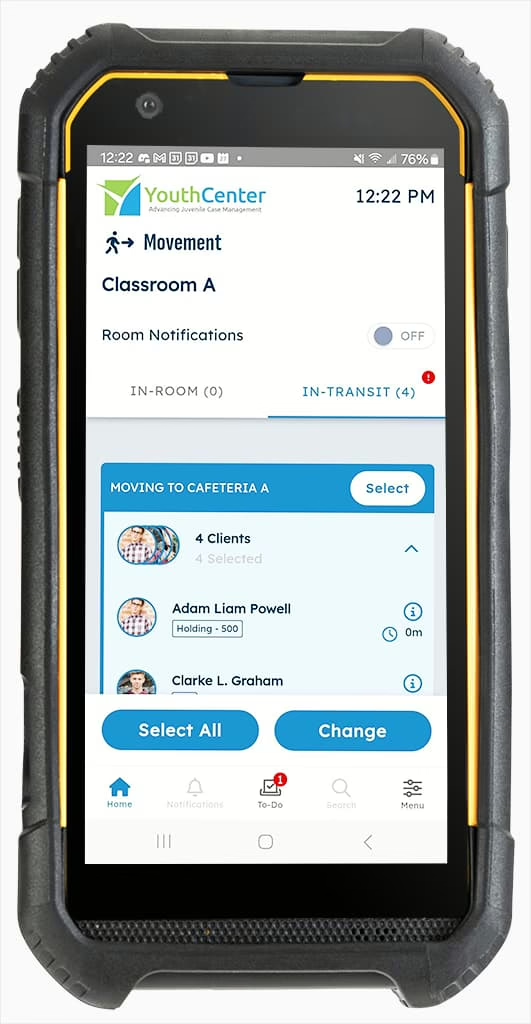
Smart Room Movement: Group or individual movement #
If you are moving a group of youth from one location to another, choose “select all”. This will allow the youth to be grouped and pushed to the top of the “In Transit” tab, allowing you to quickly select the group and complete a movement.
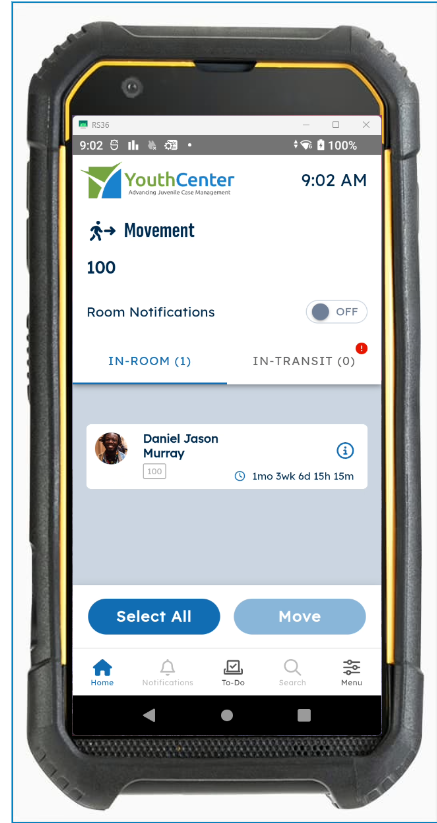
Movement can also be done for individuals, as well as showcasing the original room they are moving from, if they are in transit, and their final location.
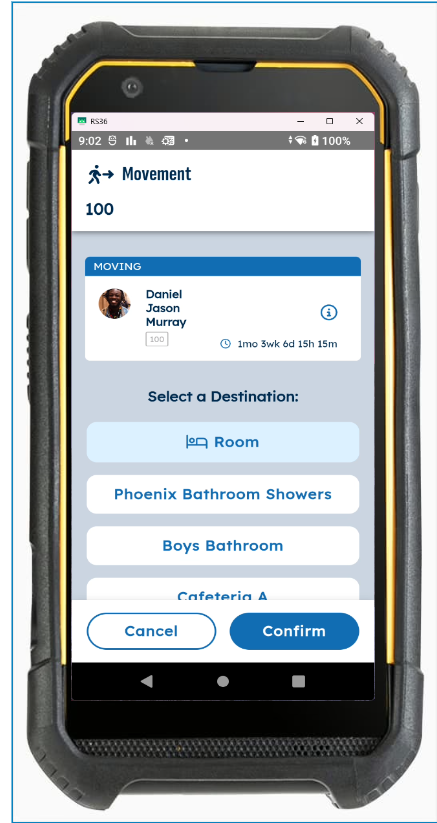
When moving a youth or group, you are given a list of destinations to choose from and confirm.
Intelligent Room Tracking #
When utilizing movement tracking, if a youth is not in their room, that room will not show up in the listing of to-dos.
Within YouthCenter, SafeGuard updates show the client’s location in their profile in real-time.
Room Checks #
After selecting “room checks” on the main menu, either the scanning feature or a manual selection of the client can be done.
Once within the room check, complete the notes area and select all checklist items that apply.

Note: Multiple items can be selected as needed.
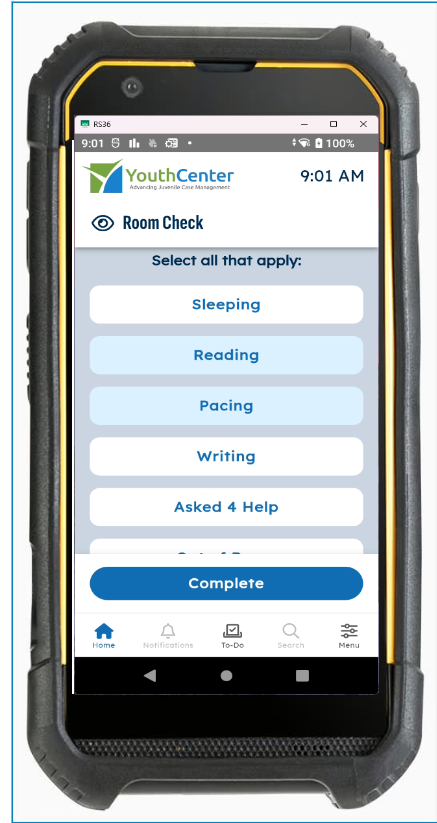
Click “complete.”
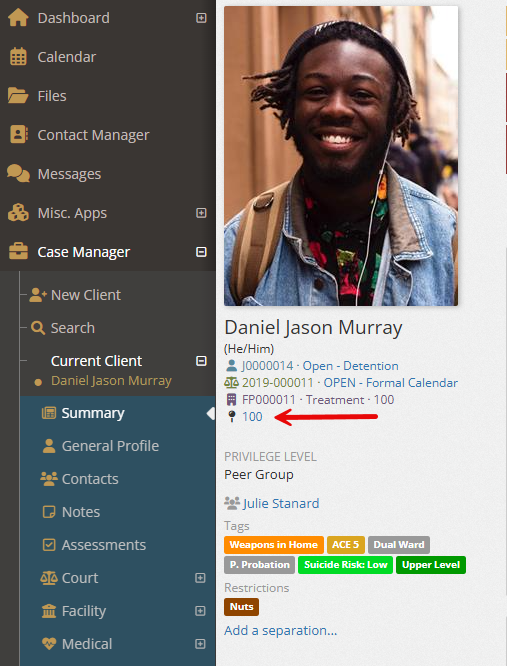
Points #
When the “Points” menu item is selected, points from today, total points, and privilege level can be quickly seen for particular clients.
Adjustments can also be selected with notes.
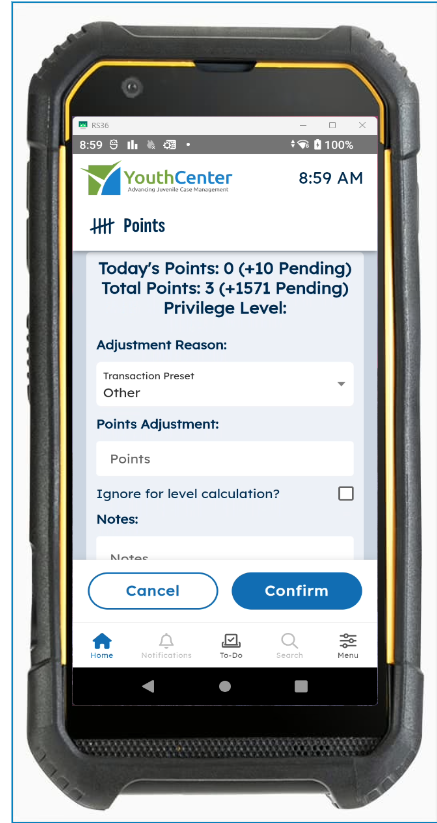
Once completed, select “confirm.”
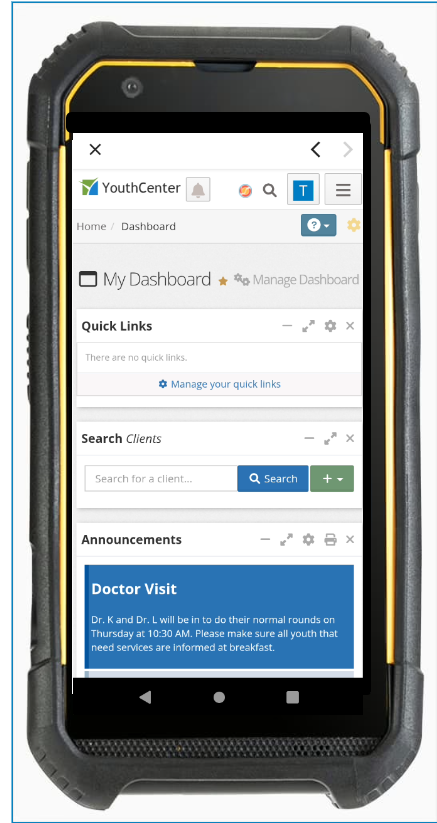
Case Manager Access #
When “Launch Case Manager” is chosen from the main menu, users are taken to their YouthCenter login page, where they will be able to access all their normal menu items.

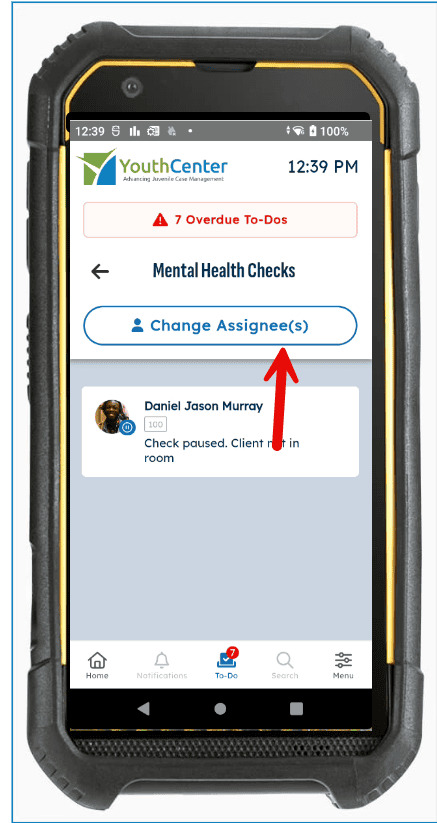
To-Do’s #
If a user is assigned to any “to do’s” these will be accessed via the bottom screen menu.
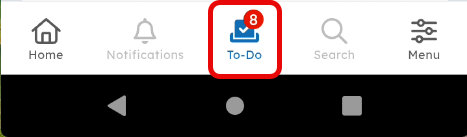
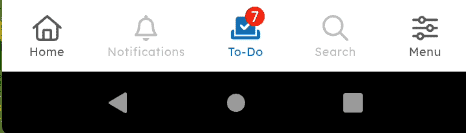
Any overdue to-do’s will be highlighted in red.
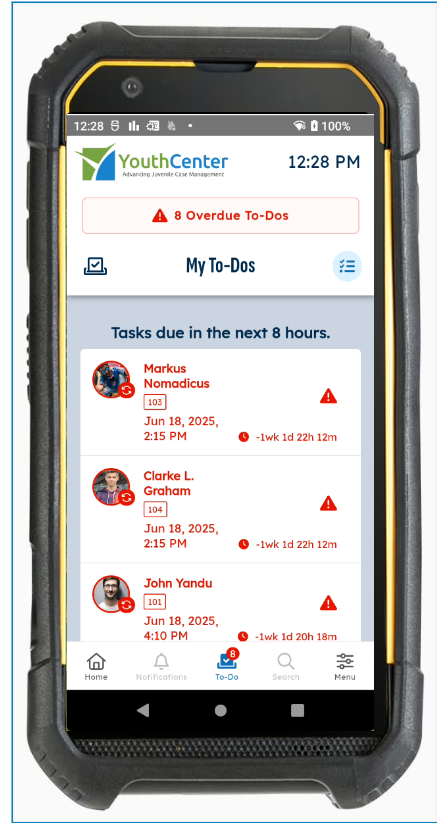
Once the necessary actions are completed, the “to-do” count and list will automatically update.
The facility to-do’s are also visible under “other to-do’s.”
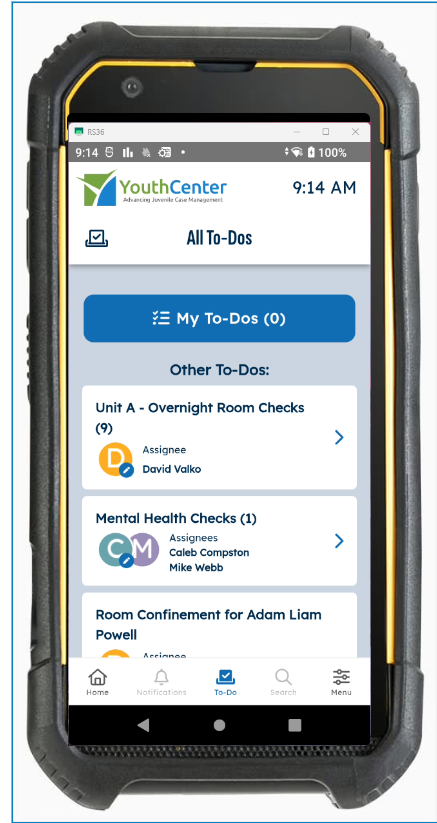
This list of “All to-do’s” allows supervisors to assign the main tasks for the shift by selecting “change assignee(s)
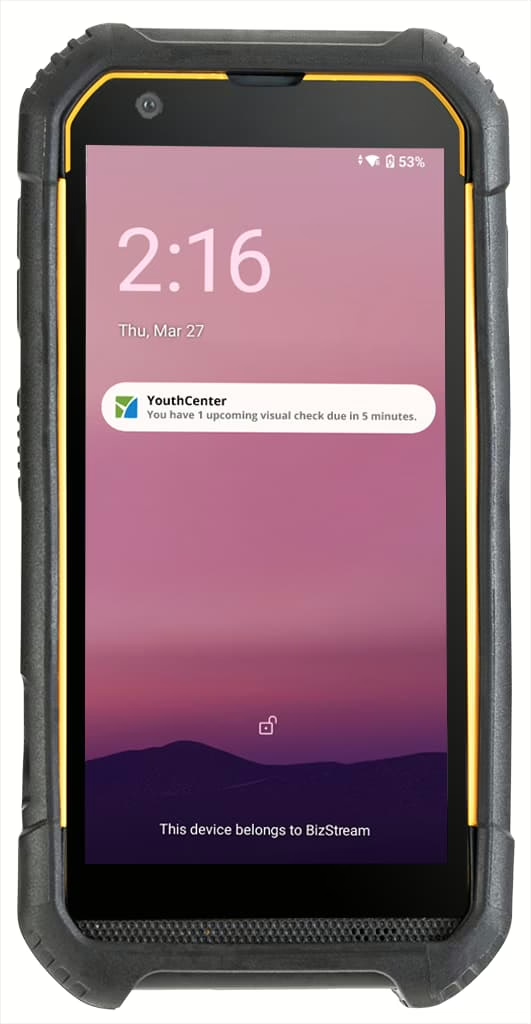
Push Notifications #
Finally, push notifications to SafeGuard devices will also appear on the homescreen for overdue to-do’s or up and coming to-do’s (rounds).