Permissions and Access Levels are two different ways information or actions can be filtered by a user’s tole. These are important tools to lean into when thinking through what information your team should have access to.
In most cases, a user must have administrative power in order to make these edits.
For a webinar on permissions, please see the page linked here.
Permissions #
Accessing Permissions #
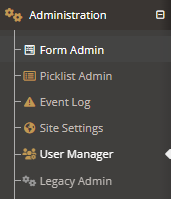
To access the permissions, select the “administration” tab followed by “user manager.”
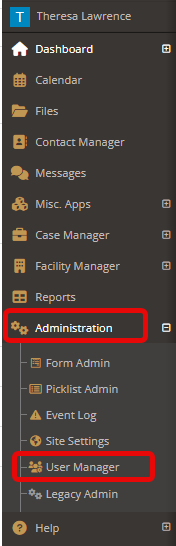
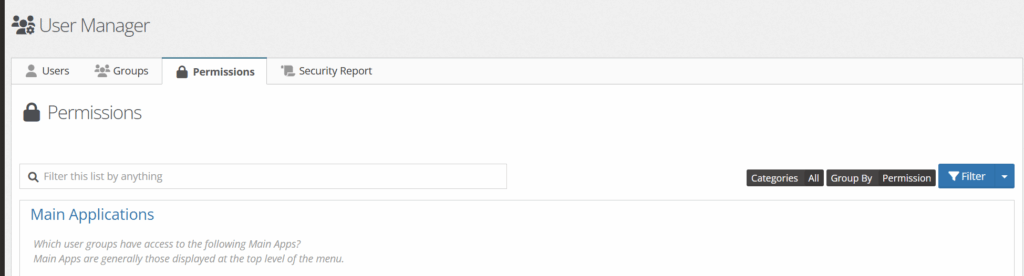
Choose the “permissions” tab.

Types of Permissions #
The 4 main types of permissions include:
- Main applications
- Sub application
- Application actions
- User Lists
Beneath each of these permission types are listed a substantial amount of actions and menus.
Main applications #
Main applications are generally the apps that are displayed on your side-bar menu (calendars, files, contact manager, etc.)
Sub applications #
Sub applications are generally the applications that rest within the main applications.

For example, when the “administration” tab is opened, any applications below are sub-applications.
Application Actions #
Application Actions are things within any of the applications that the user can do. These could include viewing, editing, deleting, viewing only ‘my’ components, etc.

User Lists #
User Lists allow you to edit and update groups that should show up under a variety of dropdowns surrounding team members.

Updating Permissions #
To update a permission, choose from the list of permissions and click on the title of the permission.
A “manage this permission” box will appear.
To remove groups, click the ‘x’ to the right of their titles.
To add groups, click in the white space and choose from the dropdown options.
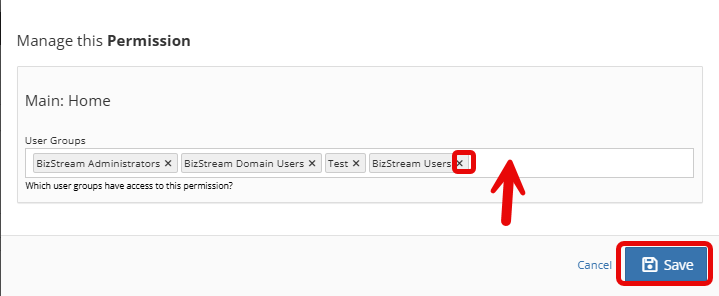
Click “save.”
Viewing Permissions for Group Types #
Under the User Manager tab, there is a tool tab called “security report.”
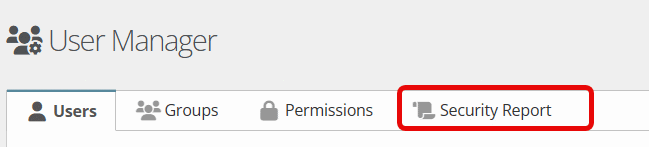
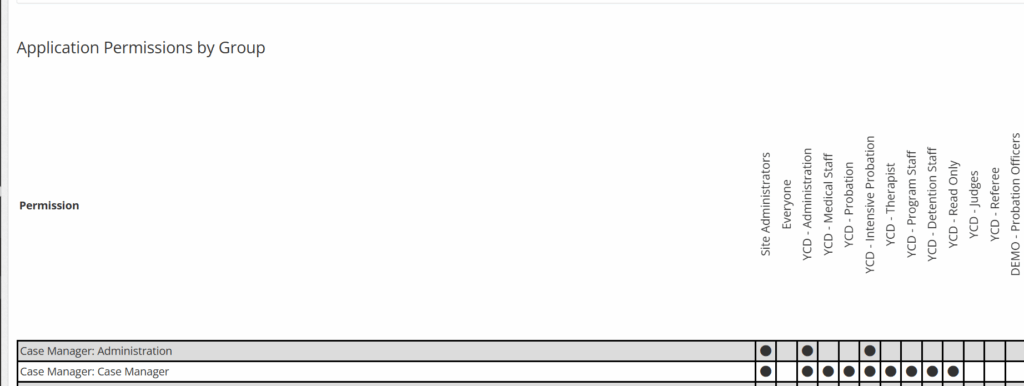
This report gives a visual breakdown of what permissions each group has access to.
A black dot represents access, while a blank space represents no access to the features/actions.
For more information on adding or editing groups click here.
Access Levels #
For a webinar on access levels, click here.
Access Level Use #
Access level can be used to narrow who can see five unique aspects in YouthCenter
Access level is available on the following features in YouthCenter:
- Facility Notes
- Notes
- Incidents
- Attachments
- Object Audit Logs
When an access level can be added to these features, you will see a bar, as shown below.
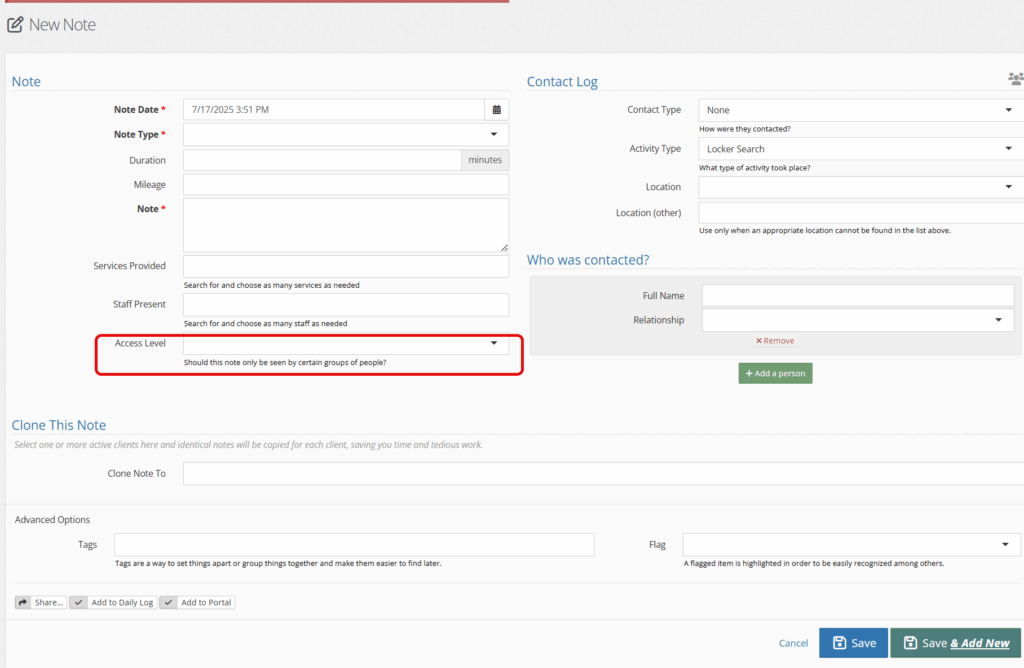
When selected, the bar will give a drop-down of access levels that are based on groups. Choose the group that matches the correct access you are trying to achieve.
Updating Access Levels #
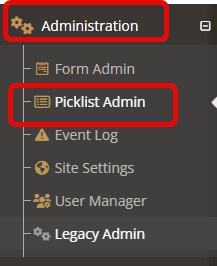
To update access levels, you will select “administration” followed by “picklist admin.”

Choose the green “Create a New access level”

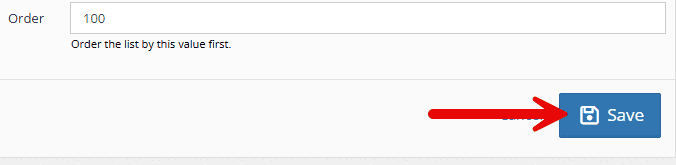
Fill in the necessary information and click “save”
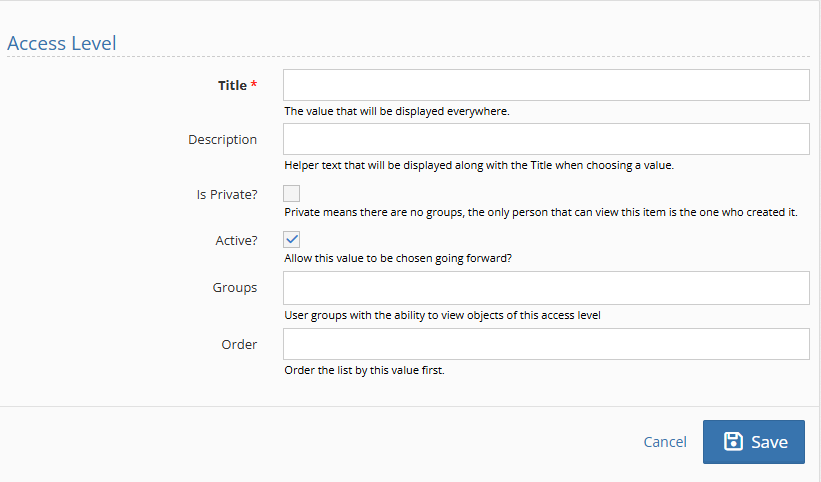
Field descriptions: #
- Title: the name of the access level that shows in the dropdown.
- Description: any description to help in determining the access level’s use
- Is Private?: the only person that can view this item is the one who created it. There is no group access
- Active: available to choose from dropdown.
- Groups: those that will be able to have access. (for information on building groups see reference document here)
- Order: the order in which this particular access level falls in the dropdown menu.
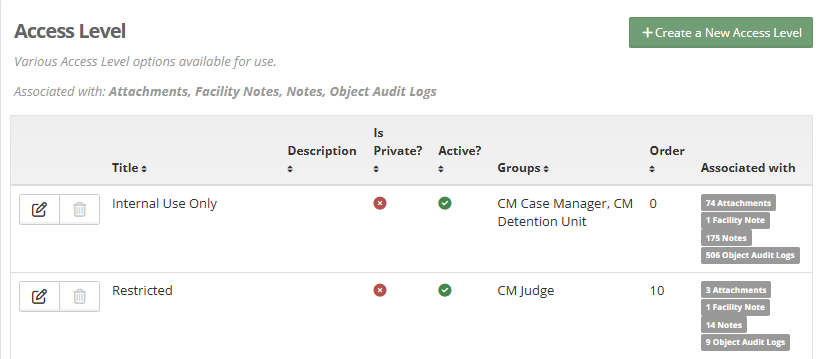
Below are two examples of created Access Levels that could be used in one of the 4 features in YouthCenter.
Setting Default Access Levels #
If you have administrative permissions, follow the following steps. Keep in mind that the example below is for adding a default case note.
Step 1: From your side menu, choose the “administration tab” followed by “picklist admin.”
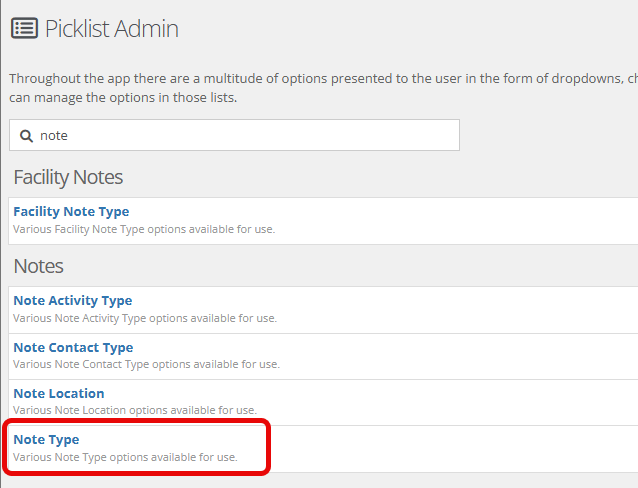
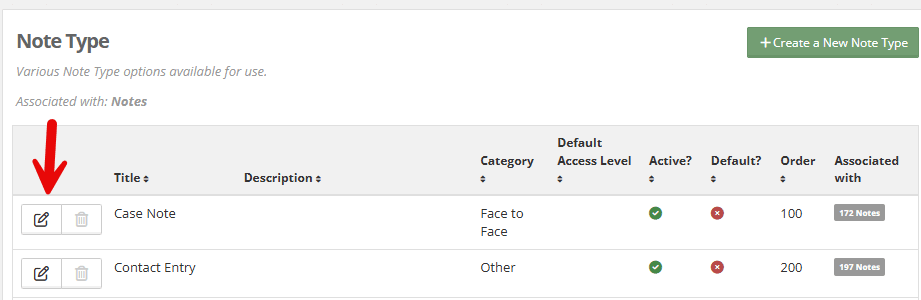
Step 2: Using the search bar or by searching through the full list, find and choose “note type.”
Step 3: Choose the note type you’d like to set a default access level for. Select the “edit this row” option.
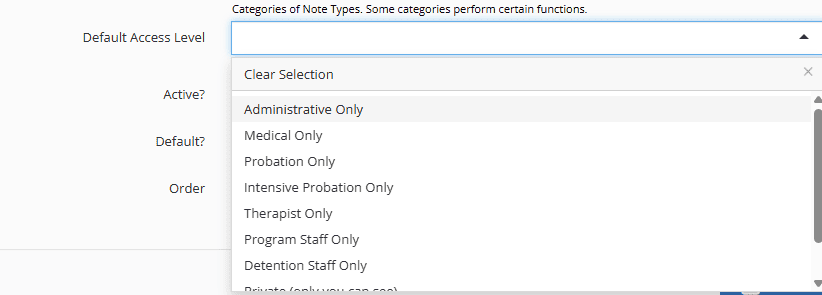
Step 4: Within the editable fields, choose the “default access level” drop-down.

Step 5: Select the access level that matches the note type.
Step 6: Click Save.