Workflows are a timesaving tool that allows for notifications to be sent to internal users of Youthcenter as well as clients and guardians. This was created to help in ensuring custom forms are completed in a timely fashion and by all necessary parties.
For a full webinar on this feature, feel free to watch here.
Location of Custom Forms & Workflow options #
To create a new form with workflows OR update a previously created form, select the “Administration” tab followed by “Form Admin.”
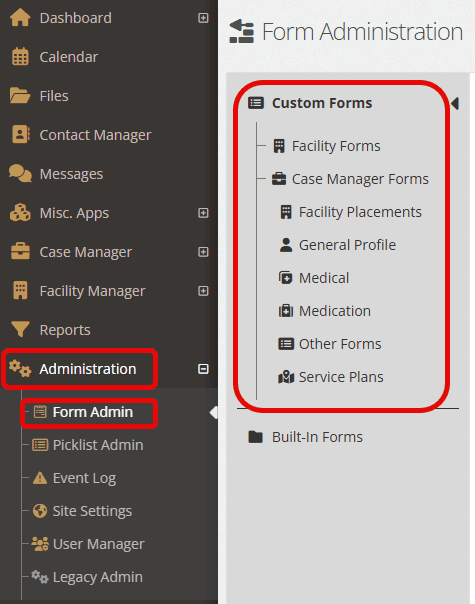
Within the Custom Forms area, you can take one of two steps:
Creating a New Form:
- Select whether the custom form is for Facility or Case Manager (feel free to choose the subset folders under Case Manager as necessary).
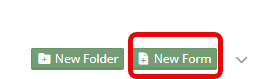
- Click “New Form.”
Editing a Previously Made Form:
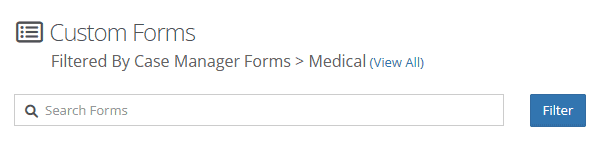
- Within the “Search Forms” bar, type in a keyword for your form. Click “Filter.”
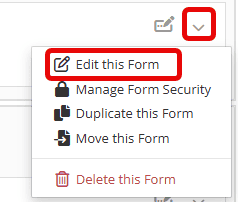
- To the right of your form, click the down-carrot and choose “Edit this Form.”
Whether you are creating a new form or editing a previously made form, complete the necessary fields in Settings & Build

For an in-depth walkthrough of building a custom form in Form Builder 2.0, watch here
Creating Sections for your Workflow #
Before moving from the “Build” tab, one important thing to note is that there MUST be sections in order for workflows to be possible.
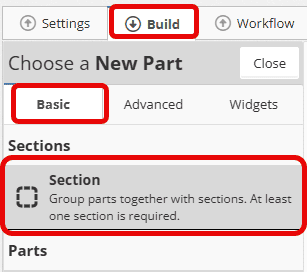
To ensure you have sections, select the “Build” tab, followed by “Basic.”
Click on “Section.”
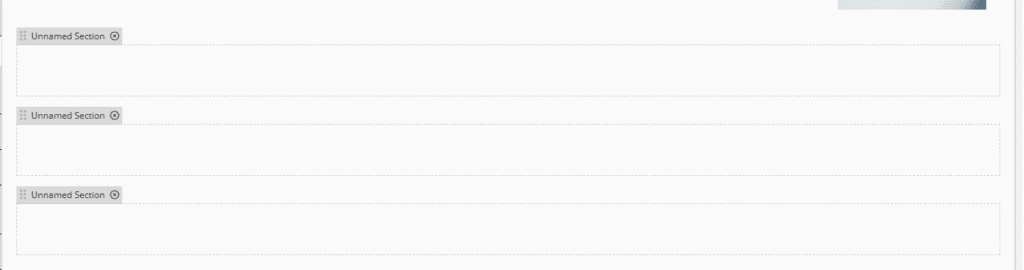
Drag and drop as many sections as needed to support your workflow.
TIP: The number of steps in your workflow, should match the number of sections in your report Build.
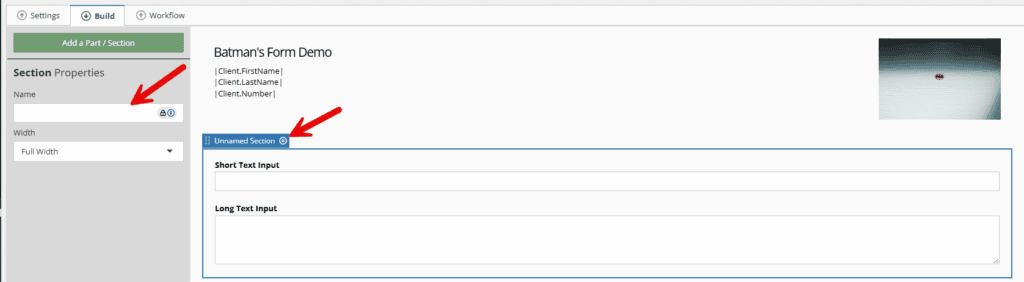
Name your Sections based on the steps in your workflow. To name these, select your one section, and type in the “Name” field.
Some examples could be: Caseworker/JPO review or Parent/Guardian Review
If you are editing a previously made form or forgot to build Sections initially. Simply add the section(s) and drag and drop the previously made parts into the new section (see below).
Creating a Workflow #
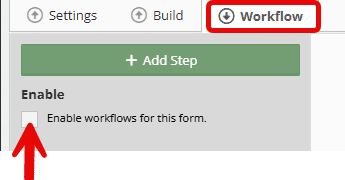
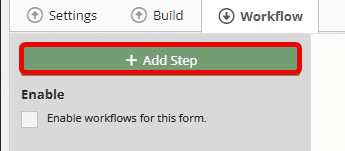
Before beginning, be sure to click the box that will “Enable workflows for this form.”
Next, select “Add Step.”
Complete the “Step Properties” below.
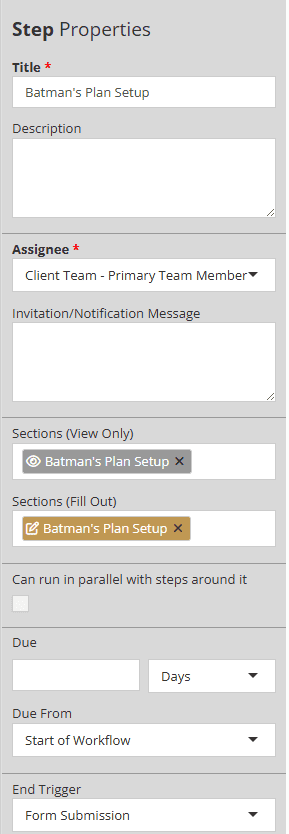
Fields from Step Properties:
- Title: What would you like to title this step? (Only seen internally in this workflow area.)
- Description: Share a description of what occurs in this step. Not necessary if it doesn’t fit your needs.
- Assignee: Who would you like this workflow to be assigned to?
- Drop-down includes:
- Client, Client Team (different options), Guardians, Original Responder, User groups
- Drop-down includes:
- Invitation/Notification Message: What would you like to be said, if anything, regarding this invitation to fill out the form?
- Sections (View only): What sections can this assignee only see, but not fill out?
- Sections (Fill out): What sections can this assignee fill out? Drop down contains previously named sections.
- Can run in parallel with steps around it: When checked, this step can take place at the same time as others.
- Due: Set a particular due date as necessary.
- Due from: If a due date is set, when does the clock begin ticking?
- Drop-down includes:
- Previous Step
- Start of Workflow
- Drop-down includes:
- End Trigger: What showcases that this workflow is complete?
- Form submission (most common)
- Start of Workflow
Continue adding steps as needed to the workflow filling out the fields as you continue.
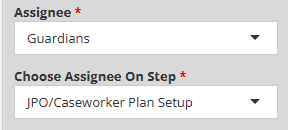
One additional field after step 1, will be “Choose Assignee on Step” as seen below.
This will tell the system when the assignee is added.
When complete with all steps, click “Save.”
Using the Forms with Workflow #
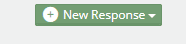
To send out the invites for the form and workflow, find your form on the client profile or facility area and select “New Response.”
Once your form is selected, the below message will occur. Select “Yes, Create New Form Response.”

Based on the assignee’s you have selected under the custom form workflow section, the “assign to” section will autofill. You can add any additional invite to the assignee in the box titled “Message to Invitee.”
Once completed, select “Save.”

Non-Users of Youthcenter:
- Will receive an email that shares the invitation message as well as quick link to access the form.
- An access code will be shared
- Any due dates and linked expiration dates will be shared in the messaging as well.
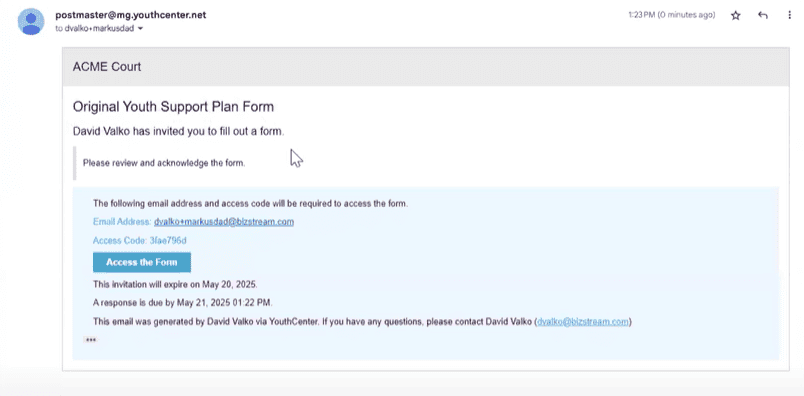
When the “Access the Form” button is clicked, the assignee will be sent automatically to a page like below that will autofill the email address and access code.

Users of YouthCenter:
Not only will users receive emails like above, but they also can access via YouthCenter.
Note: only an assignee can complete the steps below.
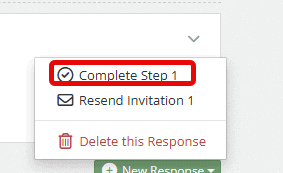
To do so, find the client in the system that has a form you’ve been assigned to. You will see a workflow, like below.

Select the down-carrot and choose “complete step X.”
Once all steps have completed in a workflow, you will see a “form completed” tag in the right hand corner.

Adding Dashboard Widgets to see Workflows in motion #
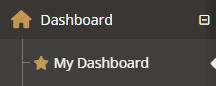
Select your Dashboard of choice.
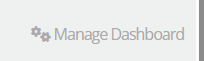
Choose “Mange Dashboard.”
Select “Add Widgets.”

Find and click “Workflows.”

Like all widget options, feel free to drag and drop the widget wherever it makes sense to you on your dashboard.
Also, filter information in the widget by selecting the gear icon of the widget.
